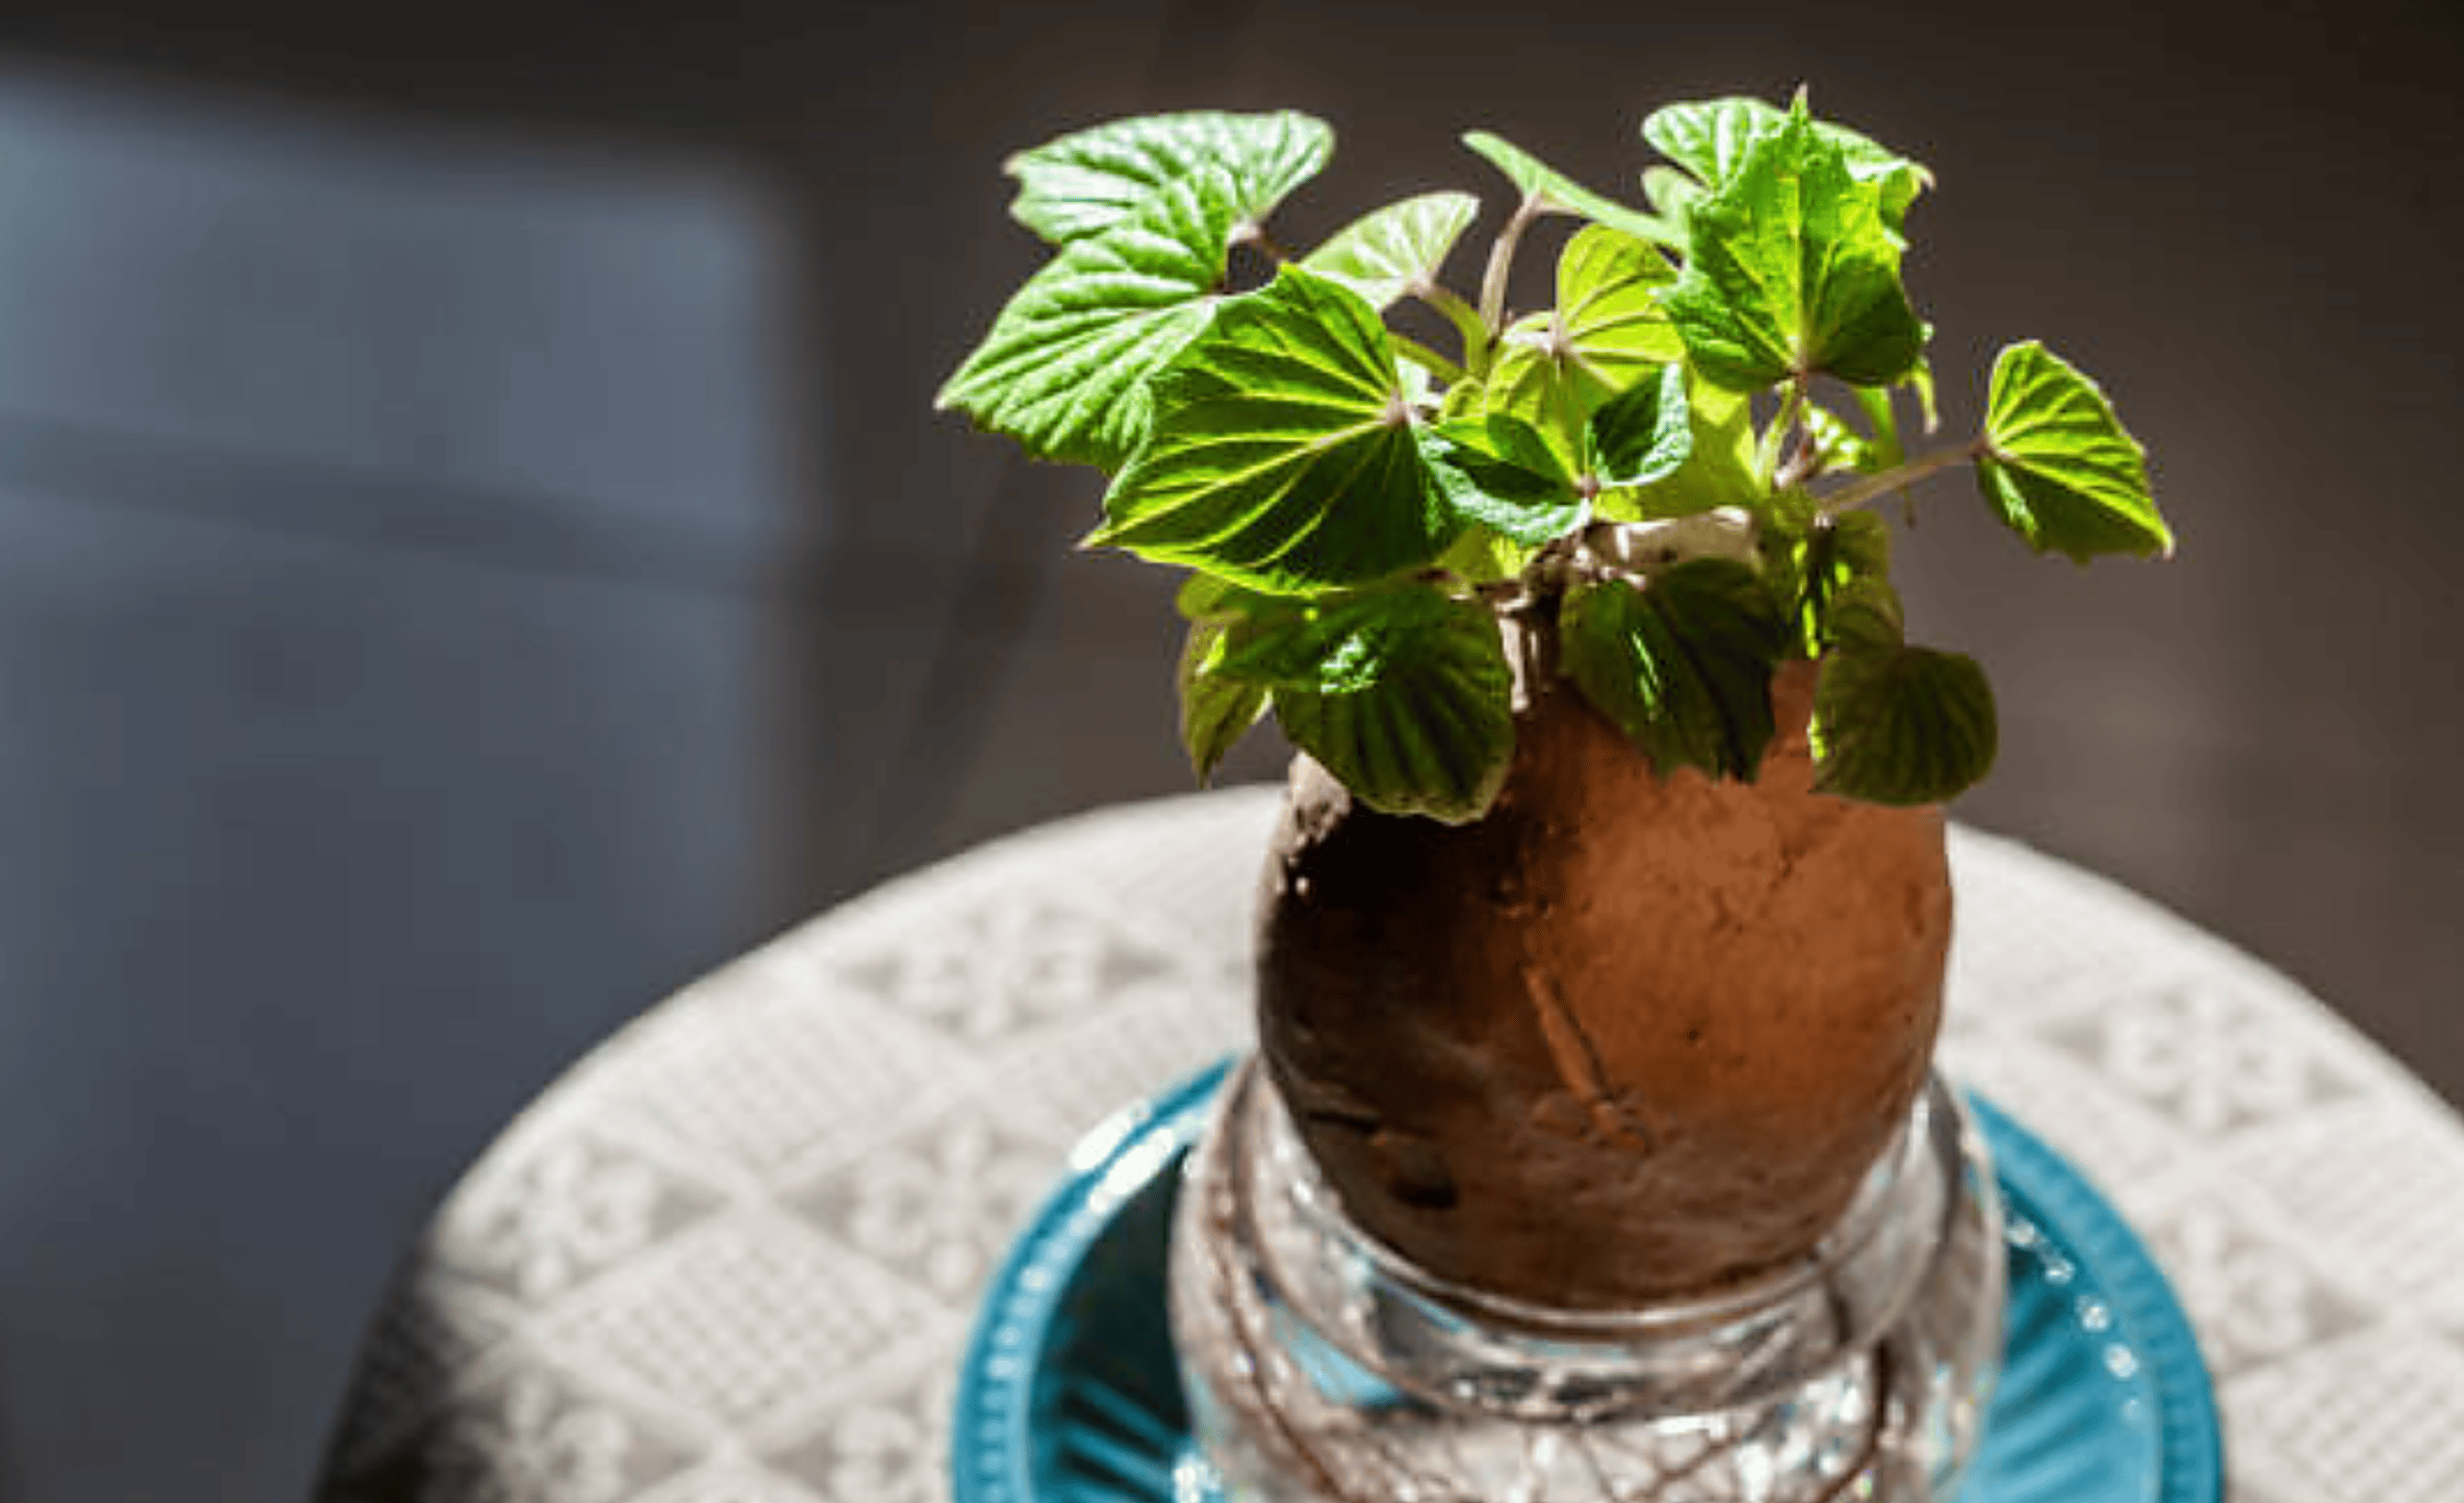
How To Grow Potatoes Indoors
Learning how to grow potatoes indoors might seem like a dream, but it’s entirely achievable with just a bit of effort and the right approach. Imagine walking into your kitchen and plucking fresh potatoes straight from a container.
These versatile tubers are not only delicious but also easy to cultivate in small spaces. Whether you have limited outdoor space or simply want to enjoy gardening year-round, indoor potato cultivation can be your new favorite hobby.
Let’s dive into the benefits and step-by-step process of growing potatoes indoors so you can start harvesting your own tasty spuds!
The Benefits of Growing Potatoes Indoors
Growing potatoes indoors offers numerous advantages that can enhance your gardening experience. For starters, it’s an excellent way to utilize limited space. Whether you have a small apartment or just want to brighten up a corner of your home, indoor potato cultivation fits right in.
Indoor gardening also allows you to control the environment more effectively. You can manage temperature and humidity levels, protecting your plants from pests and diseases common in outdoor settings. This controlled environment often leads to healthier crops.
Additionally, cultivating potatoes indoors means fresher produce at your fingertips. There’s nothing quite like harvesting warm new potatoes for dinner straight from your own pots. Plus, it adds a touch of greenery and life inside any room, making it not only functional but visually appealing as well.
Steps for Planting and Caring for Potatoes Indoors
Planting potatoes indoors can be an enjoyable and rewarding experience. So let’s go ahead and get started!
Step 1: Choosing the Right Potato Variety
Choosing the right potato variety is crucial for indoor gardening success. Different types of potatoes serve various culinary purposes and grow at different rates.
Consider starting with early varieties like ‘Red Gold’ or ‘Yukon Gold.’ These are known for their quick growth, making them perfect for limited indoor space.
If you have a bit more time, try mid-season options such as ‘Russet Burbank,’ which yields larger tubers ideal for baking. For those seeking novelty, look into fingerling potatoes; they add flair to your meals.
Make sure to select certified seed potatoes rather than grocery store spuds. Seed potatoes are specifically grown to resist disease and provide better yields.
Assess your cooking preferences too—do you want waxy or starchy? Each type possesses unique textures that can elevate your dishes in delightful ways.
Step 2: Preparing the Containers for Planting
Preparing containers for planting potatoes is a crucial step that sets the stage for your indoor garden’s success. Start by selecting containers with adequate drainage holes. Potatoes thrive in loose, aerated soil, so it’s essential to allow excess water to escape.
Consider using fabric pots or traditional plastic ones. Fabric pots promote better airflow to the roots and can help prevent overwatering.
Next, clean your chosen containers thoroughly. Removing any old dirt or residues will reduce the risk of disease affecting your new plants.
It’s time to fill them with quality potting mix. A blend designed for container gardening works best as it retains moisture while providing necessary nutrients without becoming too compacted.
With your containers ready, you’re one step closer to growing delicious homegrown potatoes indoors!
Step 3: Selecting the Right Container and Soil
When it comes to growing potatoes indoors, the choice of container and soil is crucial. A deep pot or a grow bag works best since potatoes need ample space for their roots to expand. Look for containers that are at least 12 inches deep.
Ensure your chosen container has drainage holes. This prevents water from pooling at the bottom, which could lead to rot.
Next, focus on the soil mixture. Potatoes thrive in loose, well-draining soil rich in organic matter. Consider using a blend of potting soil with compost or peat moss.
This combination not only provides essential nutrients but also improves aeration around the tubers as they develop underground. Remember: healthy plants begin with quality ingredients!
Step 4: Planting Process and Tips for Success
When you’re ready to plant, start by cutting your seed potatoes into pieces. Each piece should have at least one eye. Let them dry for a day or two to form a protective callous.
Fill your container with the prepared soil, leaving some space at the top. Plant the potato pieces about four inches deep and spread them out evenly in the container.
Water gently but thoroughly after planting. Keep an eye on moisture levels; it’s crucial not to overwater as this can lead to rot.
As your plants grow, add more soil around the stems—this process is called “hilling.” It encourages more tuber growth while also supporting the plants.
Ensure they receive plenty of light, ideally 12-16 hours daily using grow lights if needed. Watch for pests like aphids and address any issues early on. Happy growing!
Step 5: Caring for Your Indoor Potato Plants
Caring for your indoor potato plants is essential to ensure a healthy yield. Start by providing adequate light; they need at least six hours of bright, indirect sunlight each day. If natural light is limited, consider using grow lights to supplement their needs.
Watering requires attention. Keep the soil consistently moist but not soggy. Allow the top inch of soil to dry out between waterings, preventing root rot while ensuring your potatoes have enough hydration.
Fertilization plays a key role in growth. Use a balanced fertilizer once every few weeks, focusing on nutrients that promote tuber development.
Regularly check for pests like aphids or spider mites, which can invade and damage your plants. If you spot any unwelcome guests, act quickly with insecticidal soap or neem oil.
Gently mound soil around the base of the stems as they grow taller. This encourages more tuber formation and supports plant stability as they flourish indoors.
Step 6: Harvesting and Storing Your Homegrown Potatoes
Harvesting your homegrown potatoes is an exciting phase. Wait until the plants’ leaves start to yellow and die back, signaling that the tubers are ready for picking. This usually happens about 10 to 12 weeks after planting.
Gently dig around the base of each plant with a spade or garden fork. Be careful not to puncture any potatoes in the process. Lift them out carefully and brush off excess soil.
Once harvested, let your potatoes dry in a cool, dark place for a few hours. This helps toughen their skin and prolongs storage life.
For storing, choose a well-ventilated container like a burlap sack or cardboard box. Keep them in a cool basement or pantry away from sunlight to prevent sprouting.
Check on stored potatoes regularly and remove any that show signs of decay to keep your stash fresh longer. Enjoy the fruits of your labor!
Troubleshooting Common Issues
Growing potatoes indoors can be a rewarding experience, but it’s not without its challenges. One common issue is insufficient light. Potatoes need at least six hours of direct sunlight daily. If your plants appear leggy or stretched out, consider moving them closer to a window or supplementing with grow lights.
Another frequent problem is overwatering. Yellowing leaves may indicate root rot caused by soggy soil. Ensure your containers have drainage holes and allow the soil to dry slightly between waterings. Pests like aphids or spider mites can also become problematic.
Regularly inspect your plants for any signs of infestation, such as webbing or discolored leaves. A gentle spray of soap and water can help deter these pests without harsh chemicals. Keep an eye out for nutrient deficiencies that manifest as stunted growth or odd leaf colors. Adjust your fertilization routine if necessary to promote healthy development.
Creative Ways to Use Homegrown Potatoes in Cooking
Homegrown potatoes can elevate your meals in countless ways. Try making a classic potato salad with fresh herbs and a tangy vinaigrette. The flavor of homegrown varieties will surprise you. If you’re looking for comfort food, whip up some creamy mashed potatoes.
Add roasted garlic or cheese for an extra kick that makes the dish even more delightful. For a crispy treat, slice them thin and bake homemade potato chips. Season with your favorite spices to create unique flavors that store-bought options can’t match. Feeling adventurous? Experiment with potato gnocchi.
This Italian delight is surprisingly easy to make and pairs beautifully with various sauces, from marinara to pesto. Don’t forget about breakfast! Shredded potatoes can be transformed into hash browns or added to omelets for deliciously filling morning meals. Get creative; the possibilities are endless when using homegrown potatoes in your kitchen!
Conclusion: Enjoying Your Homegrown Potatoes
Growing potatoes indoors can be a delightful experience. The process allows you to enjoy fresh, homegrown produce regardless of the season or space constraints. Once your plants are ready for harvest, you’ll find that the taste of freshly dug potatoes is unlike anything store-bought.
There’s a certain satisfaction in pulling these earthy gems from their containers and preparing them in various dishes. From creamy mashed potatoes to crispy fries, the possibilities are endless. You’ll appreciate not only the flavors but also knowing what went into growing them.
As you indulge in your culinary creations, take pride in every bite knowing they were nurtured right at home. Embrace this journey of indoor gardening and let it inspire your culinary adventures with new recipes and techniques centered around your very own crop!
Related Posts
How To Grow Strawberries
How To Grow Squash
