How To Recondition A Car Battery
Welcome to our comprehensive guide on how to recondition a Car battery. Car batteries are the unsung heroes of our vehicles. They provide the power needed to start your engine and keep all those electronic gadgets running smoothly.
But like any other component, they can wear down over time, leading to frustrating situations when you least expect it. Have you ever found yourself stranded with a dead battery? It’s not just inconvenient; it can also be costly if you always opt for replacements.
What if there was a way to breathe new life into your old battery? Reconditioning a car battery is more than possible—it’s an excellent skill that could save you money and extend the lifespan of your vehicle’s vital power source. Let’s dive right in and explore how to recondition a car battery effectively!
Signs That Your Car Battery Needs Reconditioning
Recognizing when your car battery needs reconditioning is essential to keep your vehicle running smoothly. One of the first signs is slow engine cranking. If you notice it takes longer than usual for your engine to start, that’s a red flag.
Another indicator is dimming headlights. If they flicker or seem less bright, especially when idling, it could mean your battery isn’t holding a charge effectively.
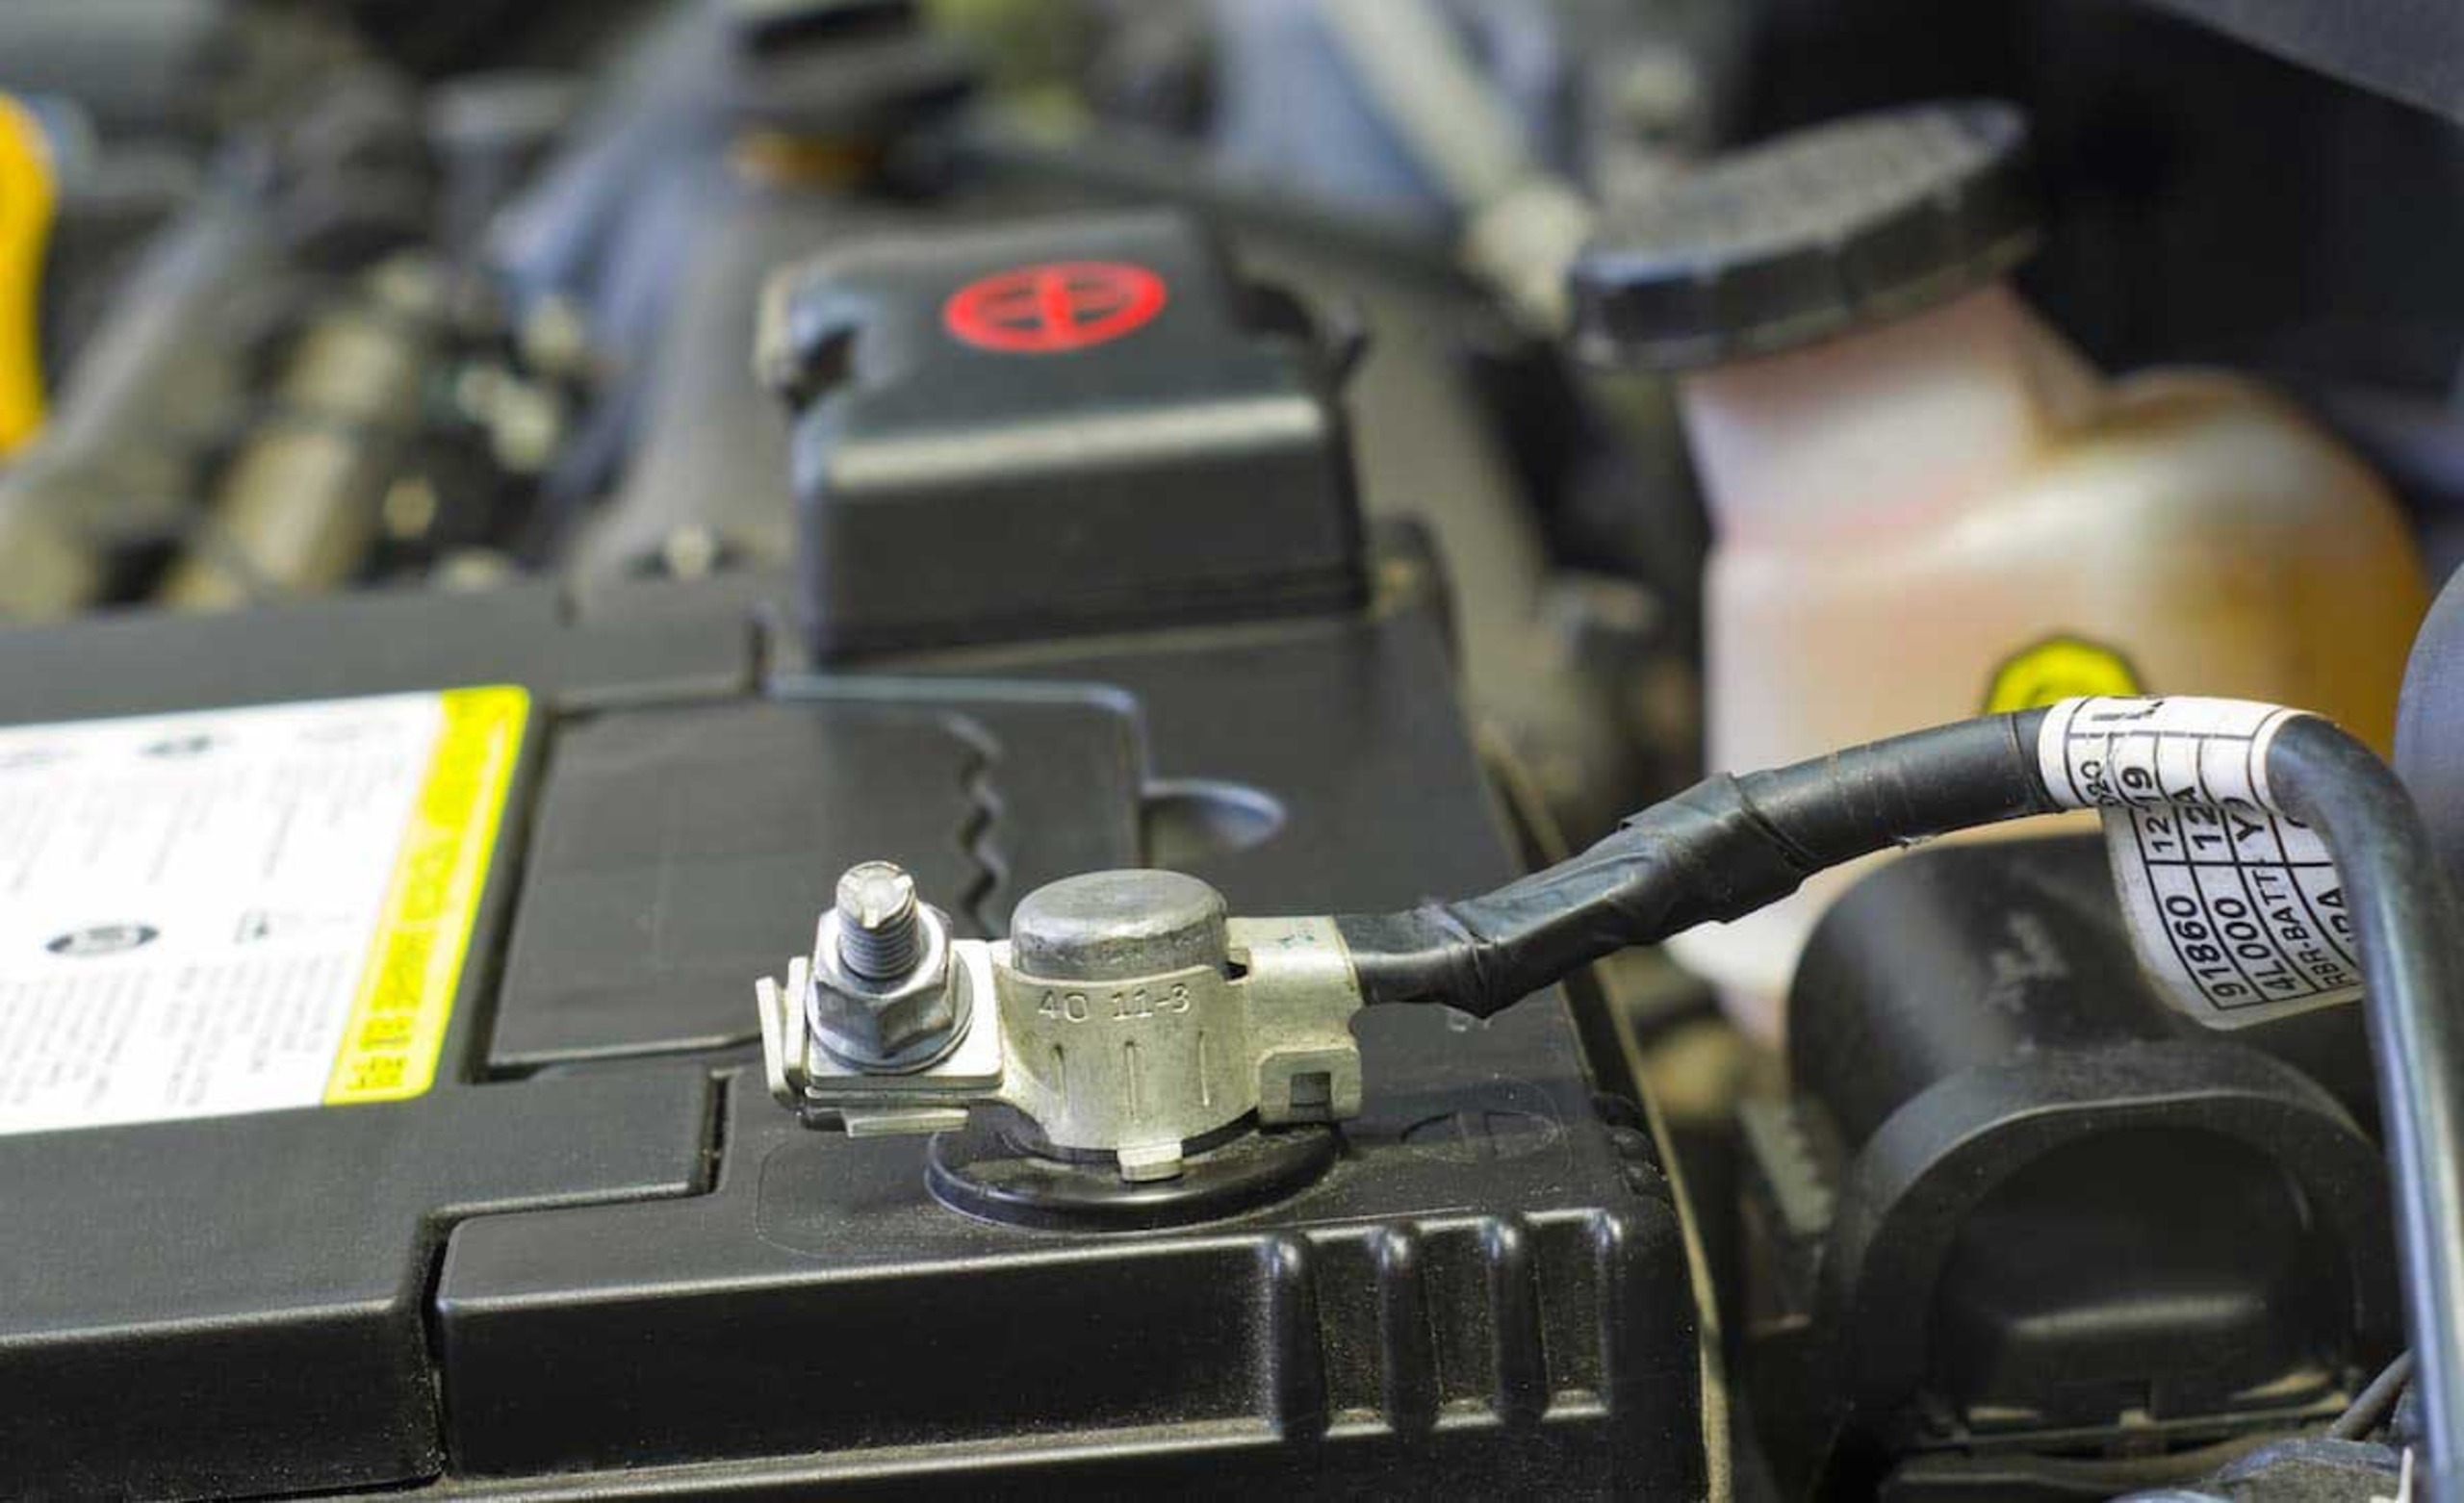
Also, pay attention to any corrosion on battery terminals. A buildup of white or bluish substance signals deterioration and potential issues within the battery.
If you’re frequently needing jump-starts or experiencing electrical problems in your car like malfunctioning windows or radio issues, these are clear warnings that reconditioning may be required soon. Stay attentive; catching these symptoms early can save you from more significant headaches down the road.
Tools and Materials Needed for the Process
Before diving into the reconditioning process, gather your tools and materials. Having everything on hand will simplify the task and save you time. First, you’ll need safety gear. Gloves and goggles are essential to protect yourself from harmful chemicals.
Next, grab a multimeter for testing voltage levels. This device helps diagnose battery issues effectively. You’ll also require distilled water to replenish electrolyte levels in flooded batteries. It’s crucial for maintaining optimal performance.
A battery charger or power supply is necessary for charging during reconditioning. Choose one that matches your battery type for best results. Have a clean workspace ready with proper ventilation. A good environment makes the work safer and more efficient.
With these tools at your fingertips, you’re all set to start reconditioning your car battery confidently!
Step-by-Step Guide on Reconditioning a Car Battery
Step #1. Preparation
Preparation is key when it comes to reconditioning a car battery. Start by gathering all the necessary tools and materials. You’ll need safety goggles, gloves, a multimeter, distilled water, and Epsom salt.
Choose a well-ventilated area for your work space. This ensures that any gases released during the process can disperse safely. Always prioritize safety—wear protective gear to shield yourself from potential acid splashes.
Next, disconnect the battery from your vehicle. It’s crucial to remove both negative and positive terminals carefully to avoid short circuits.
Take a moment to inspect the battery for leaks or cracks. If you notice any damage, it might be best not to proceed with reconditioning.
Once everything is set up and checked off your list, you’re ready to dive into cleaning and testing your battery’s voltage in the following steps.
Step #2. Cleaning the Battery
Cleaning the battery is a crucial step in the reconditioning process. Over time, dirt and corrosion can build up on the terminals and casing. This grime can hinder performance, so it’s important to tackle it effectively.
Start by disconnecting the battery leads. Always remove the negative terminal first to avoid any electrical shocks or sparks.
Next, mix baking soda with water to create a cleaning solution. Apply this mixture directly onto corroded areas using an old toothbrush or cloth. The fizzing reaction helps break down corrosion.
After scrubbing gently, rinse everything off with clean water. Make sure no residue remains as that could affect future function.
Dry your battery thoroughly before moving on to the next steps in reconditioning. A clean surface ensures better connections when you reconnect those terminals later on.
Step #3. Testing the Voltage
Testing the voltage of your car battery is a crucial step in the reconditioning process. This helps you determine its current state and whether it can hold an adequate charge.
To do this, you’ll need a multimeter. Set it to measure DC voltage; this will give you accurate readings for your battery’s output. Carefully connect the red lead to the positive terminal and the black lead to the negative terminal.
Readings should ideally be around 12.6 volts or higher for a fully charged battery. If you’re seeing numbers below this mark, it’s a sign that your battery might be weak or needs attention.
Recording these measurements lets you track improvements as you proceed with other steps in reconditioning. Keeping an eye on voltage levels throughout ensures you’re on the right path toward reviving your car’s power source effectively.
Step #4. Desulfating the Battery
Desulfating a battery is a crucial step in the reconditioning process. Over time, lead sulfate crystals can accumulate on the battery plates. This buildup reduces capacity and efficiency.
To begin this phase, use a specialized desulfator or consider DIY methods like applying Epsom salt mixed with distilled water. The solution can help dissolve those stubborn sulfates that impair performance.
If you opt for an external desulfator, connect it according to the manufacturer’s instructions. These devices send pulses of energy through the battery, breaking down sulfate deposits effectively.
Monitor your progress carefully during this stage. You may need to repeat the process several times for optimal results. Keep in mind that patience is key; rushing through might hinder recovery efforts.
After desulfating, check back on voltage levels before proceeding further. A clear indication of success will prepare you for rejuvenating your battery cells next.
Step #5. Reviving the Cells
Reviving the cells is a crucial step in the reconditioning process. It focuses on restoring the battery’s overall health and efficiency.
To begin, assess each individual cell for damage or weakness. This will help determine how much work needs to be done. A multimeter can be handy here to check for irregularities.
Next, you may consider using an electrolyte solution, ideally mixed with distilled water and Epsom salt. Pour this mixture into each cell carefully, ensuring not to overfill.
After adding the solution, allow it some time to circulate within the cells. This helps break down sulfate buildup that can hinder performance. Occasionally giving each cell a gentle shake can aid in mixing as well.
Once you’ve completed these actions, you’ll have set a solid foundation for effective recharging later on.
Step #6. Recharging the Battery
Once you’ve revived the cells, it’s time to recharge your battery properly. This step is crucial for restoring its full capacity and ensuring longevity.
Begin by connecting your battery to a quality charger. Choose a charger that matches the voltage of your battery—usually 12 volts for standard car batteries.
Set the charger to a slow charge setting if possible. Slow charging may take several hours but is gentler on the battery and helps avoid overheating.
Monitor the process closely. Check in every so often; many chargers have indicators showing when charging is complete.
After recharging, let the battery rest for about an hour before testing again. This ensures you get an accurate reading of its capability and performance after rejuvenation.
Tips and Safety Precautions
When reconditioning a car battery, safety should be your top priority. Always wear protective gear such as gloves and goggles. Acid spills can cause serious injuries. Work in a well-ventilated area to avoid inhaling harmful fumes released during the process.
Keep baking soda handy; it neutralizes battery acid if an accident occurs. A bucket of water nearby is also useful for extinguishing small fires that could arise from short circuits. Avoid using metal tools that might create sparks when working on or around the terminals.
Plastic or rubber tools are safer options. Make sure you disconnect the battery from your vehicle before starting any work on it. This prevents electrical shock and damage to your car’s electronics.
Always dispose of any waste materials responsibly, following local regulations for hazardous materials like old batteries and chemicals used during reconditioning.
Common Mistakes to Avoid During Reconditioning
Reconditioning a car battery can be rewarding, but mistakes can lead to damage or injury. One common error is overlooking safety precautions. Always wear gloves and goggles when handling batteries. Failing to clean the terminals properly is another mistake.
Dirty connections hinder performance and can cause further issues. Make sure you remove any corrosion before starting the reconditioning process. Overcharging is also a frequent pitfall. Monitoring voltage levels is crucial; excessive charging can lead to battery failure or even explosions in extreme cases.
Using incorrect electrolyte solutions may compromise your efforts as well. Ensure you’re using the right type of distilled water mixed with sulfuric acid for optimal results. Neglecting regular checks after reconditioning often leads to recurring problems. Keep an eye on your battery’s health post-process to ensure longevity and reliability.
Tips for Maintaining a Healthy Car Battery
Keeping your car battery healthy is essential for smooth vehicle operation. Regularly check the battery terminals for corrosion. A clean connection ensures efficient power flow. Make it a habit to inspect your battery’s water level, especially in older models.
If it’s low, top it up with distilled water. This simple act can significantly extend its lifespan. Consider investing in a smart charger if your car sits unused for long periods. These chargers maintain optimal charge levels without overloading.
Parking in shaded areas or garages helps protect the battery from extreme temperatures, which can drain its power quickly. Make sure you’re driving regularly enough to keep the battery charged. Short trips may not provide sufficient charging time, leading to premature failure.
Conclusion
Reconditioning a car battery can breathe new life into an essential component of your vehicle. By understanding the signs that indicate your battery needs some TLC, you can take proactive steps to extend its lifespan and improve performance.
Equipping yourself with the right tools and following a systematic approach during reconditioning will ensure success while preventing any mishaps. Remember to avoid common mistakes like overcharging or working in unsafe conditions.
Maintaining a healthy car battery doesn’t stop after reconditioning; regular checks, proper cleaning, and mindful usage are key strategies for longevity. Taking these steps not only saves money but also contributes positively to our environment by reducing waste from discarded batteries.
With patience and care, you can effectively learn how to recondition a car battery, keeping it performing at its best for years to come.


This is the first time that I have heard of desulphating a battery and didn’t even know methods like this existed. I am sure a lot of times that we change our battery we could have tried some of these methods first to get more out of our old batteries, rather than spending a lot of money on a new battery.
Also, I didn’t know that parking in the sun is bad for your battery. I will try very hard in the future to park in the garage or under some shade during the day.
Thank you for a very educational article.
Hey Michel,
Thank you for stopping by and sharing your thought on how to recondition a car battery. Reconditioning a car battery is easier than most people think. The thought of reconditioning a battery never crosses most peoples minds because we just buy another battery. Just imagine the money you can save reconditioning your own batteries. Thanks again for commenting on our article today.
Best wishes,
Hi Jack! As an automotive technician with 37 years in the industry, I’ve never come across the concept of reconditioning a car battery in the way you described. Your explanation of how sulfation can impact battery performance and the step-by-step guide to restoring a battery using simple tools is excellent! This is especially valuable for SHTF situations, where knowing how to extend battery life can make a significant difference. I appreciate the practical tips on checking battery voltage and using distilled water to help revitalize the cells. Keep up the great reads—I can’t wait for more insightful articles like this!
Best,
Opa
Hi Opa,
Thank you for your kind words about our guide on how to recondition a car battery. Especially coming from a guy like yourself with 37 years in the industry. It means a lot and confirms our research is solid. A couple of months ago. I reconditioned my own car battery using the very same techniques and steps described in this post.
I was so pleased with the results, I just had to share the step-by-step guide with our readers. I just recently wrote another step-by-step guide on how to recondition a motorcycle battery which you can read by CLICKING HERE. Please make sure to check in often because we add new posts on a daily basis around here.
And I would also like to thank you for being one of our regular visitors which makes you part of The Survival Way family. You have no idea how much we value each and every one of you. If there is anything you would like us to research for you, contact us. We’ll be more than happy to help.
Best wishes Opa,