How To Make A Crossbow
Welcome to our complete guide on how to make a crossbow. Have you ever found yourself captivated by the power and precision of a crossbow? Maybe you’ve watched medieval movies where skilled archers take aim with their trusty weapons, or perhaps you’ve seen modern enthusiasts taking to the woods for some target practice.
Whatever your reason, learning how to make a crossbow can be an exciting venture into craftsmanship and engineering. Not only does it allow you to create something unique, but it also connects you with centuries of history surrounding this fascinating weapon.
Crafting your own crossbow is not just about assembling parts; it’s an art that requires skill, patience, and attention to detail. Whether you’re interested in traditional designs or modern adaptations, creating a crossbow from scratch offers a sense of satisfaction like no other. Ready to embark on this DIY journey? Let’s dive into the captivating world of crossbows!
The History of Crossbows
The crossbow has a rich and fascinating history that dates back over 2,000 years. Its origins can be traced to ancient China, where it was first used as a powerful weapon in warfare. As the concept spread across Asia and into Europe, the crossbow became a staple on battlefields.
It offered soldiers greater accuracy and range compared to traditional bows. By the Middle Ages, many armies relied heavily on crossbows due to their effectiveness against armor. This led to innovations in design, making them more efficient and easier to use for less experienced archers.
Crafted from wood and sinew initially, materials evolved with technology. The introduction of steel limbs revolutionized the power output of these weapons. Throughout history, laws began regulating their use—reflecting society’s changing views on warfare ethics.
Today’s modern iterations pay homage to this storied past while embracing advanced materials and engineering techniques.
Types of Crossbows: Traditional vs Modern
Crossbows come in two primary categories: traditional and modern. Each type has distinct features that cater to different users.
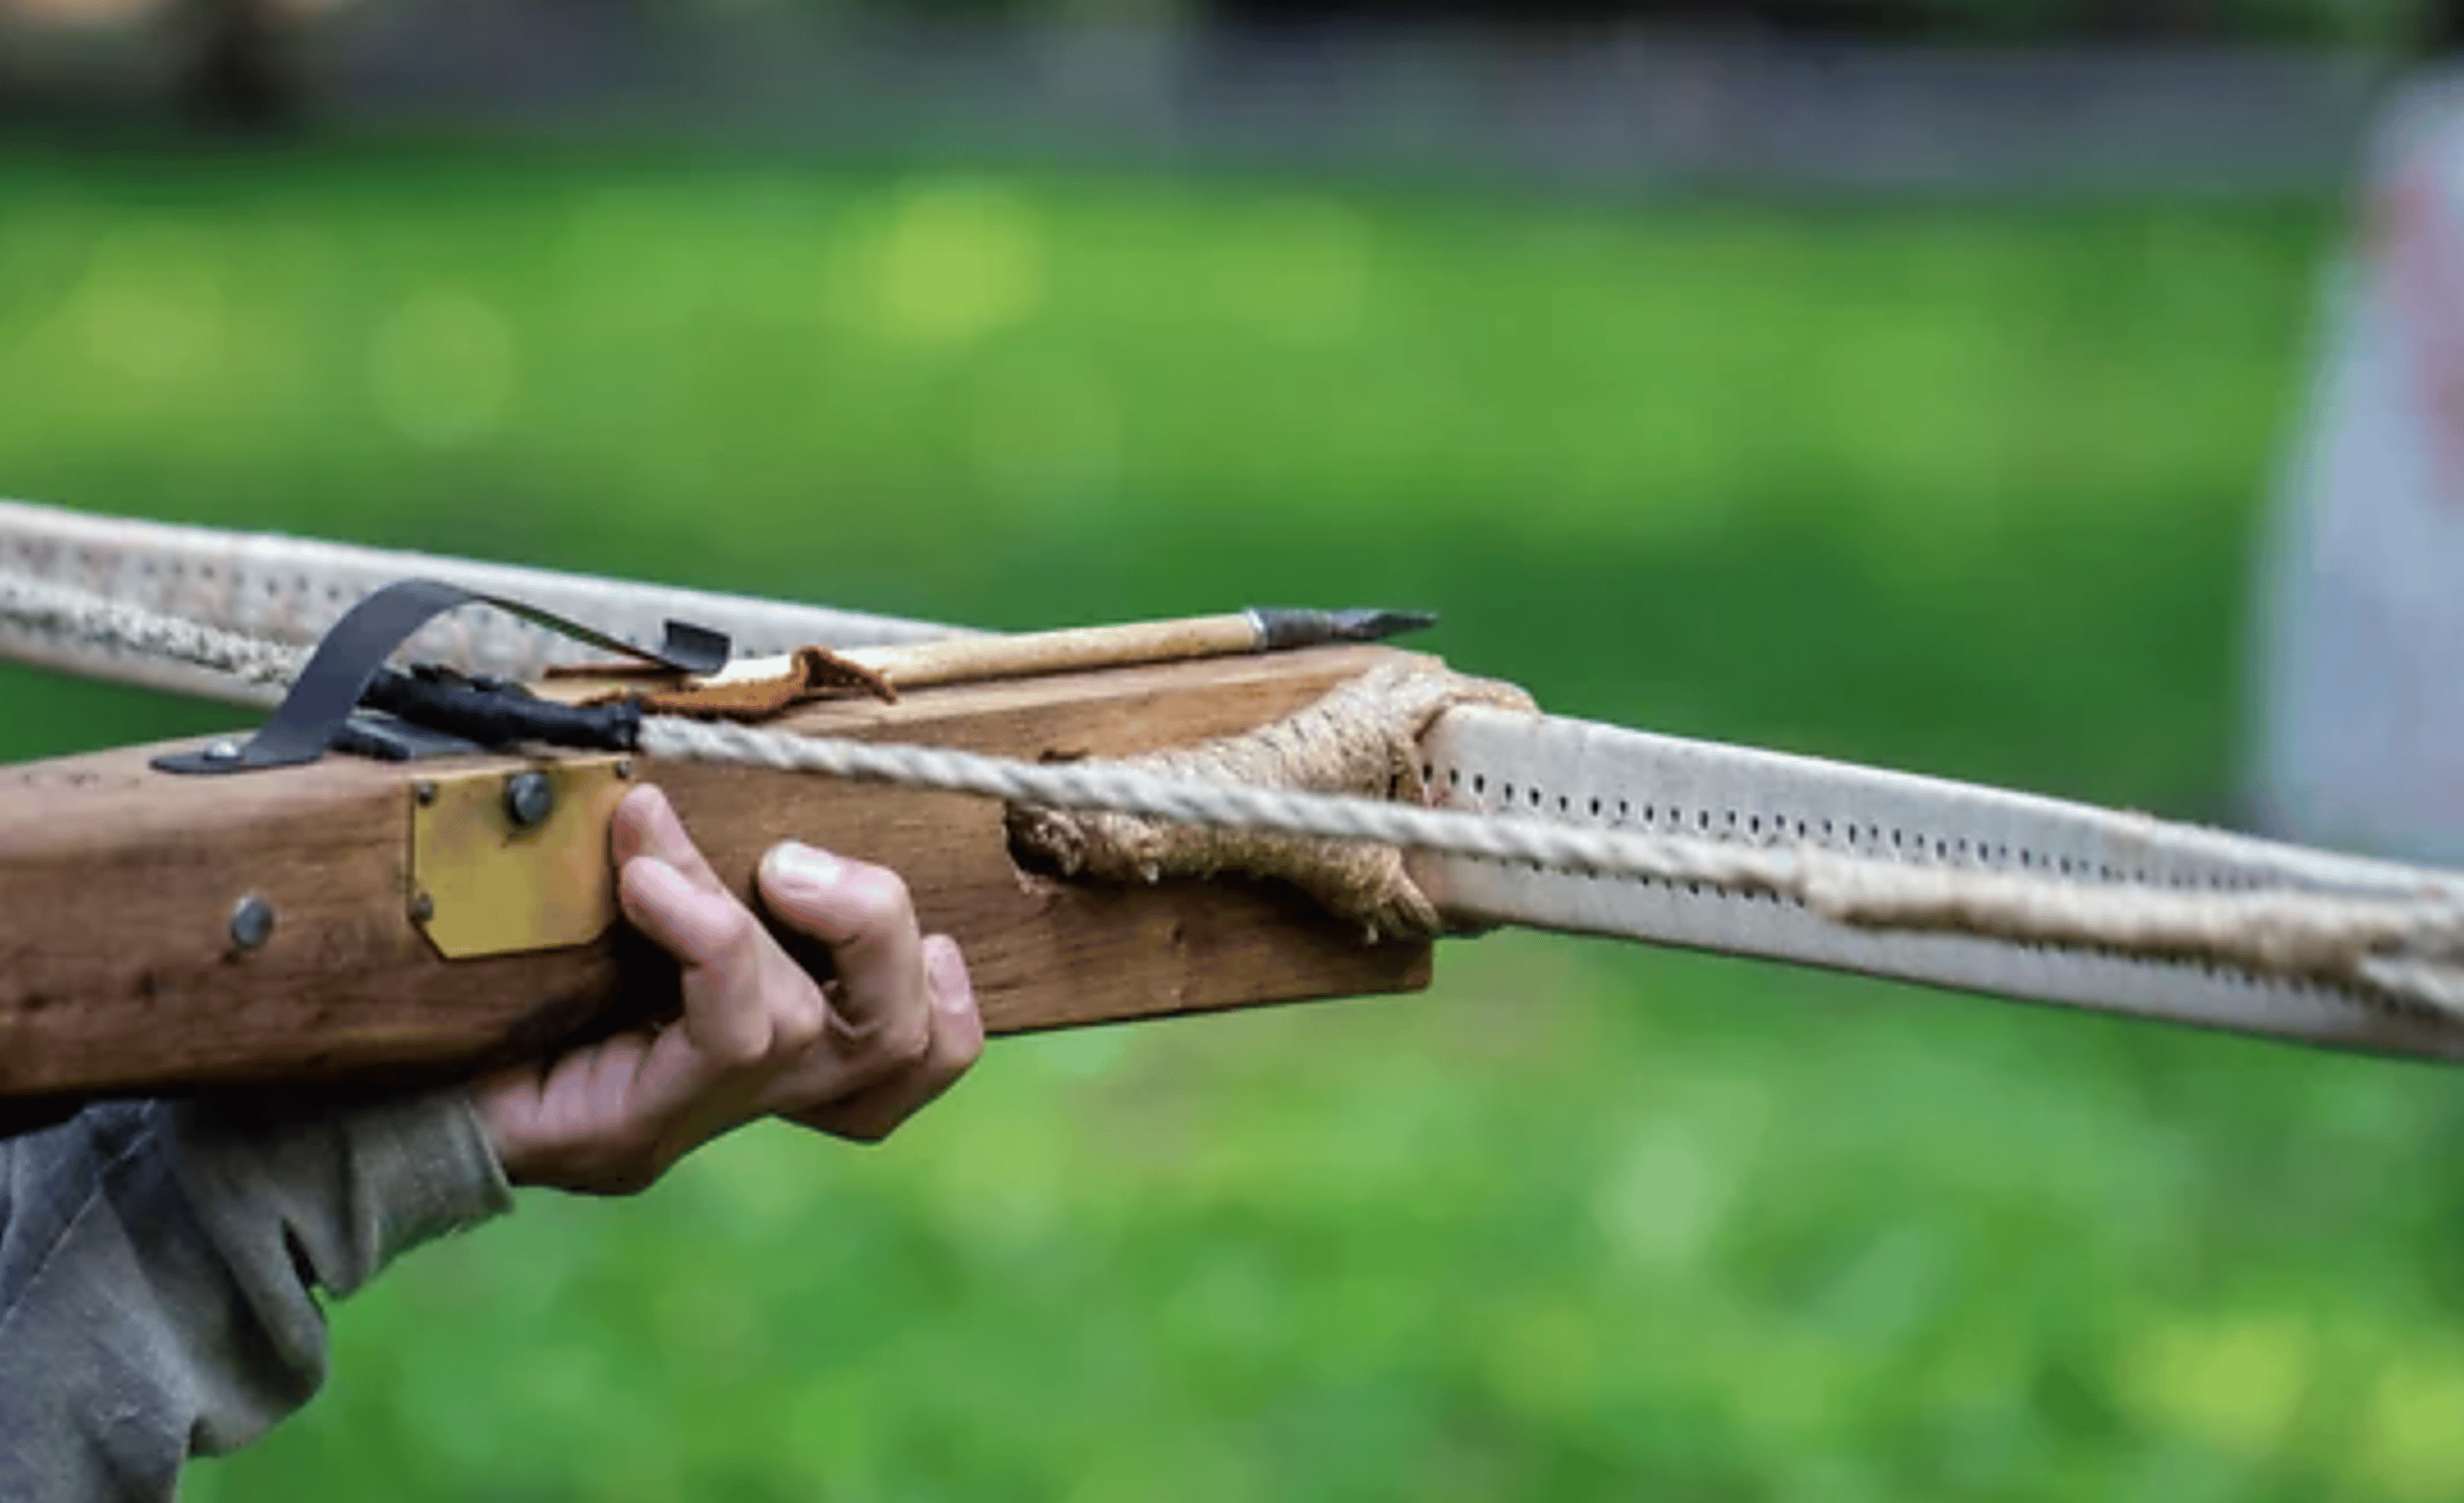
Traditional crossbows often take inspiration from historical designs, featuring wooden stocks and simple mechanisms. These models evoke a sense of nostalgia, appealing to enthusiasts who appreciate craftsmanship and heritage. They typically require more manual adjustments but offer a unique shooting experience.
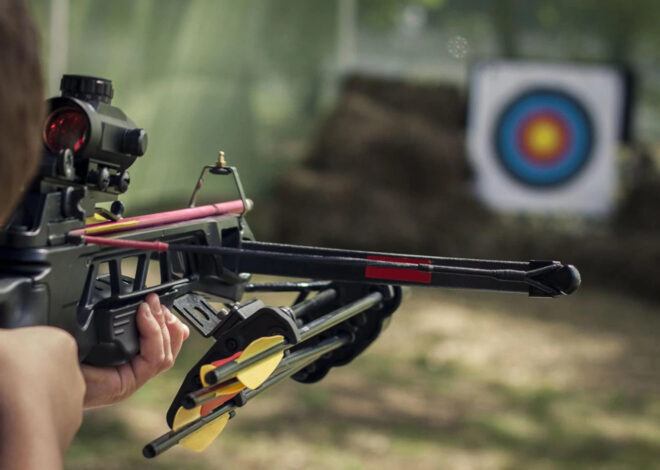
On the other hand, modern crossbows integrate advanced technology for enhanced performance. They use materials like fiberglass or aluminum, making them lighter and more durable. With improved sights and cocking systems, they provide precision targeting with minimal effort.
While traditional crossbows emphasize skill and technique, modern versions prioritize convenience without sacrificing power. Choosing between the two depends on your preferences—whether you value history or seek cutting-edge efficiency in your archery pursuits.
Materials and Tools Needed for Making a Crossbow
To make a crossbow, you’ll need specific materials and tools. Start with sturdy wood for the body, like oak or maple. These woods offer the strength required to withstand tension. For the bow itself, look for fiberglass or composite materials. They provide durability while maintaining flexibility.
You’ll also need a strong bowstring—Dacron is a common choice due to its resilience. Essential tools include saws, drills, and clamps. A measuring tape ensures precision as you cut your pieces. Sandpaper will help smooth out rough edges for safe handling.
Don’t forget about screws and bolts to secure different components together. A reliable trigger mechanism can be sourced online or crafted from metal parts. Gathering these supplies beforehand makes the building process smoother and more enjoyable!
Step-by-Step Guide: How to Make a Crossbow
Making a crossbow is an exciting project that requires patience and precision. So let’s go ahead and get started!
Step 1: Making the Body of the Crossbow
Creating the body of your crossbow is a crucial step that sets the foundation for everything else. Begin by selecting durable wood, like maple or oak. These types provide strength and stability.
Cut the wood into two long pieces to form the stock and prod holder. The stock should be comfortable against your shoulder, while the prod holder needs to support the bow’s power efficiently.
Next, carve out a groove along the top where the bow will sit. This helps secure it in place during use. Sand down any rough edges to prevent splinters and ensure a smooth finish.
Don’t forget to add some extra features like hand grips or decorative elements if you desire! This personal touch enhances both functionality and aesthetics of your homemade weapon.
Step 2: Creating the Bowstring
Creating the bowstring is a crucial step in making your crossbow. A strong, reliable bowstring can significantly impact the performance of your weapon.
For this task, you’ll need durable materials. Polyester or Dacron fibers work well due to their strength and resistance to stretching. Measure an appropriate length based on your crossbow’s size; typically, it should be about 10% shorter than the distance between the string grooves.
Start by cutting two lengths of fiber and twisting them together tightly for extra stability. This method enhances its endurance against wear during use.
Once twisted, secure both ends with sturdy knots to prevent fraying. You may also consider adding serving thread at points where the string will contact the limbs—this will prolong its life and improve accuracy.
With patience and careful craftsmanship, creating a quality bowstring becomes an empowering experience that sets you up for success as you move forward with building your crossbow.
Step 3: Attaching the Bowstring to the Crossbow
Attaching the bowstring to your crossbow is a critical part of the assembly process, requiring precision and care. Start by ensuring that both ends of the bow are securely fixed to the body. This stability will support the tension created by the bowstring.
Next, measure out your string length carefully. It should be taut but not overly tight, allowing for proper flexibility during use. Once you have your string cut to size, secure one end at its designated point on the bow.
Now comes a bit of muscle—pulling back on that string! Use a sturdy tool or even an extra set of hands if necessary. As you pull it back, loop it around any pulleys or hooks designed for this purpose before fastening it in place.
Double-check everything once more; ensure there’s no fraying and that all connections feel solid. The reliability of your crossbow hinges on this step!
Step 4: Adding a Trigger Mechanism
Now it’s time to focus on the trigger mechanism, a crucial part that ensures your crossbow operates smoothly. This component is responsible for releasing the bowstring when you’re ready to shoot.
Start by selecting a simple design. You can use metal or durable plastic parts for longevity. A basic trigger works by using leverage and tension to release the string without much force.
Carefully attach the trigger to your crossbow body. Position it where it’s comfortable for you to reach while aiming. Drill holes if necessary, ensuring everything aligns perfectly.
Next, connect a safety latch if you want extra security when not in use. This addition helps prevent accidental releases—always a wise choice with powerful tools like these.
Once attached, test its functionality repeatedly without firing an arrow at first. Make adjustments as needed until it feels just right under your fingers.
Step 5: Testing and Adjustments
Testing your crossbow is an exhilarating part of the building process. It’s where all your hard work comes together. Begin in a safe, open area away from people and animals.
Start with a few dry fires—this means firing without an arrow. This helps you check for any strange noises or movements in the mechanism. Pay close attention to how the bowstring interacts with the body.
Next, load an arrow and take careful aim at a target designed for archery. Observe how smoothly it shoots and if there are any issues with accuracy or power. Adjustments may be needed based on performance.
If you notice inconsistencies, tweak the tension of the bowstring or re-align components that might have shifted during assembly. Each adjustment can make a significant difference in precision and efficiency, so don’t rush this crucial step!
Safety Tips When Handling and Shooting a Crossbow
Handling a crossbow demands respect and caution. Always treat it as if it’s loaded, even when you believe it isn’t. This mindset helps prevent accidents. Before loading your crossbow, ensure the area is clear of people or obstacles. A designated shooting range is ideal for practice sessions.
Wear appropriate eye protection, as mishaps can occur unexpectedly. Gloves can also provide a better grip and protect your hands during use. When aiming, keep your finger off the trigger until you’re ready to shoot. This simple rule reduces the risk of unintentional discharges.
Be aware of your surroundings while shooting. Know what lies beyond your target; stray bolts can cause serious injury or damage. Always follow manufacturer guidelines for maintenance and usage to ensure safety during every shot fired.
Alternatives to Making Your Own Crossbow
If building a crossbow from scratch isn’t for you, there are plenty of alternatives worth considering. Pre-made crossbows are widely available and come in various styles and price ranges. This option ensures quality craftsmanship without the hassle of DIY. Another route is to explore kits designed for beginners.
These kits typically include all necessary components along with detailed instructions. They’re perfect if you want hands-on experience without starting completely from zero. For those looking to enhance their skills, joining a local archery club can be beneficial.
You’ll gain knowledge from experienced members while trying out different equipment. Consider taking workshops or classes focused on archery or weapon crafting. This approach allows you to learn under expert guidance while connecting with like-minded enthusiasts who share your interests in this fascinating hobby.
Conclusion: The Satisfaction of Making Your Own Weapon
Crafting your own crossbow is not just about building a weapon; it’s an experience filled with creativity and skill. Each step in the process allows for personalization, letting you create something truly unique to your preferences.
There’s a certain pride that comes from taking raw materials and transforming them into a functional piece of craftsmanship. Whether you’re hunting, target shooting, or simply showcasing your handiwork, using a crossbow you’ve made yourself adds an extra layer of satisfaction.
Moreover, understanding how each component interacts enhances your appreciation for this remarkable device. From shaping the body to perfecting the bowstring tension, every detail matters. Not only do you gain practical skills through this project, but you also connect with a rich history of archery.
So if you’re intrigued by the art of crafting weapons and want to explore this fascinating venture, gather your materials and start creating. Embrace the journey and enjoy every moment spent designing something that reflects both functionality and personal flair.


Nice reading! This article provides a comprehensive guide for anyone who wants to make a crossbow. From the history of crossbow to the materials that are required and the step by step guide makes the process so clear and easy to follow. Thank you for sharing this empowering content. Your article is a valuable resource for anyone looking to build this outstanding weapon!
Hey Shaun,
I’m so glad you enjoyed our guide on how to make a crossbow. And I want to thank you for your kind words as well. Our goal is to provide the most detailed and accurate information you’ll find anywhere online. So if we get something wrong we would love to be corrected. Thanks again for stopping by and sharing your thoughts with us today.
Kind regards,
I enjoyed reading your summary of the origin of the crossbow and why it was used as opposed to traditional bows. I’ve never used a crossbow, but I’ve been told that they can be quite a bit more powerful than a traditional bows, so I’m glad to see you included a section for safety when shooting something as powerful as the crossbow. I agree there is certainly a bit of pride in being able to take some raw materials and make something out of them, I think I’d prefer to try a kit as you mentioned for a first try at it. Thanks for the great guide to it all!
Hey Mike,
Making a crossbow from scratch is a challenging but doable project if you have woodworking skills. By following our step-by-step guide, even a beginner can build a crossbow. However, it’s a much easier build if you have someone with woodworking experience help you out.
And as mentioned in our guide. Buying a pre-made crossbow kit may be the way to go. This option saves you lots of time and may be a better way to go for beginners. The next option is buying a crossbow but it is not the same as making your very own personalized crossbow.
That satisfaction of building your own crossbow is second to none and worth every bit of the effort. So go ahead and order your crossbow kit and let me know what happens. I’d love to hear all about it and how it turned out. Happy building Mike and good luck!
Best wishes,