How To Make A Bowie Knife Sheath
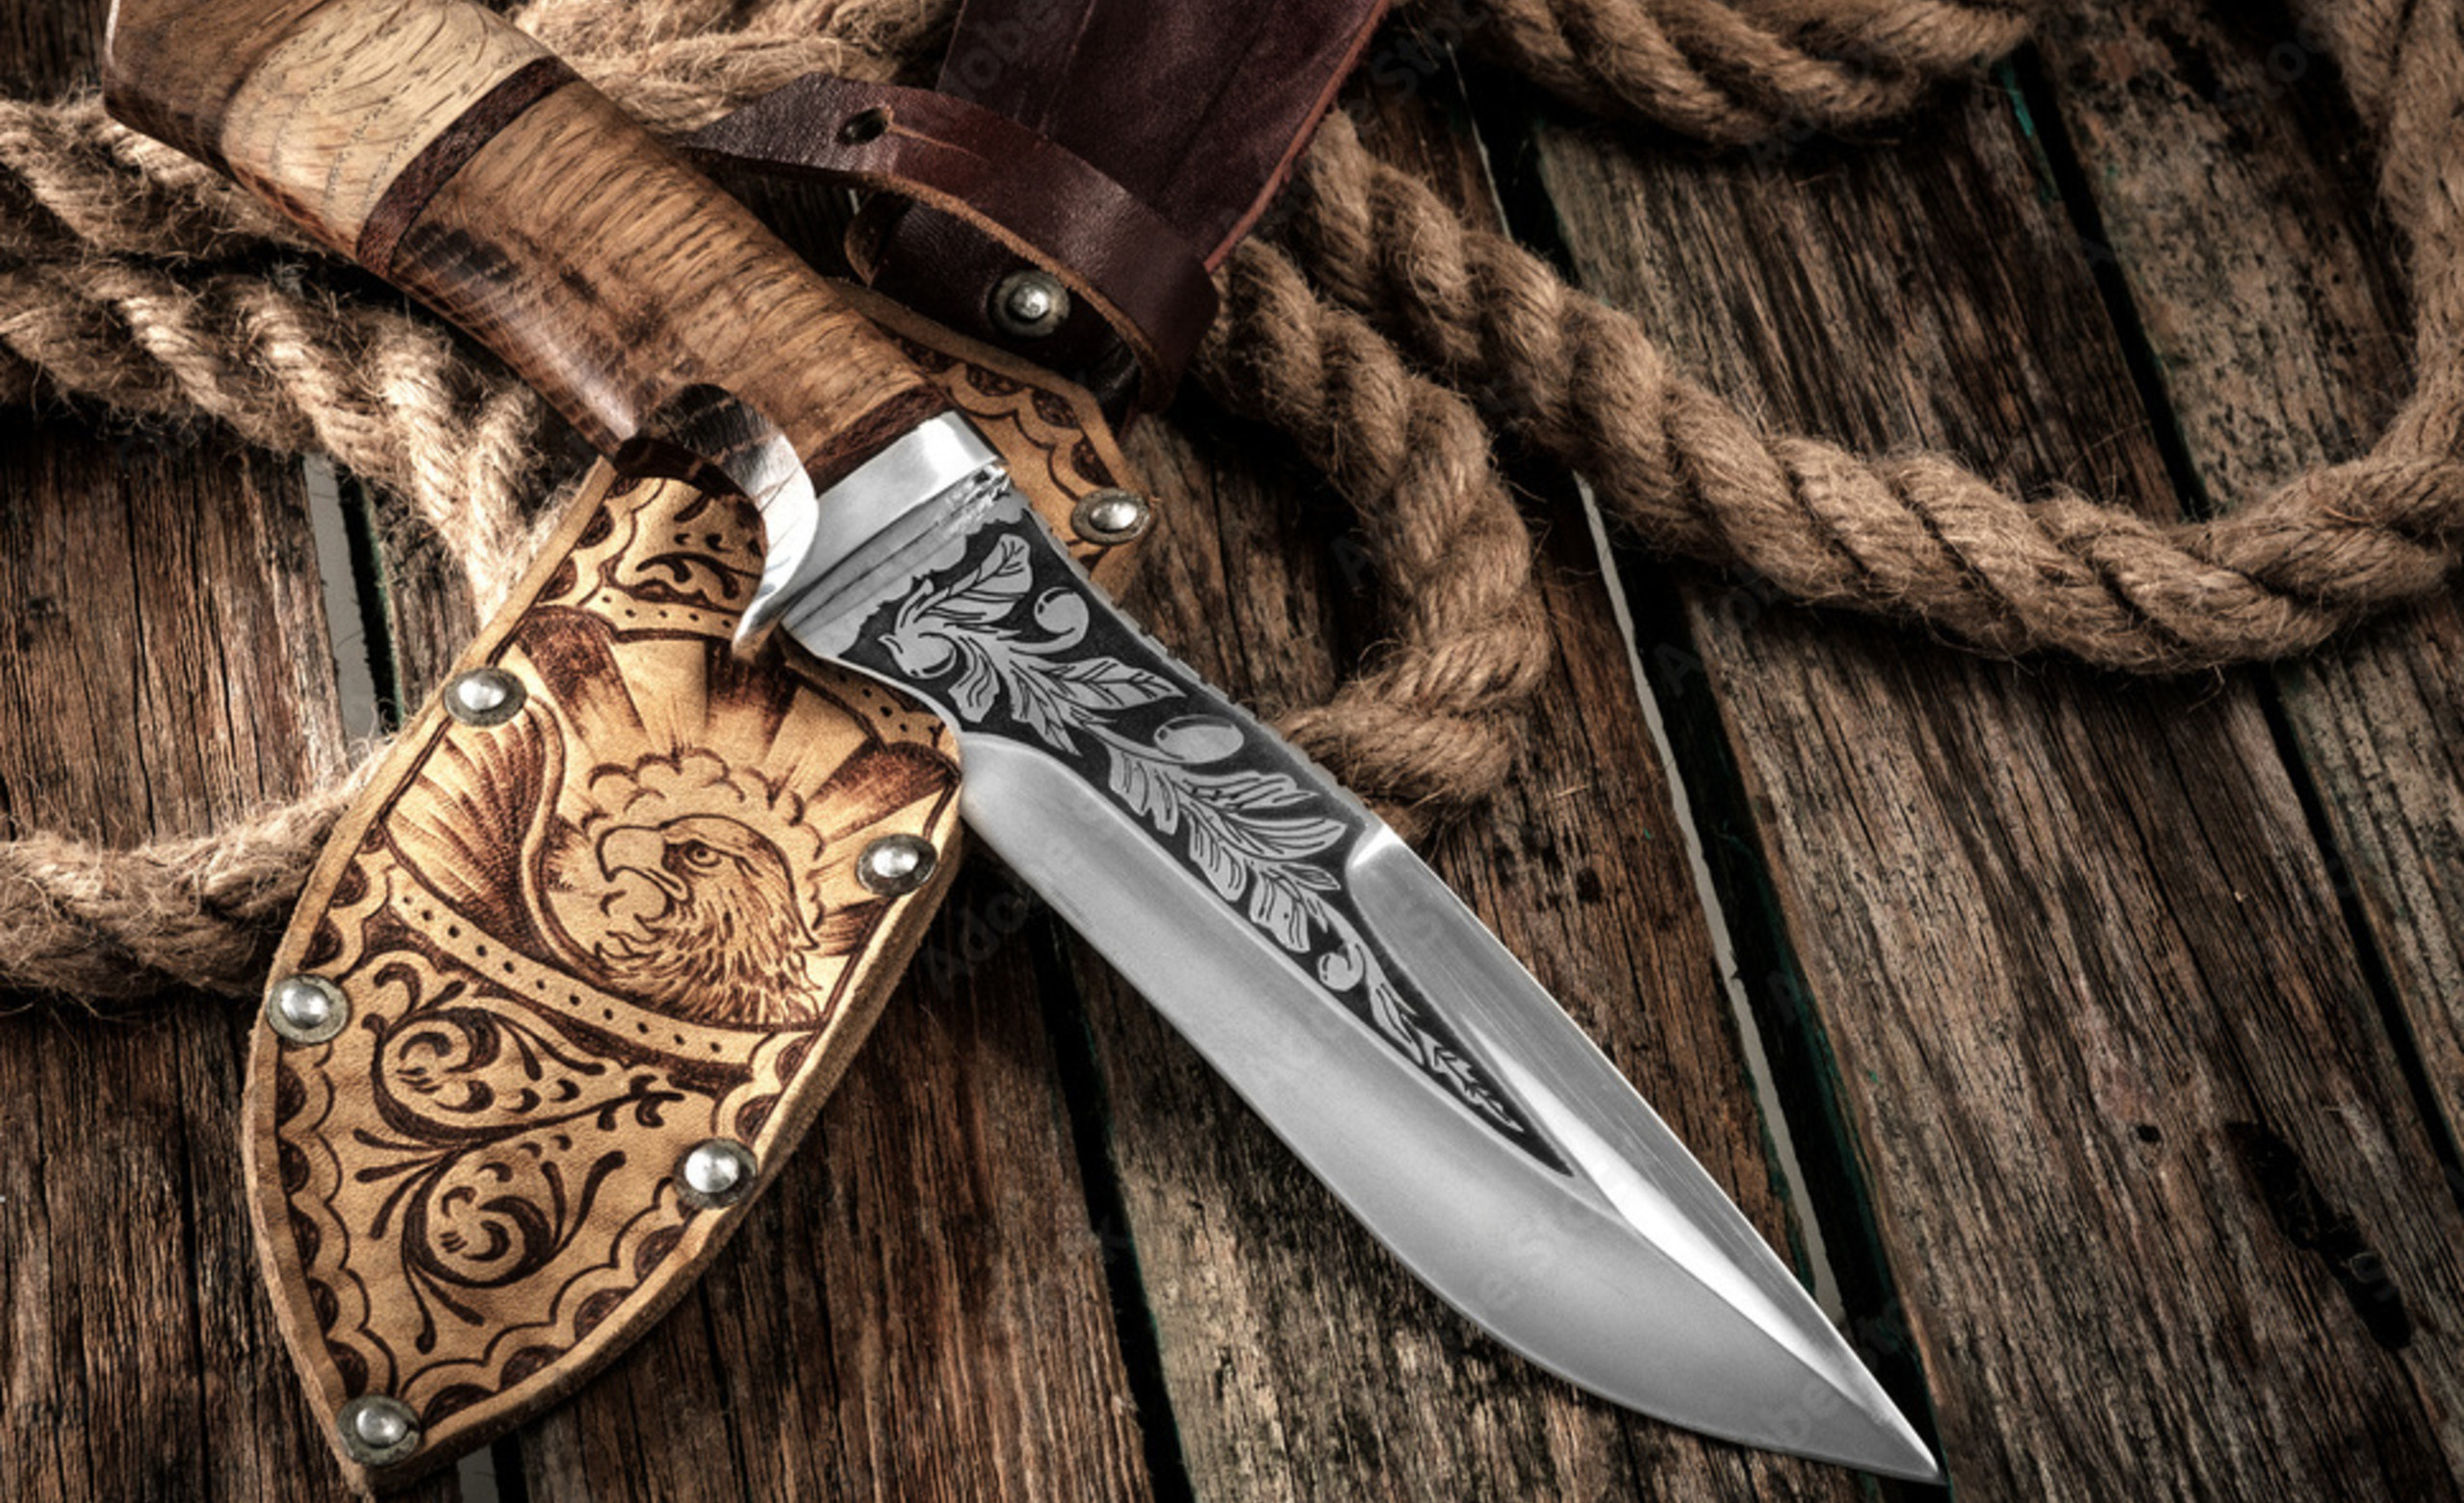
In this blog post, we are going to teach you how to make a Bowie knife sheath from scratch. Bowie knives are more than just sharp tools; they carry a legacy of adventure and craftsmanship. With their iconic design and history rooted in rugged exploration, these blades have become favorites among outdoorsmen, collectors, and enthusiasts alike.
But what’s a great Bowie knife without a proper sheath? A quality sheath not only protects your blade but also adds to its aesthetic appeal. Making your own Bowie knife sheath is an exciting project that allows you to combine practicality with creativity.
Whether you’re looking to enhance the safety of your prized possession or express your personal style through custom designs, crafting a sheath can be incredibly rewarding. Ready to dive into this hands-on endeavor? Let’s explore how to make a Bowie knife sheath step by step!
Importance of a Quality Sheath
A quality sheath is essential for protecting your Bowie knife. It serves as a barrier against dirt, moisture, and physical damage. Without one, your blade can dull or even rust over time. Moreover, a well-made sheath ensures safety when carrying the knife.
A loose or poorly designed sheath increases the risk of accidental cuts or injuries. Durability is another vital factor. High-quality materials withstand wear and tear better than cheaper alternatives. This means less frequent replacements and more value in the long run.
Additionally, an attractive sheath enhances the overall aesthetic of your Bowie knife. A custom design can reflect personal style while showcasing craftsmanship. Investing in a good sheath not only prolongs the life of your knife but also elevates its presence as part of any collection or outdoor gear setup.
Materials Needed for Making a Bowie Knife Sheath
To craft a durable Bowie knife sheath, start with high-quality leather. Vegetable-tanned leather is ideal due to its strength and ability to age beautifully. You’ll also need heavy-duty thread. Look for nylon or polyester options that can withstand wear and tear.
A sharp needle designed for leather work is crucial for clean stitching. Tools are essential too. Gather a cutting mat, utility knife, and scissors for precise cuts. A ruler will help create straight lines, while a bone folder aids in creasing the edges smoothly.
Don’t forget about rivets or snaps if you want additional closure mechanisms. Consider adding some protective finish like beeswax or neatsfoot oil to enhance durability and water resistance. Each material contributes significantly to the sheath’s overall functionality and aesthetic appeal. Choose wisely to ensure your creation stands the test of time.
Step-by-Step Instructions for Crafting a Sheath
Crafting a sheath for your Bowie knife can be both rewarding and practical. So let’s go ahead and make a Bowie knife sheath together.
Step 1: Designing the Pattern
Designing the pattern is where your creativity takes flight. Start by measuring your Bowie knife. Note its length and width for accuracy.
Sketch a basic outline of the sheath on graph paper or use software if you prefer digital design. Consider how much of the blade needs to be covered for safety and aesthetics.
Don’t forget about functionality; incorporate features like belt loops or snaps that fit your lifestyle. This is also a good time to think about any embellishments or decorative elements you want to include, such as tooling designs or personalized engravings.
Remember, this pattern will serve as the blueprint for your sheath, so take care in detailing it out. The more precise you are here, the smoother the crafting process will be later on. Aim for a balance between style and practicality in every line drawn!
Step 2: Cutting the Leather
Once you have your pattern ready, it’s time to cut the leather. Choose a high-quality piece that suits both style and durability. A thicker leather will provide better protection for your Bowie knife.
Lay the pattern flat on the leather and secure it with weights or tape to prevent movement while cutting. Carefully trace around the edges using a sharp craft knife or rotary cutter for precision.
When cutting, apply even pressure to ensure clean edges. Take your time; rushing can lead to mistakes that are hard to fix later.
If you’re new to this, practice on scrap pieces first before committing to your main piece of leather. This step sets the foundation for crafting a sheath that fits snugly and looks great. Each cut matters in achieving a professional finish.
Step 3: Stitching the Pieces Together
With your leather cut and shaped, it’s time to bring it all together. Start by laying the pieces out flat. Ensure they fit snugly without any gaps.
Using a strong thread, begin stitching at one end of your sheath. A saddle stitch is often recommended for its durability and strength. Thread both needles through the same hole from opposite sides to create a secure bond.
Take your time with each stitch. Maintain even tension throughout so the stitches are uniform. This not only enhances aesthetics but also reinforces stability.
If you’re feeling adventurous, consider adding decorative elements in your stitching pattern. It’s an easy way to personalize your sheath while making it more visually appealing.
Remember to back stitch at the beginning and end for extra security, ensuring that everything holds tight during use and wear over time.
Step 4: Finishing Touches
Once the stitching is complete, it’s time to focus on those finishing touches that elevate your sheath. Start by trimming any excess leather at the edges for a clean look.
Next, you might want to burnish the edges. This technique not only improves aesthetics but also helps prevent fraying. Using a bone folder or edge tool can give you that polished finish.
Consider applying a protective finish to enhance durability and water resistance. There are various options available—beeswax, mink oil, or specialized leather conditioners work well.
If you’ve chosen to dye your leather, now’s the moment to do so carefully. Use an applicator for even coverage and allow it ample time to dry before handling further.
These small details transform your sheath from functional into something truly special!
Personalization and Customization Options
Personalizing your Bowie knife sheath adds a unique touch and makes it truly yours. Consider engraving initials or designs that reflect your personality. This personal flair not only enhances aesthetics but also tells a story. You can also experiment with different colors and finishes.
Dyes allow you to match the sheath to your knife or other gear, creating a cohesive look. A distressed finish gives an antique vibe, while bright colors make a bold statement. Think about adding functional elements too. Pockets for tools or compartments for sharpening stones can elevate usability without sacrificing style.
Don’t forget about hardware options like decorative rivets or buckles that enhance the visual appeal while ensuring durability. Personalization is all about making choices that resonate with you, turning a simple leather piece into something special and memorable.
Troubleshooting Tips
If you encounter issues while making your Bowie knife sheath, don’t worry—solutions are often within reach. First, if the leather feels too stiff or unyielding, try conditioning it with a good leather conditioner before cutting or stitching. This can make handling much easier.
If your stitches appear uneven, slow down and check your technique. Consistent tension is key; pulling too tight can lead to puckering. For those pesky holes that seem out of alignment, use a template for guidance next time. Marking where to punch holes in advance will help maintain precision.
If you notice fraying edges after finishing touches, apply some edge burnishing compound or sealant to ensure durability and a polished appearance. Keep these tips in mind as you craft your sheath!
Tips for Maintaining Your Bowie Knife and Sheath
To keep your Bowie knife in top shape, regular cleaning is essential. After each use, wipe the blade with a soft cloth to remove moisture and debris. This prevents rust and preserves its sharpness. Store your knife properly. A dry environment is crucial.
Avoid leaving it in damp conditions that can lead to corrosion. For the sheath, make sure it’s clean and dry as well. Leather should be conditioned periodically to maintain flexibility and prevent cracking. Inspect both knife and sheath for signs of wear.
Address any issues promptly to prolong their lifespan. Remember to sharpen your knife regularly using appropriate tools for optimal performance during use.
Conclusion: Learning to Make Your Own Sheath is Worth It
Making your own Bowie knife sheath is a rewarding experience that combines creativity with practicality. Not only does it allow you to create a custom piece that fits your unique knife perfectly, but it also gives you the chance to showcase your personal style. Crafting a sheath enhances your appreciation for the craftsmanship behind both the blade and its protection.
Learning this skill can save you money in the long run, as high-quality sheaths often come at premium prices. Plus, there’s something special about knowing you’ve crafted an item by hand—it adds character and meaning to your gear.
Whether you’re looking to ensure longevity for your beloved Bowie knife or simply want to engage in a new hobby, making a sheath is worth every bit of effort. It’s not just about functionality; it’s about creating something uniquely yours that can be passed down through generations. So gather up those materials and start crafting—your Bowie knife deserves nothing less than a beautiful home!


Super interesting article. I like how you have broken down making the sheath step by step. I agree that there is something special about making this yourself. So many things today are just junk from Amazon. Keep up the great work. The overall content of your site is very helpful. The world is a strange place these days.
Hi Jamie,
Thanks for stopping by and sharing your thoughts on how to make a Bowie sheath. I’m glad that you found the information in our step-by-step guide useful. You are absolutely right about the products online. It’s all cheap foreign made junk. America needs to manufacture our own products.
There’s nothing better than Made in the USA! I also believe that we all need to learn how to be more self sufficient rather than rely on technology alone. Over the generations. We have forgotten basic survival skills and how to live off the land just like our forefathers did and they managed to build the greatest country in human history!
Best wishes,