How To Clean And Fillet A Fish
Are you ready to take your culinary skills to the next level? Learning how to clean and fillet a fish is not only an essential skill for any home chef, but it also allows you to enjoy the freshest flavors right from your own kitchen.
Whether you’ve just returned from a successful fishing trip or picked up a beautiful catch at the local market, knowing how to properly prepare your fish can elevate your meals and impress your guests. Cleaning and filleting fish might seem daunting at first, but with the right tools and techniques, you’ll be well on your way to mastering this art.
Imagine serving perfectly filleted fish for dinner—flaky, tender, and bursting with flavor. In this guide, we’ll walk through everything you need to know about cleaning and filleting fish like a pro. So grab your apron; it’s time to dive into the world of fresh seafood preparation!
The Importance of Properly Cleaning and Filleting Fish
Properly cleaning and filleting fish is vital for both health and taste. When you clean a fish correctly, you remove any harmful bacteria or parasites that could affect your meal. This step can significantly reduce the risk of foodborne illnesses.
Moreover, how well you filet a fish influences its flavor and texture. Proper technique ensures that the delicate flesh remains intact, enhancing its presentation on the plate. A well-filleted fish cooks more evenly, allowing for better seasoning absorption.
Beyond health benefits, taking the time to clean and filet your catch connects you to your food source. It fosters appreciation for nature’s bounty while giving you control over what goes into your meals. Whether it’s a pan-seared fillet or grilled steaks, starting with expertly cleaned fish sets the stage for delicious dishes every time.
Tools and Supplies Needed for the Process
To clean and filet a fish efficiently, having the right tools makes all the difference. Start with a sharp fillet knife. A flexible blade helps navigate around bones and skin smoothly. You’ll also need a sturdy cutting board. Opt for one that is easy to clean and won’t slip during use.
Non-slip mats are great for added stability. Don’t forget about gloves. These protect your hands from slime and potential cuts while maintaining hygiene. A scaler can be handy if you’re working with scaled fish, saving you time and effort in removing those bothersome scales.
Have a container ready for scraps. This keeps your workspace tidy as you work through each step of the process without clutter interrupting your flow.
Step-by-Step Guide to Cleaning and Filleting a Fish
Cleaning and filleting a fish may seem daunting, but with a structured approach, it becomes manageable.
Step 1: Scaling the Fish
Scaling the fish is an essential first step in cleaning your catch. This process removes the outer protective layer, allowing for a clean and enjoyable meal.
Start by holding the fish firmly by its tail. A scaling tool or even the back of a knife works well for this task. Gently scrape against the scales from tail to head, applying just enough pressure to dislodge them without damaging the skin underneath.
Rinse under cold water as you go to wash away any loose scales. Make sure to get into all those tricky spots along the belly and around fins where scales like to hide.
Pay attention during this phase; it’s easy for small debris and sharp edges to cause injuries. Taking care now will set you up nicely for a successful cleaning process ahead. The more thorough your scaling, the better your final dish will taste!
Step 2: Gutting the Fish
Gutting the fish is a crucial step in the cleaning process. It may sound intimidating, but with the right technique, it becomes straightforward.
Start by placing your fish on a clean cutting board. Ensure your knife is sharp for precise cuts. Insert the blade into the belly of the fish, just below its pectoral fin. Make a shallow incision from head to tail.
Be gentle as you cut through the skin; too much pressure can damage internal organs. Once you’ve made that initial cut, carefully lift out all entrails using your fingers or a spoon. Avoid puncturing any organs to prevent contamination.
After removing everything, rinse the cavity thoroughly under cold water. This will help eliminate any residual blood and odors, ensuring your fish is fresh and ready for filleting next!
Step 3: Removing the Head and Fins
Once you’ve scaled and gutted your fish, it’s time to tackle the head and fins. This step is crucial for achieving clean fillets.
To remove the head, position your knife just behind the gills. A sharp blade will make this easier. Apply firm pressure as you slice through, ensuring a clean cut without damaging the body.
Next, focus on the fins. Start with the pectoral fins located near the front of the fish. Slice close to their base to detach them completely.
Repeat this process for any other fins along both sides of your fish—dorsal and anal included. The goal is a streamlined fillet that’s easy to work with later on.
This part might feel daunting at first, but practice makes perfect! With each fish cleaned, you’ll gain confidence in your technique.
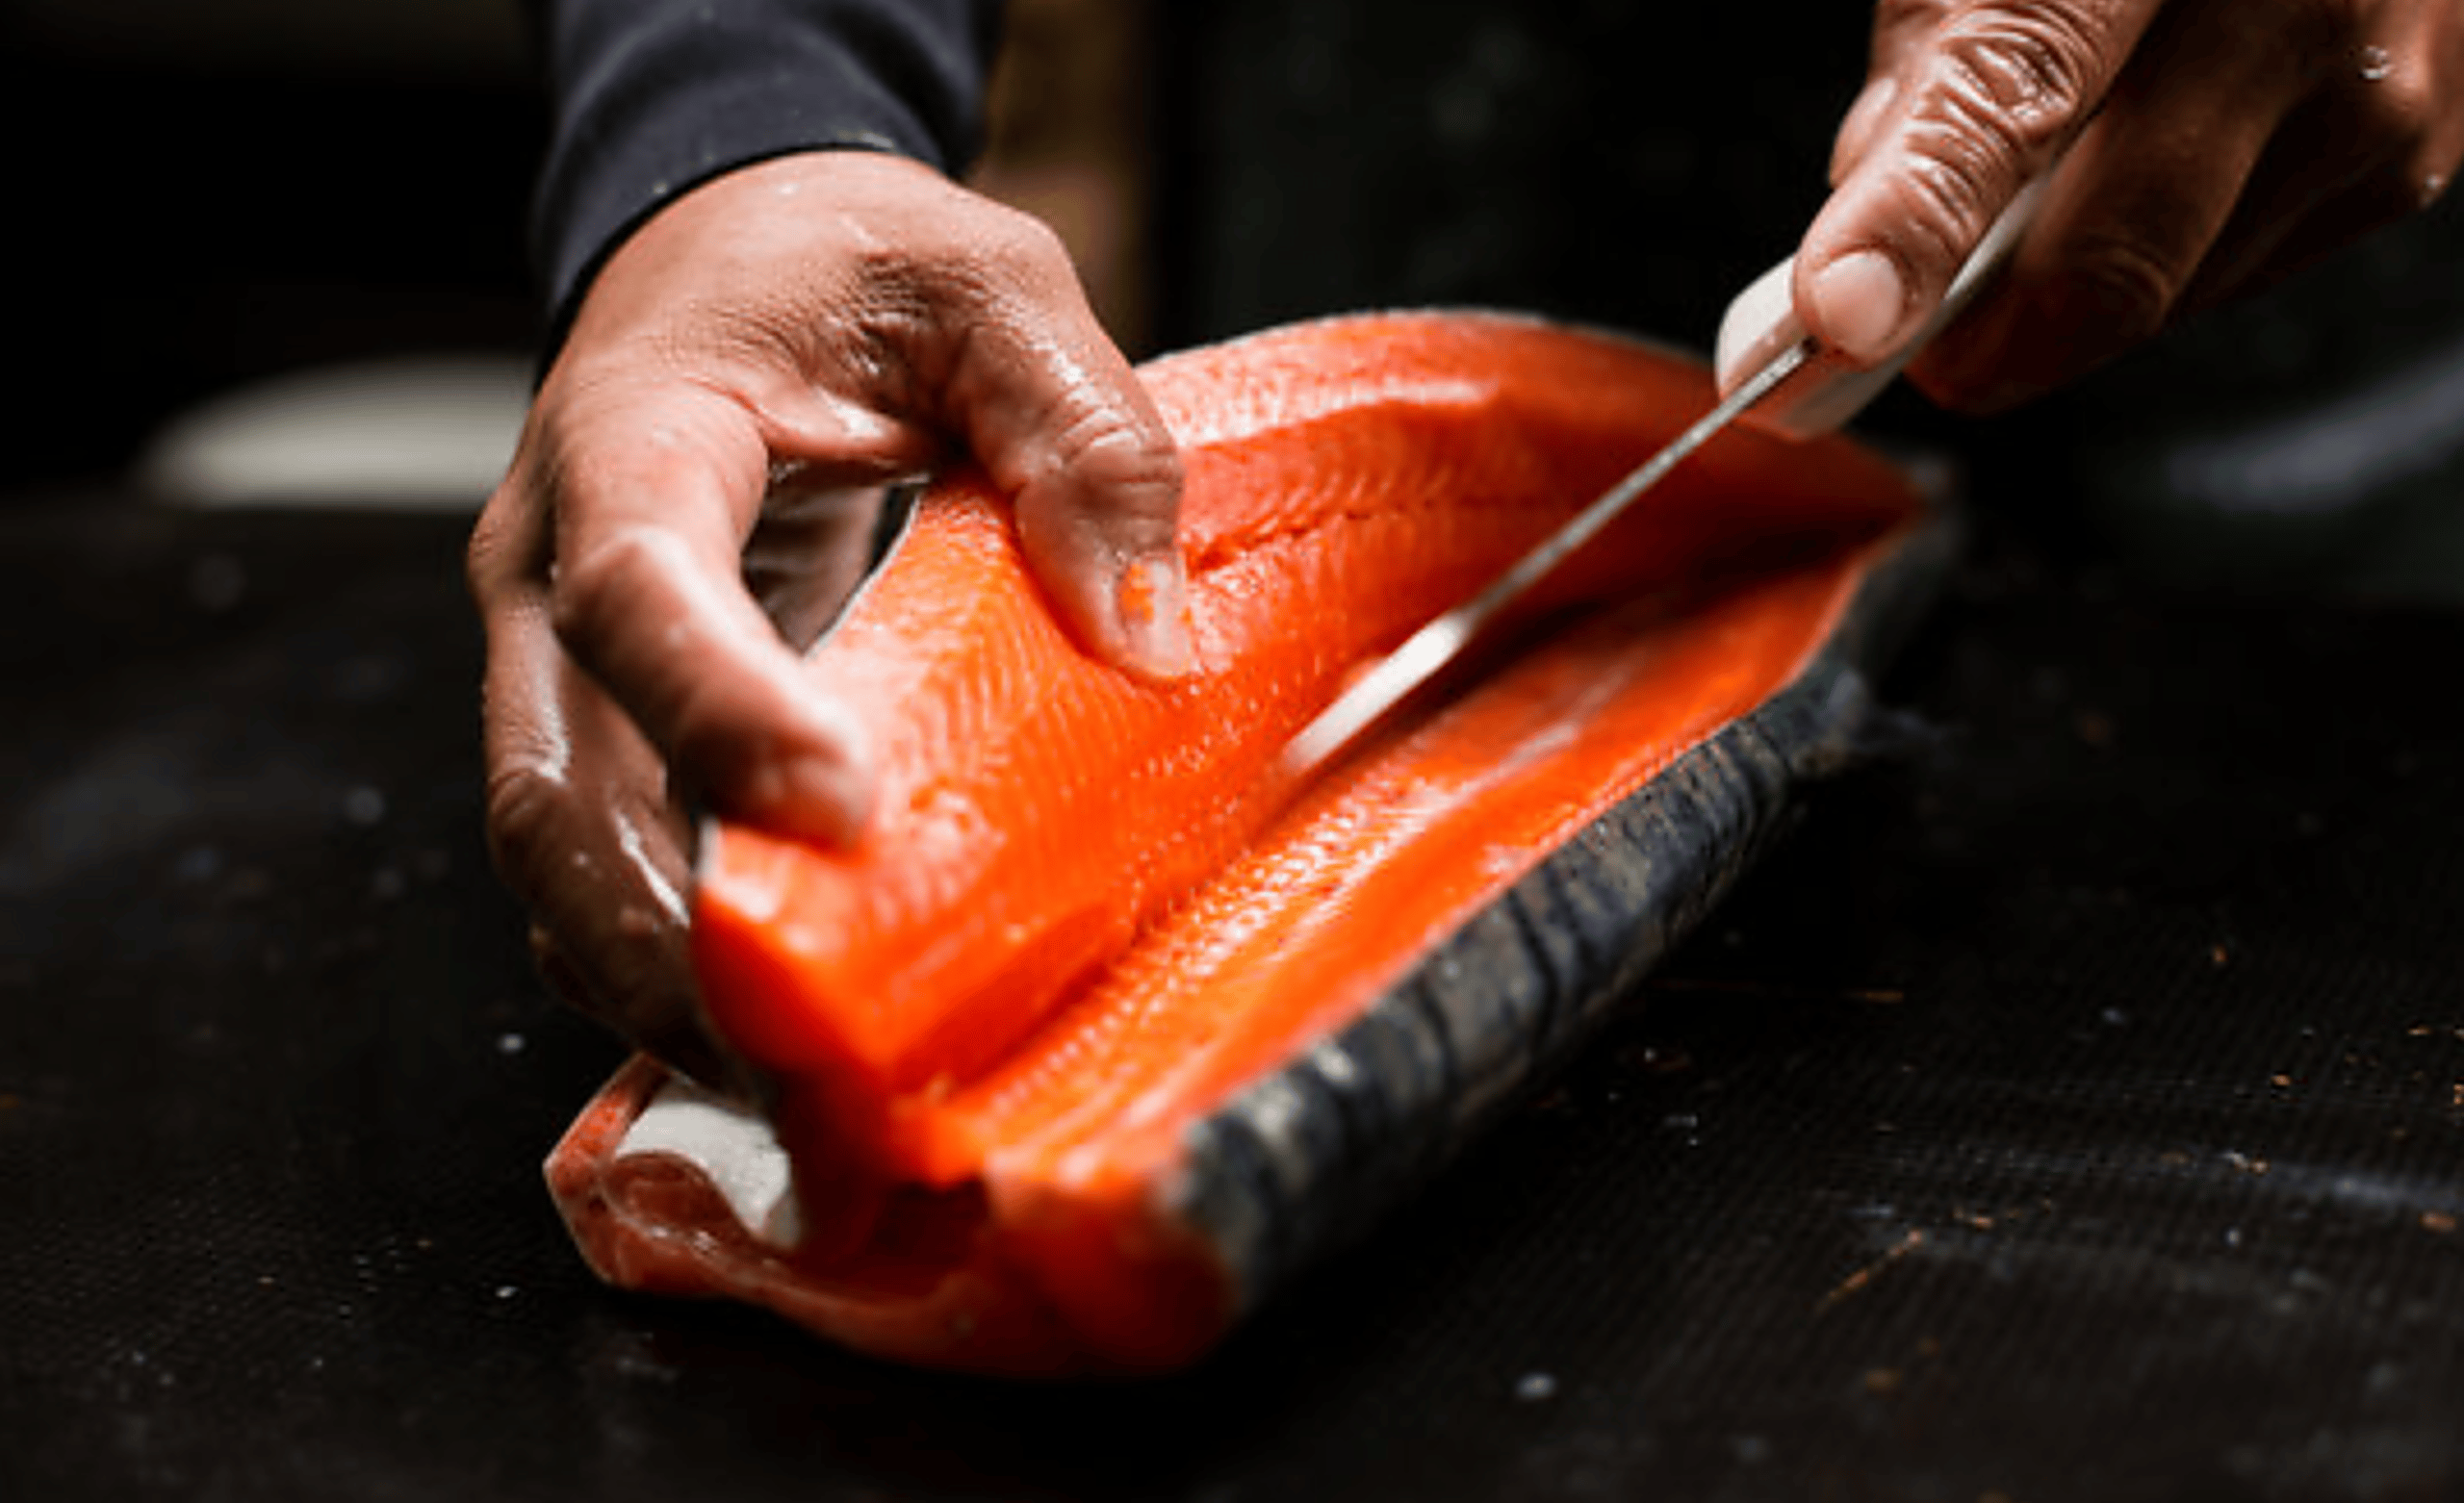
Step 4: Filleting the Fish
Now it’s time to fillet the fish. Place your fish on a cutting board with its belly facing you. Ensure your knife is sharp; this will make the process smoother.
Start at the head end of the fish, just behind the gills. Insert your knife and slice down toward the backbone, maintaining a shallow angle. Let the blade glide along the bones as you work toward the tail.
Once you’ve reached near the tail, gently pull back on one side of the fillet while continuing to cut through any remaining skin or flesh connecting it to the body.
Carefully peel away each filet from its frame. You’ll see how easily they separate if done correctly! Repeat this process for both sides until you’ve removed all fillets from your catch.
The result should be two clean fillets, ready for cooking or storage.
Step 5: Removing Bones and Pinbones
Once you’ve filleted your fish, it’s time to tackle the bones. This step is crucial for enjoying a smooth and pleasant eating experience.
Start by feeling along the center of each filet with your fingers. You’ll notice tiny pinbones that can be quite irritating if left behind. They’re usually easy to spot, but having a good light source helps.
Using a pair of needle-nose pliers or kitchen tweezers works wonders here. Gently grasp each pinbone at its tip and pull it out in the direction it’s embedded. Take your time; rushing can lead to breaking them or leaving fragments behind.
After removing all visible bones, run your fingers over the filet one last time for any stray pieces you might have missed. Your hard work will pay off when you savor every bite without those pesky distractions!
Alternative Method: Gutting and Filleting Whole Fish
For those who want to embrace a more holistic approach, gutting and filleting whole fish can be quite rewarding. This method allows you to work with the entire fish, maximizing every part for culinary use. Begin by making a clean incision just below the gills and running down toward the belly.
Be careful not to puncture any organs as you slice through. With steady hands, open up the fish carefully to access its insides. Once you’ve removed the entrails, rinse it under cold water. At this stage, your fish is ready for filleting or cooking whole if desired.
With this technique, you’re left with beautiful fillets while minimizing waste—great for sustainability-minded cooks! Using this method also gives you greater control over flavoring and presentation on your plate.
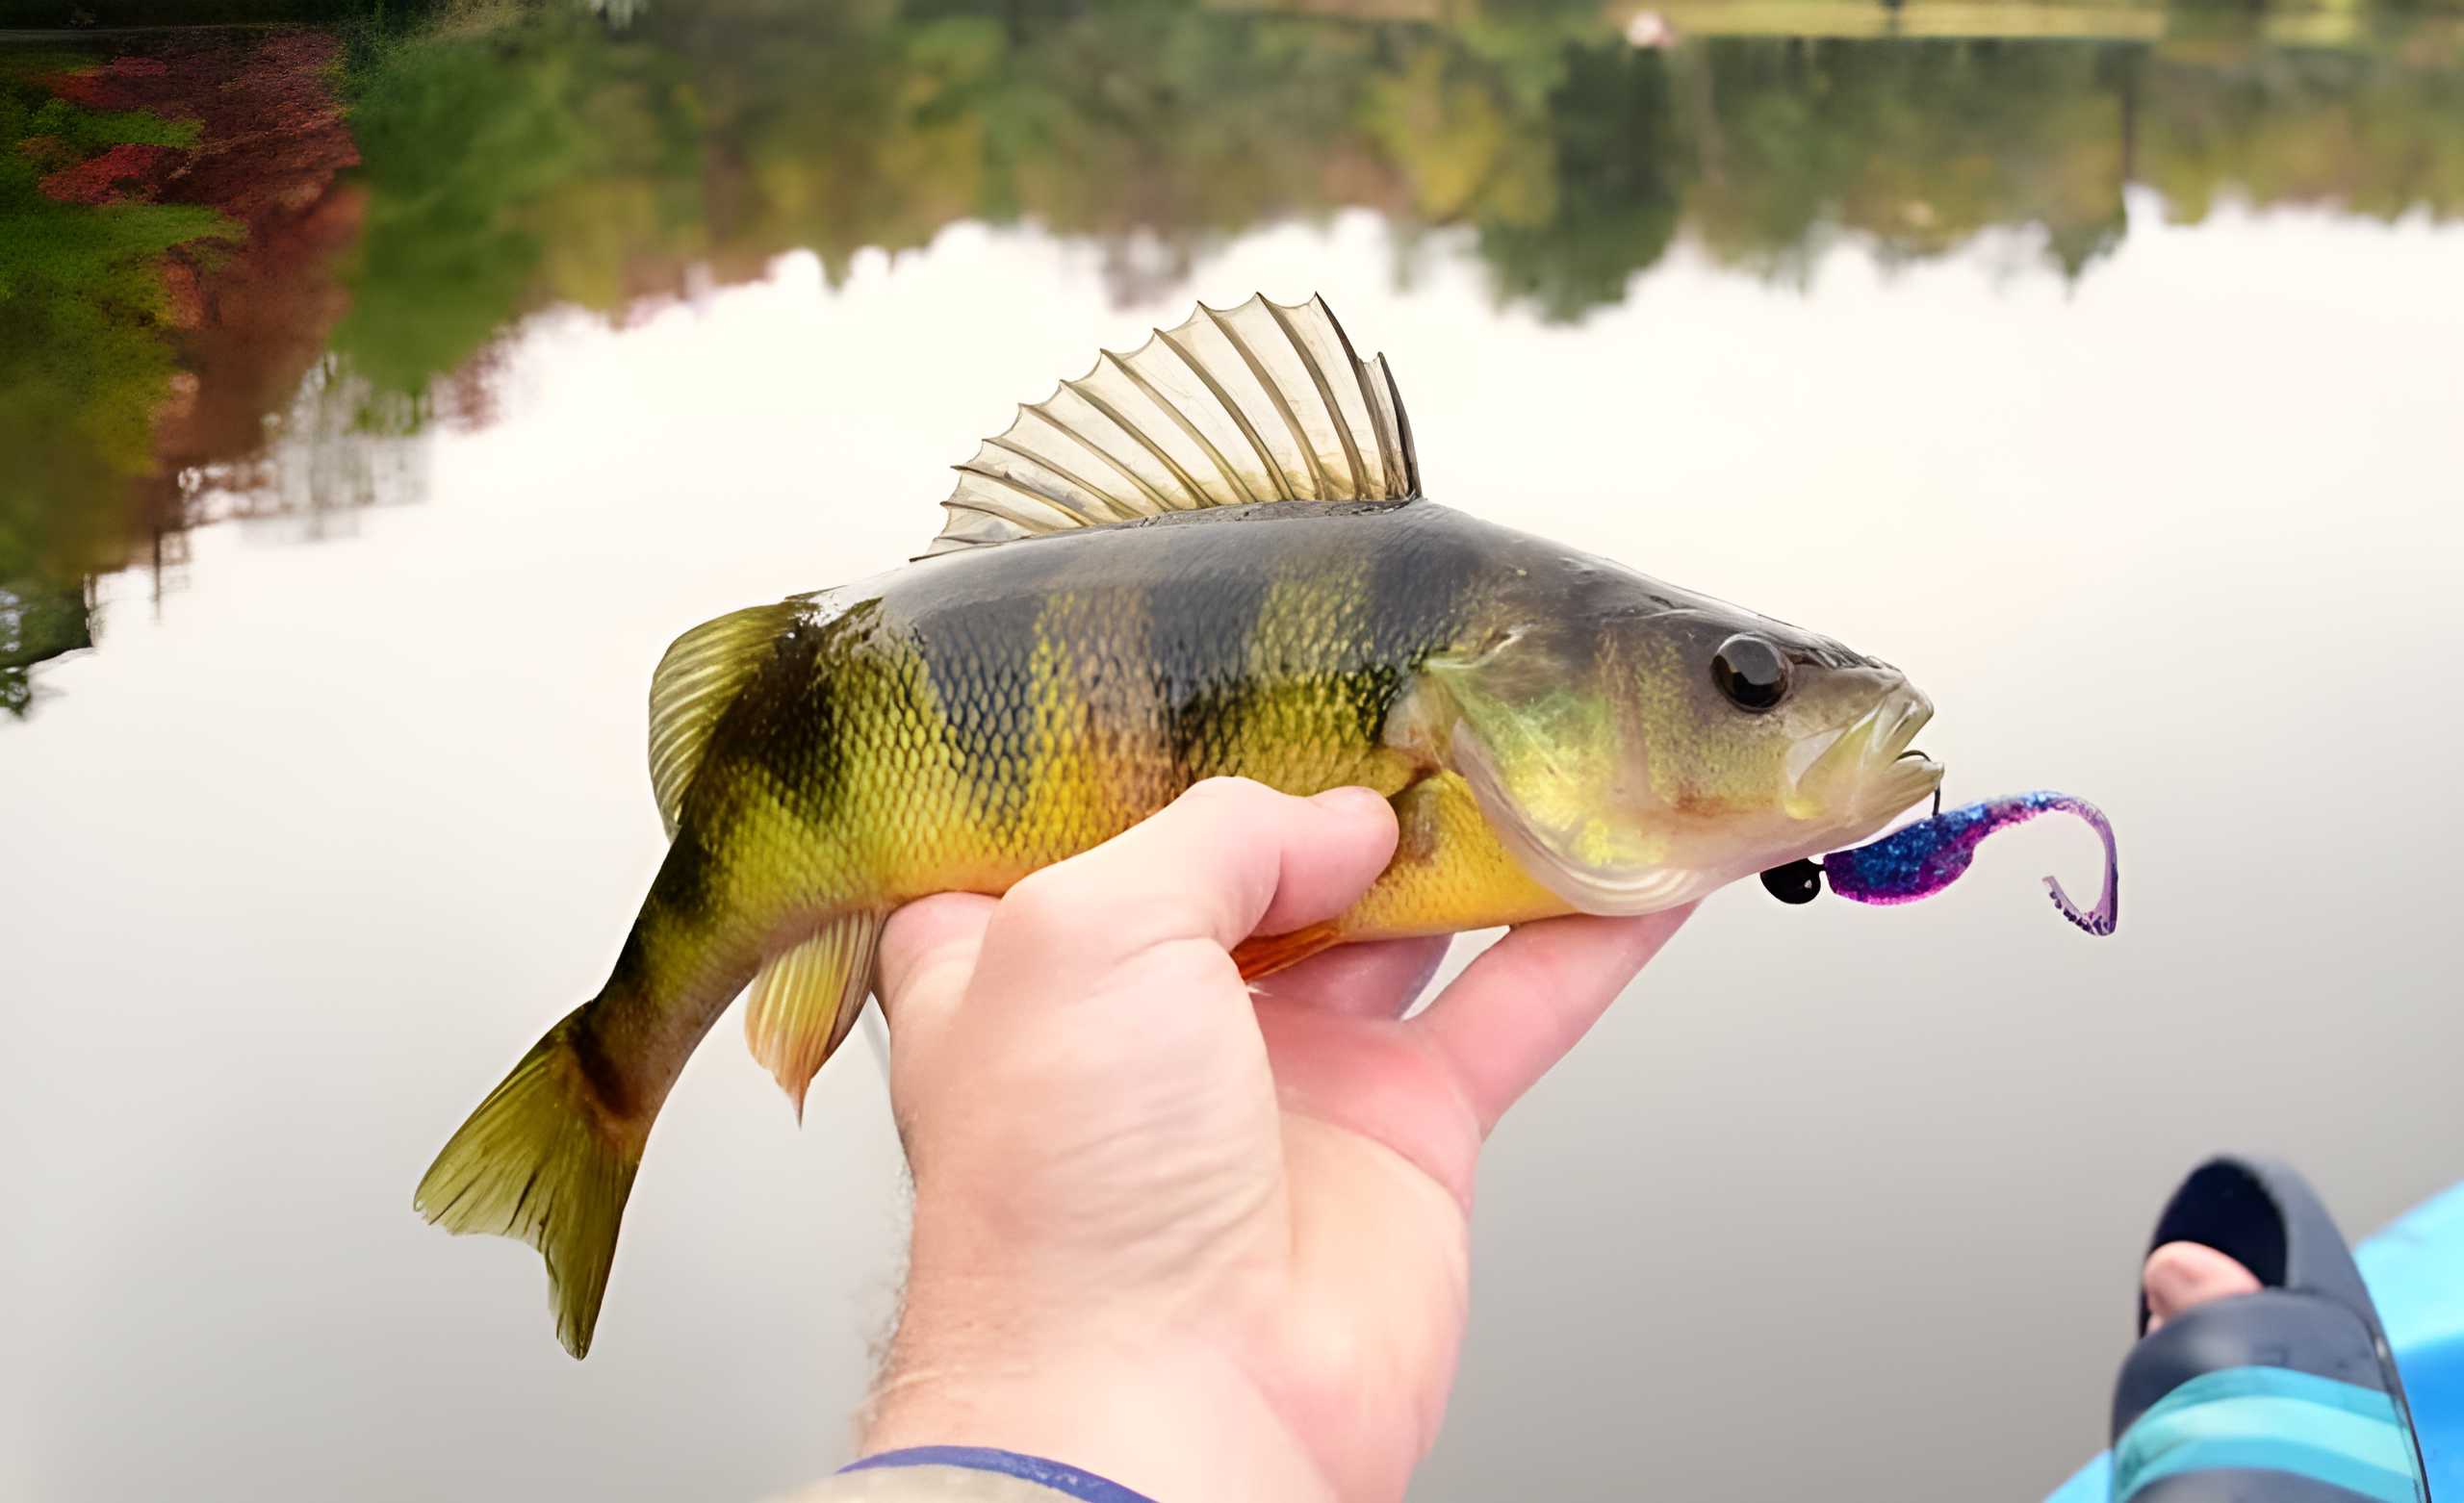
Tips for Choosing the Right Fish for Filleting
Choosing the right fish for filleting can make all the difference in your culinary experience. Look for fresh fish with clear eyes and vibrant skin. This indicates quality and freshness. Consider the type of fish you enjoy eating. Some species, like salmon or trout, are easier to fillet due to their texture.
Others may be more challenging but offer unique flavors. Ask local fishermen or visit reputable seafood markets for recommendations on seasonal catches. Supporting local sources often means fresher options. Pay attention to sustainability as well.
Opting for responsibly sourced fish supports marine ecosystems while ensuring you’re consuming healthy products. Trust your instincts; if a particular catch excites you, that enthusiasm will reflect in your cooking!
Safety Precautions to Take During the Process
Handling fish requires some care to ensure safety throughout the cleaning and filleting process. Start by wearing cut-resistant gloves. This adds an extra layer of protection against sharp tools. Always use a sturdy cutting board that won’t slip.
This helps prevent accidents while you’re working with knives or other implements. Keep your workspace organized. Have all your tools within reach but out of harm’s way. Avoid cluttering surfaces to reduce the risk of mishaps. It’s also crucial to pay attention when using knives.
A sharp blade can make clean cuts, but it can easily slip if not handled properly. Remember hygiene matters too. Rinse your hands frequently and keep the area clean to avoid cross-contamination between raw fish and other foods in your kitchen.
Different Methods of Cooking Filleted Fish
Cooking filleted fish opens up a world of delicious possibilities. You can grill, bake, or pan-sear it for varied flavors and textures. Grilling adds a smoky touch that enhances the natural taste. Just brush your fillets with olive oil and season them well before placing them on a hot grill.
Baking is another simple method. Wrap the fish in foil with herbs and lemon slices to lock in moisture. This technique keeps the fillets tender while infusing flavor. Pan-searing offers that crispy exterior many love. Heat some butter or oil in a skillet until hot, then cook each side until golden brown.
For those looking to experiment, try poaching in broth or wine for an elegant dish that’s both healthy and flavorful. With so many cooking techniques at your fingertips, you’ll never run out of ways to enjoy fresh fish!
Conclusion: Enjoying Your Freshly Cleaned and Filleted Fish
Cleaning and filleting a fish can be a rewarding experience. When you take the time to properly prepare your catch, you not only ensure better taste but also make sure that nothing goes to waste. The satisfaction of enjoying a meal you’ve personally prepared is hard to match.
Once you’ve cleaned and filleted your fish, the culinary possibilities are endless. You might choose to grill it with herbs and lemon, pan-sear it for a crispy finish, or bake it in parchment paper for added flavor infusion. Each method brings out different aspects of the fish’s natural sweetness.
As you sit down to enjoy your freshly cleaned and filleted fish, remember all the steps that went into making this moment possible. From choosing the right tools to mastering each step of cleaning and preparing, every part contributes to an enjoyable dining experience.
So next time you’re at the lake or market, consider taking on this task yourself. With practice comes skill—and soon you’ll find joy not just in eating fresh fish but also in knowing how to clean and fillet it like a pro. Your homemade meals will surely impress family and friends alike!
2 thoughts on “How To Clean And Fillet A Fish”
Leave a Reply
Related Posts
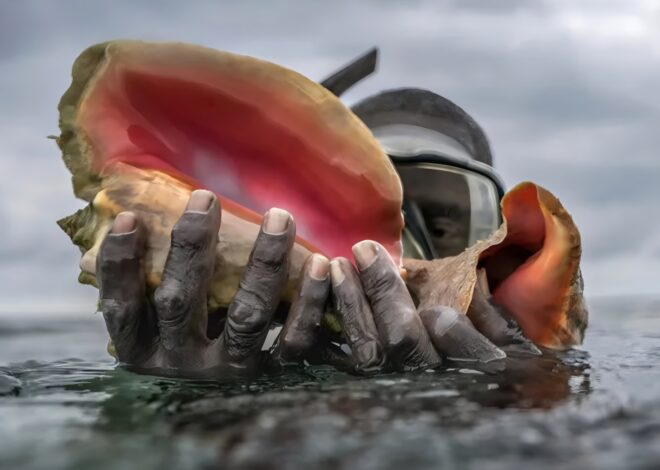
Harvesting Conch In The Bahamas

How To Catch Crawfish For Beginners
This is so cool. You are talking to a Kiwi who went fishing with my dad in the Waikato of New Zealand, we specifically tried to catch rainbow trout, the sweetest of the lo. But real buggers to clean, you know scale and gut. I love the fact you are teaching others to do this. An epic survival skill.
Thanks
Steve
Hey Steve,
Thanks for stopping by today and sharing your thoughts on how to clean and fillet a fish. What good is catching a fish if you don’t know how to clean and fillet it. Some cultures cook the whole fish after cleaning it and it is absolutely delicious as well. Cleaning and filleting is a must have skill for fisherman, survivalists, outdoors men and prepper’s.
Rainbow trout is one of the best tasting fish around. It is so sweet and tasty that you could eat it without butter or lemon. My favorite fish is flounder. In fact, I learned how to clean and fillet flounder when I was a kid and thought I would pass that along in this blog post.
Best wishes and happy fishing,