How To Build A Wind Powered Generator
Welcome to our guide on how to build a wind powered generator. Are you tired of skyrocketing energy bills and looking for a sustainable solution? Wind power could be the answer you’ve been searching for. Harnessing the natural elements around us, wind energy harnesses the raw force of nature to generate electricity right in your backyard.
Imagine transforming gusty days into green energy that powers your home! Building your own wind-powered generator might seem daunting at first, but it’s an exciting project that pays off both environmentally and economically.
With a little knowledge and some basic materials, you can embark on this rewarding journey toward self-sufficiency. Whether you’re an experienced DIY enthusiast or just starting out, our step-by-step guide will walk you through everything you need to know about constructing your very own wind-powered generator! Ready to get started? Let’s dive in!

Advantages of Wind Power
Wind power offers a renewable and sustainable energy source that significantly reduces reliance on fossil fuels. Harnessing natural wind currents, it provides an eco-friendly alternative for electricity generation.
One standout benefit is its minimal environmental impact. Wind turbines produce no greenhouse gas emissions during operation, helping combat climate change.
Additionally, wind energy can lead to lower electricity bills. By generating your own power, you reduce costs over time while also potentially selling excess energy back to the grid.
Job creation in the renewable sector is another advantage. The growth of wind farms stimulates local economies by providing employment opportunities in various fields such as manufacturing, installation, and maintenance.
Wind power promotes energy independence. Countries can decrease their dependence on imported fuels by investing in domestic wind resources. This enhances national security and ensures more stable energy prices moving forward.
Understanding the Components of a Wind Powered Generator
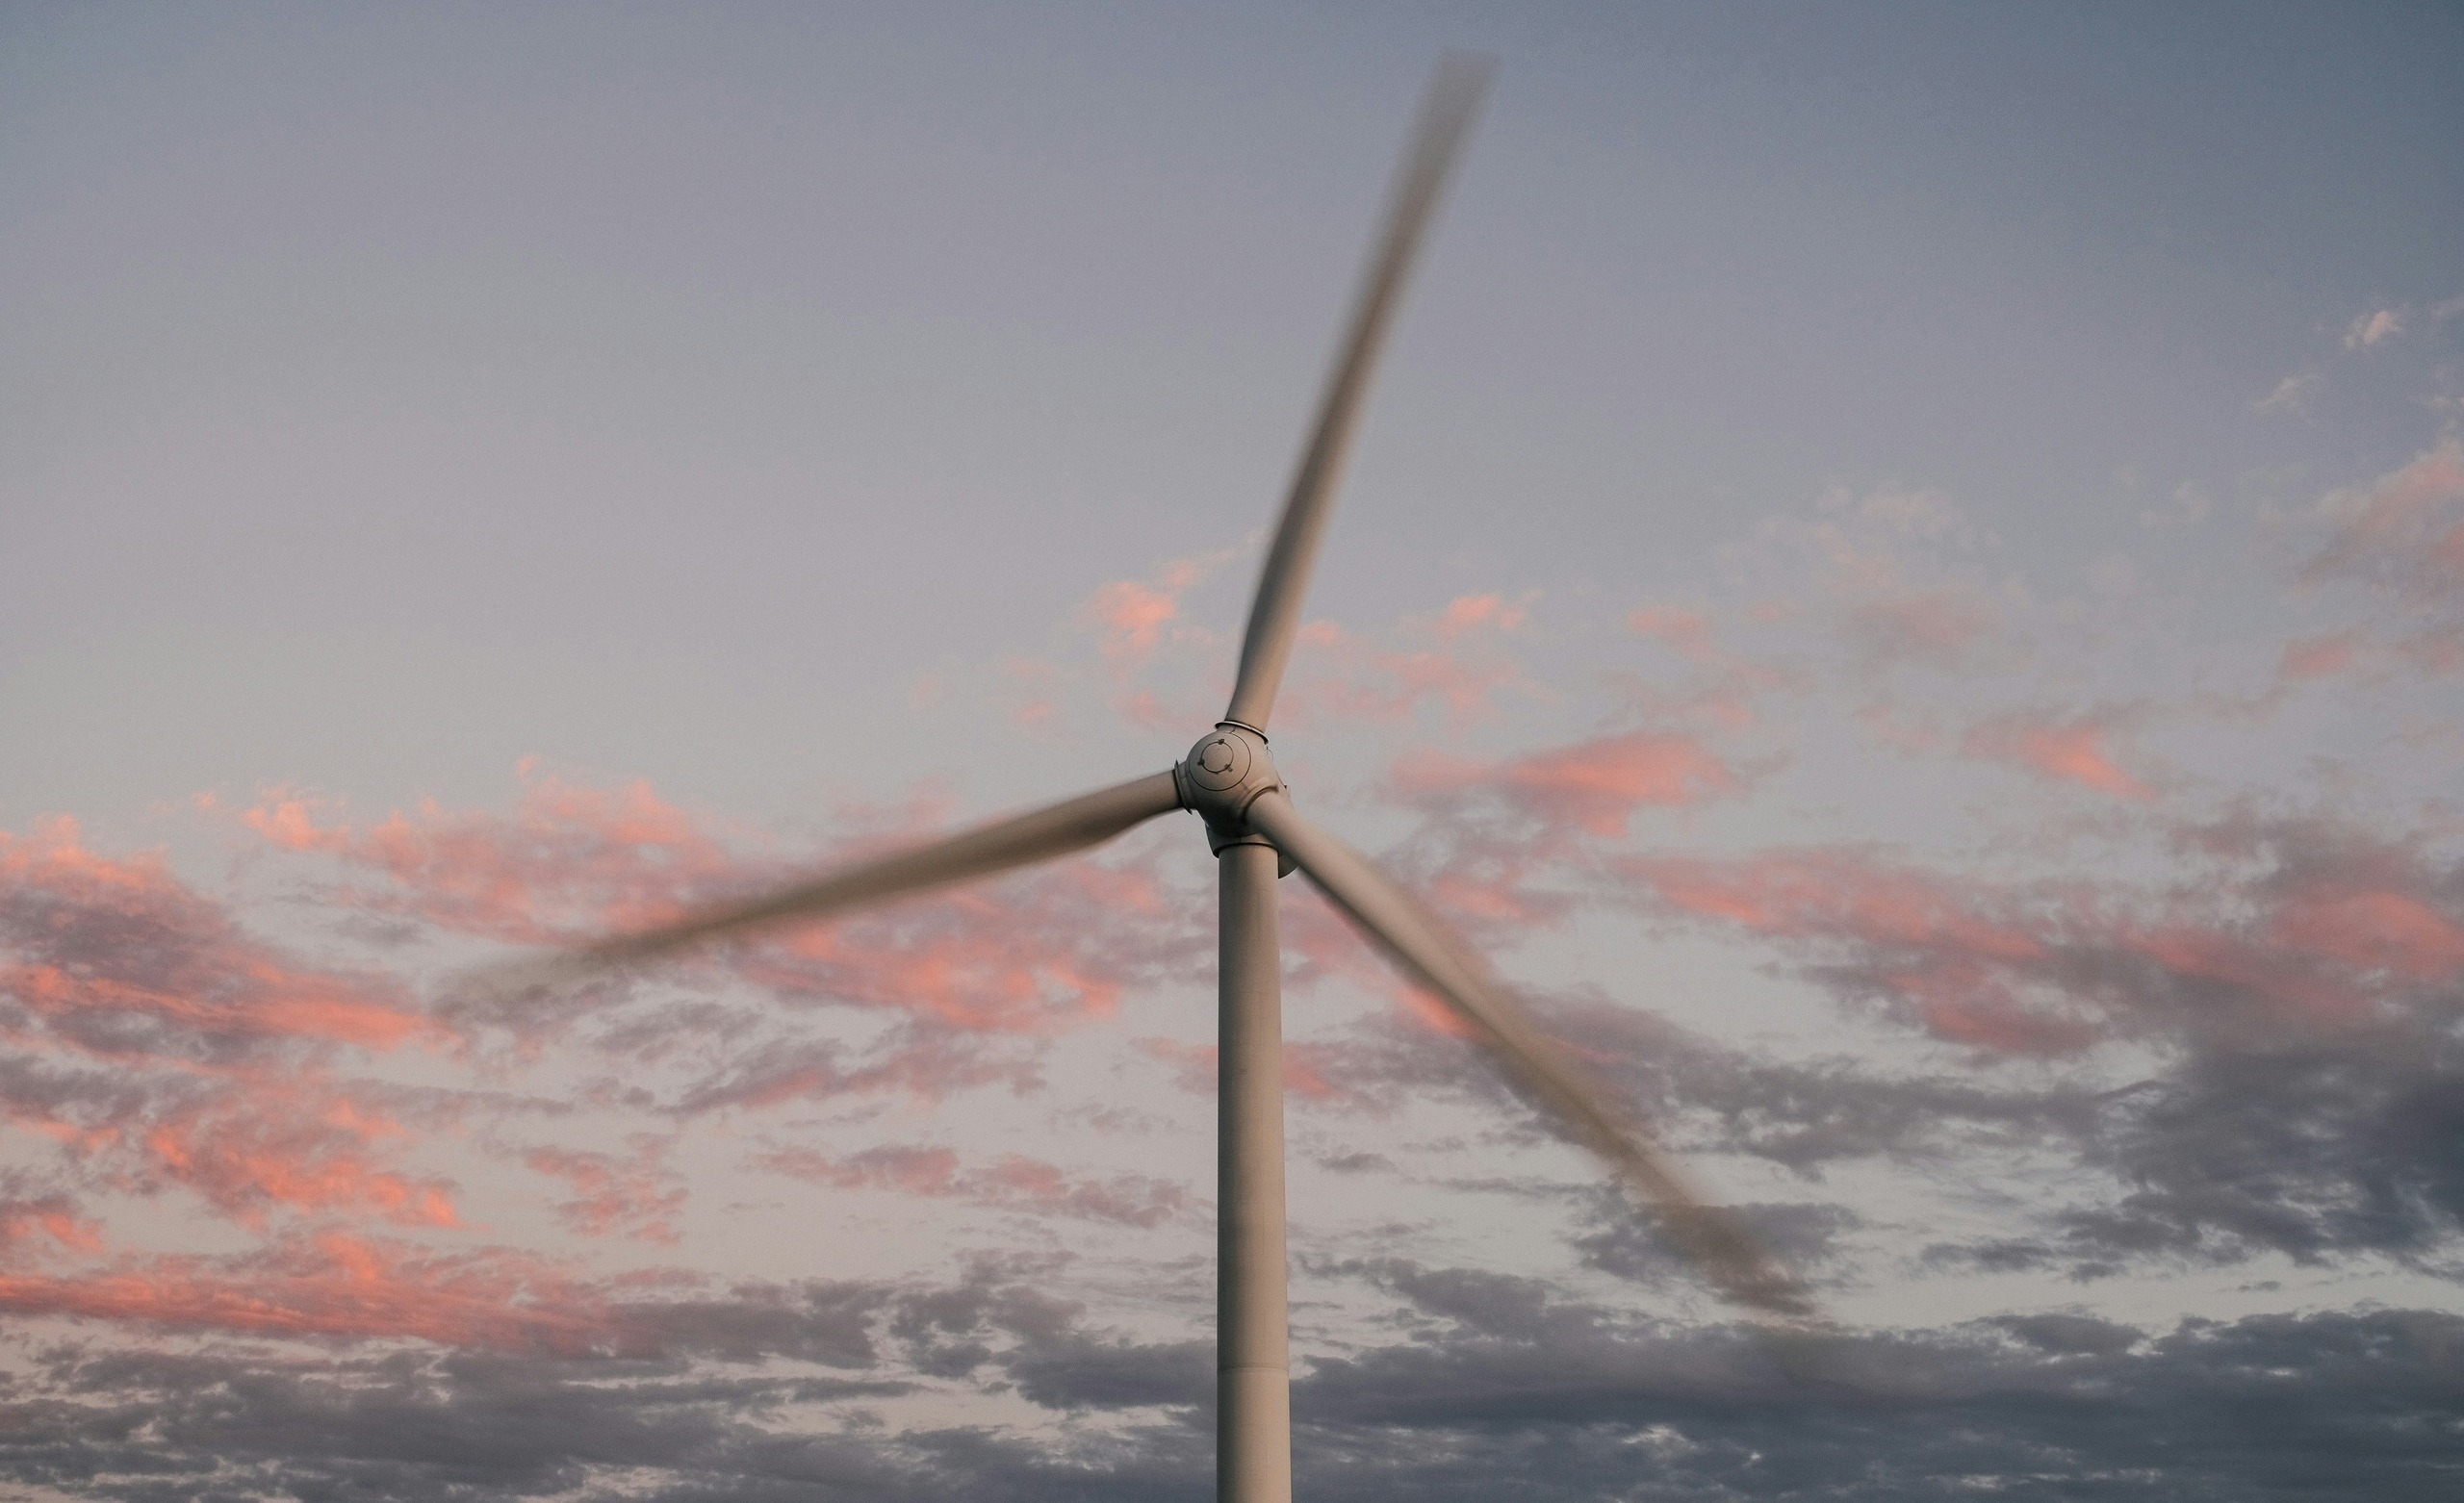
A wind powered generator consists of several key components that work together to harness energy from the wind. At its core is the rotor, equipped with blades designed to capture wind flow. As the wind blows, these blades rotate and convert kinetic energy into mechanical energy.
The hub connects the rotor to a shaft that spins within the generator itself. This motion generates electricity through electromagnetic induction. In most setups, a gearbox may be included to increase rotational speed for improved electricity production.
Another essential element is the tower, which elevates the rotor high above ground level. Higher altitudes can access stronger winds, enhancing efficiency.
An inverter converts direct current produced by the generator into alternating current suitable for household use or feeding back into the grid. Each component plays a vital role in creating an effective and sustainable power source from nature’s own currents.
Materials and Tools Needed for Construction
To build a wind-powered generator, you’ll need various materials. Start with a sturdy frame. You can use wood or metal for this part. Next, secure a good quality alternator. This component converts mechanical energy into electrical energy. It’s crucial for your generator’s efficiency.
Don’t forget the blades! Lightweight materials like PVC pipes work well. They should be shaped to catch the wind effectively. Wiring is essential too; copper wire ensures optimal conductivity and power transfer. Gather tools such as a drill, saw, and screwdriver. These will help assemble your generator neatly.
A multimeter is handy for testing voltage and ensuring everything runs smoothly during setup. Safety gear is important as well—gloves and goggles protect you while working on the project. With these materials and tools in hand, you’re ready to embark on your journey of crafting renewable energy at home!
Step-by-Step Guide on Building Your Own Wind Powered Generator
Harnessing wind power is an exciting project that empowers you to create your own energy source. By following a straightforward approach, you can construct a wind-powered generator tailored to your needs.
Step 1: Choose the Right Location
Choosing the right location for your wind powered generator is crucial. Wind speed and consistency are essential factors to consider. Ideally, you want a spot that receives unobstructed winds.
Look for open areas away from tall buildings or trees. A clear landscape allows for maximum airflow, enhancing efficiency. You might even want to check local weather data for wind patterns over time.
Elevation also plays a role in your decision-making process. Higher altitudes often experience stronger winds compared to ground level. If possible, select a location on higher ground or near hills.
Don’t forget about zoning regulations and permits! Local guidelines can impact where you place your turbine. It’s wise to research this before moving forward with construction plans.
Assess accessibility for future maintenance needs. The easier it is to reach the site, the quicker you can address any issues down the line. Choose wisely; it sets the foundation for success.
Step 2: Gather Materials and Tools
Gathering materials and tools is a crucial step in your wind-powered generator project. You’ll need to create a list before heading out for supplies.
Start with the basics: wood or metal for the tower, PVC pipes for blades, and a small DC motor as your generator. Each component plays an essential role in harnessing wind energy effectively.
Don’t overlook wiring and electrical components necessary for connecting everything. Consider getting batteries too if you want to store energy generated by the turbine.
Safety gear should be part of your toolkit—gloves, goggles, and maybe even a hard hat are smart choices while working on this project.
Make sure you have all required tools handy: saws, wrenches, screwdrivers, and perhaps a drill. With everything at your fingertips, you’ll set yourself up for success as you start building!
Step 3: Building the Base and Tower
Building the base and tower is crucial for your wind powered generator’s stability. Start by selecting a flat, open area with good wind exposure. The foundation should be strong enough to withstand harsh weather.
For the base, you can use concrete blocks or pour a concrete slab. Make sure it is level; any unevenness can affect performance.
Next, construct the tower using sturdy materials like treated wood or metal pipes. A height of 20 to 30 feet often works best for capturing optimal wind speeds.
Securely attach the tower to the base using bolts or brackets. This ensures it remains upright even during strong gusts. Remember to follow local regulations regarding height and safety standards as you build.
Take your time with this step; a solid structure lays the groundwork for effective energy generation moving forward!
Step 4: Assembling the Blades and Rotor
Assembling the blades and rotor is a crucial step in building your wind-powered generator. This is where you’ll harness the wind’s energy effectively.
Start by carefully attaching each blade to the rotor hub. Make sure they are evenly spaced for balanced rotation. The angle of the blades matters; it influences how much wind energy gets converted into mechanical power.
Use strong bolts to secure everything tightly, ensuring durability against harsh weather conditions. You may also want to consider adding a protective coating on your blades to enhance their lifespan.
Once everything is assembled, gently spin the rotor by hand. It should turn smoothly without any obstructions. If there’s resistance, check for misalignments or loose fittings before proceeding further with installation.
This step sets you up for success in generating clean energy from nature’s most powerful resource: wind.

Step 5: Installing the Generator and Wiring System
With the tower and rotor in place, it’s time to focus on the generator. Start by securing it safely at the top of your structure. Make sure it’s firmly attached; stability is key for performance.
Now, turn your attention to wiring. This part can seem daunting but take it step by step. Use quality cables that can handle the voltage produced by your generator. Connect these wires from the generator down through the tower.
Ensure all connections are tight and insulated to prevent any electrical hazards. It’s crucial to follow a schematic if you have one—these plans offer clarity in complex installations.
After connecting everything, test your system before finalizing anything permanently. A quick check will help identify any issues early on, saving you time later on with adjustments or repairs.
Step 6: Maintenance and Troubleshooting Tips
Maintenance is key to ensuring your wind powered generator runs smoothly. Regular inspections can help you spot potential issues before they become major headaches. Look for any signs of wear and tear on the blades or connections.
Keep the area around your generator clear of debris. This prevents blockages that could hinder performance during windy conditions. Ensure there’s no vegetation growing too close, as this might obstruct airflow.
Listen for unusual sounds while it operates. A grinding noise could indicate a problem with the bearings or rotor alignment. Address these immediately to avoid further damage.
Check electrical connections frequently to ensure they’re secure and corrosion-free. Loose wires can lead to power loss or even short circuits.
Always refer back to your manual when troubleshooting specific problems. It contains valuable insights tailored just for your model!
Cost Breakdown and Potential Savings
When embarking on the journey of building your own wind powered generator, understanding costs is vital. The initial investment can vary significantly based on location and materials chosen. Components like blades, generators, and batteries will represent the bulk of your expenses.
A DIY approach often reduces these costs substantially compared to commercial options. Consider ongoing savings as well. By generating your own electricity, you’ll see a noticeable drop in utility bills over time. Many homeowners report savings that lead to a full return on investment within just a few years.
Additionally, some regions offer tax incentives or rebates for renewable energy projects. Researching local policies could grant further financial benefits while contributing positively to the environment. Weighing both upfront costs and long-term gains helps clarify whether this project aligns with your budgetary goals.
Environmental Impact of Using Wind Power
The environmental impact of using wind power is largely positive. Wind energy is a clean and renewable resource, reducing dependence on fossil fuels. Unlike traditional energy sources, wind turbines do not produce harmful emissions that contribute to air pollution or climate change.
Harnessing the wind can significantly lower greenhouse gas emissions. By replacing some conventional energy generation with wind power, we help mitigate the effects of global warming. This shift also promotes biodiversity by minimizing habitat destruction associated with fossil fuel extraction and burning.
Additionally, building your own wind-powered generator encourages sustainable practices in your community. It raises awareness about renewable energy options and fosters discussions around self-sufficiency and lowering carbon footprints.
While there are always considerations to weigh—like bird safety or noise from turbines—the overall benefits clearly outweigh potential drawbacks. Embracing this green technology leads us toward a cleaner environment for future generations while empowering individuals to take control of their energy needs.
Creating a personal wind-powered generator not only contributes positively to the planet but also connects you more deeply with nature’s resources in an innovative way that champions sustainability.
Conclusion
Harnessing the power of wind is a fascinating and rewarding endeavor. By building your own wind powered generator, you not only contribute to sustainable energy practices but also gain a deeper understanding of renewable technology.
This hands-on project can provide you with an alternative source of energy for your home or workshop. Plus, once you’ve completed the build, you’ll enjoy the satisfaction that comes from creating something functional with your own two hands.
With all the benefits outlined—from reducing electricity bills to minimizing carbon footprints—venturing into wind energy could be one of the best decisions you make for both yourself and the environment. So gather those materials, roll up your sleeves, and start constructing. The winds are waiting!

2 thoughts on “How To Build A Wind Powered Generator”
Leave a Reply
Related Posts
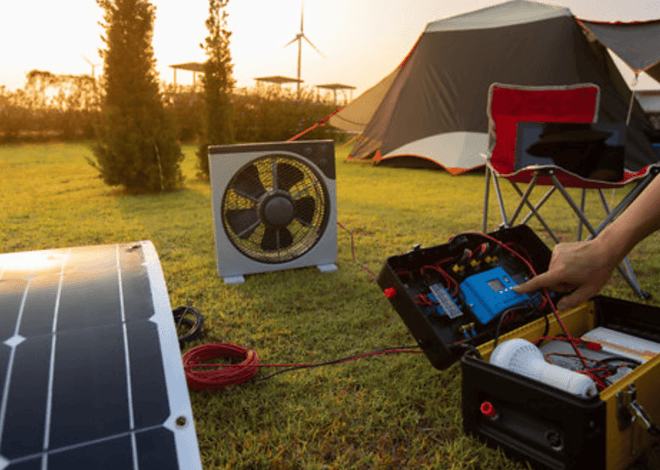
How To Build A Smart Solar Box
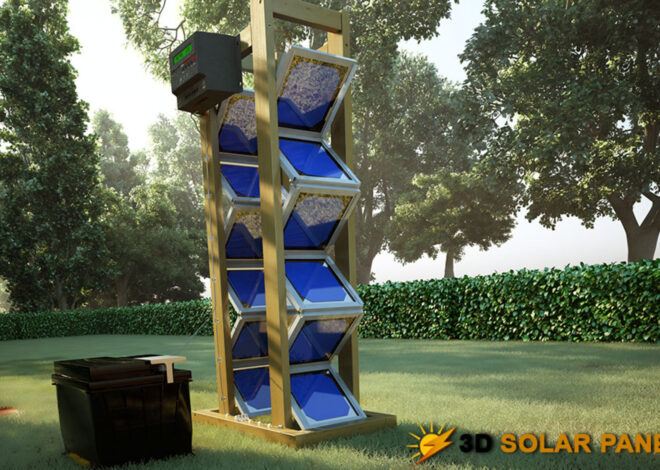
How To Build A 3D Solar Panel

Hi Jack,
I must say, your guide on building a wind-powered generator is incredibly informative and inspiring! It’s fascinating how you’ve broken down the process into manageable steps, making the idea of harnessing wind energy so much more accessible for everyone.
Your emphasis on the environmental and economic benefits of wind power truly resonates with me. The thought of generating my electricity and reducing reliance on fossil fuels aligns perfectly with my goal of transitioning to a more sustainable lifestyle. Not to mention, the potential for savings on energy bills is a compelling incentive!
I’m particularly drawn to the idea of energy independence. As someone who is actively exploring ways to go off-grid, your article has provided me with a solid foundation to start planning my wind-powered generator project. The detailed insights into choosing the right location, assembling the components, and understanding the costs involved are invaluable.
The section on maintenance and environmental impact further highlights the long-term advantages of this endeavour. It’s reassuring to know that with regular upkeep, a personal wind-powered generator can be a reliable and eco-friendly energy source.
Thank you for sharing such a comprehensive guide. Your article has not only educated me but has also fueled my enthusiasm to leap into self-sufficiency. I’m eager to start gathering materials and embark on this exciting journey into renewable energy!
All the Best,
Eric
Hi Eric,
Thank you for stopping by and leaving such a wonderful response to our step-by-step guide on how to build a wind powered generator. I am so glad that you are going to attempt to build your own wind powered generator. It is a complicated project but can be easily done with the proper steps and tools.
You can also buy a wind generator but those are expensive. If you can afford one that’s great. However most people are just trying to get by these days so buying a wind powered generator is not an option. So building your own generator may be your best option.
Having your own wind powered generator can be a life saver and one step closer to self sufficiency. Thanks again for sharing your thoughts with us today. Please come back and let me know all about your wind powered generator project.
Best wishes Eric,