How To Build A Self Feeding Fire
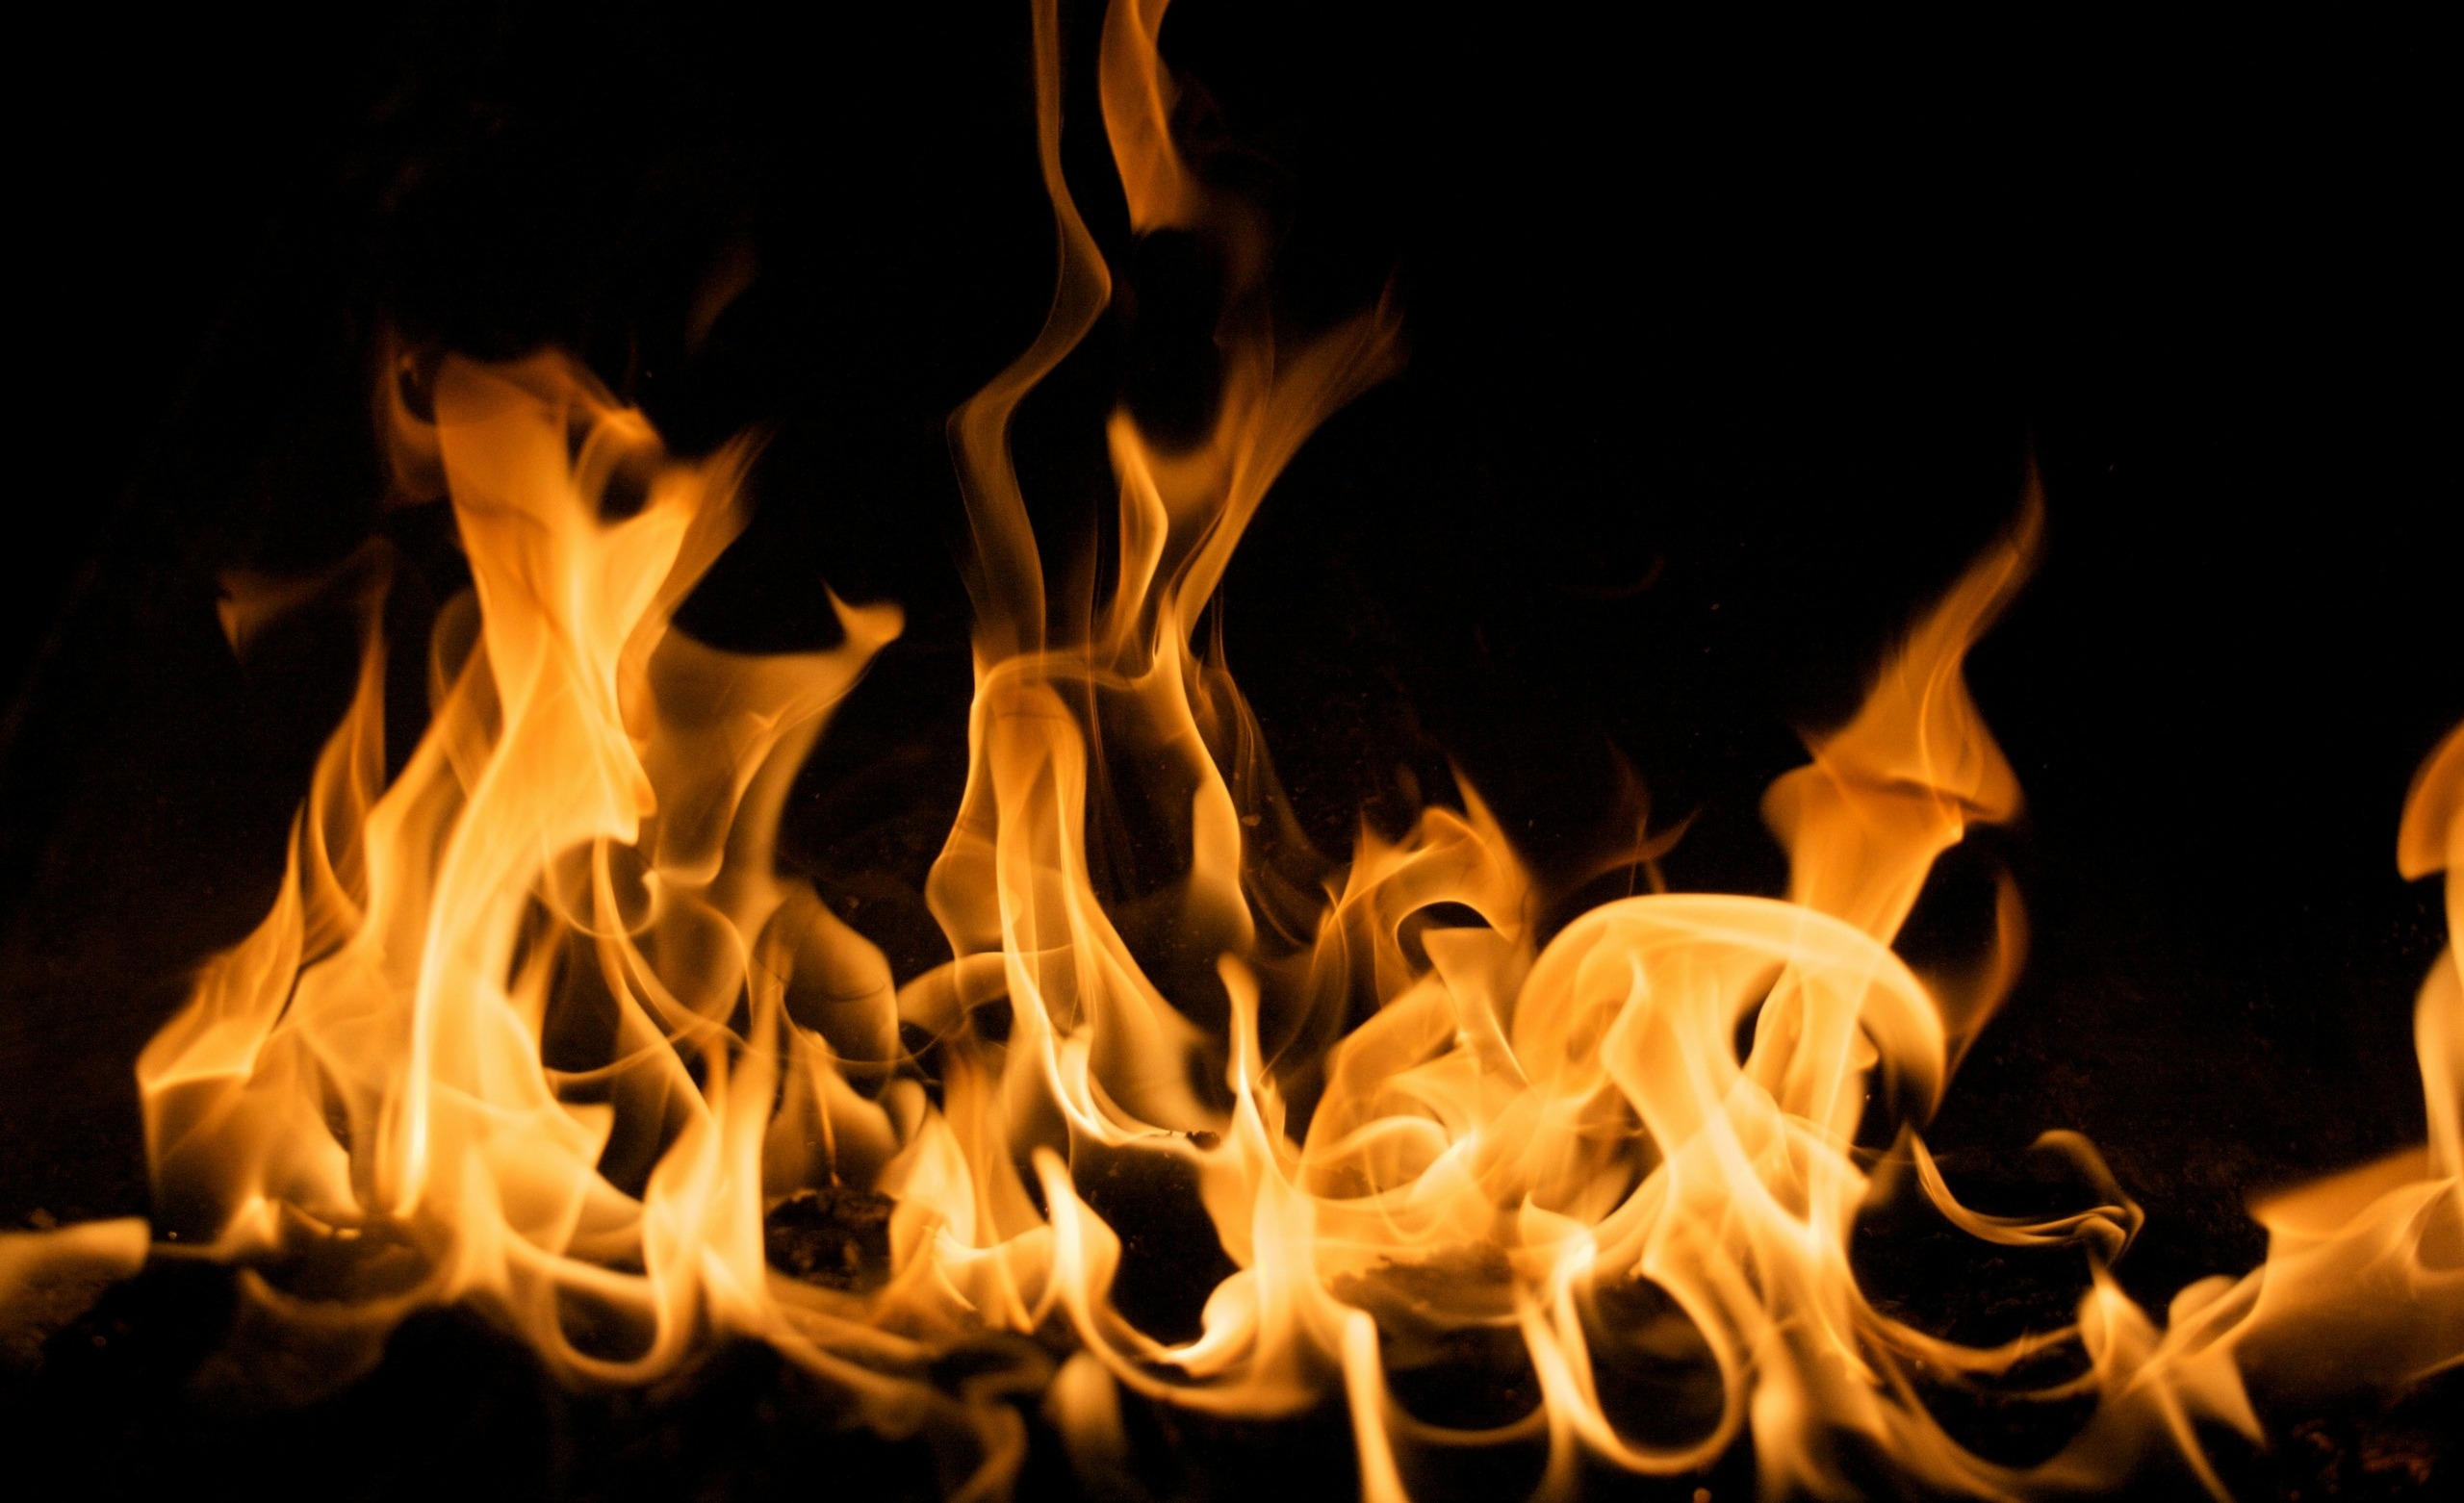
Welcome to our step-by-step guide on how to build a self feeding fire also known as the all night fire. Picture this: a warm glow emanating from your fire pit, crackling logs feeding into the flames without you lifting a finger.
A self-feeding fire is not just a dream; it’s an achievable reality that can transform your outdoor experiences. Whether you’re camping under the stars or hosting friends in your backyard, knowing how to build a self-feeding fire adds convenience and charm to any gathering.
This innovative approach allows the fuel to feed itself through clever design and strategic placement. Imagine spending less time tending to the flames and more time enjoying good food, laughter, and stories shared around the warmth of flickering light.
Curious about how it all works? Dive into this guide on how to build a self-feeding fire and discover its benefits, materials needed, techniques involved, safety tips, maintenance advice—and even some creative uses for these mesmerizing fireside wonders!
Understanding the Concept of a Self Feeding Fire
A self-feeding fire operates on a simple yet brilliant principle: it sustains itself with minimal intervention. Instead of constantly adding logs, the setup allows wood to feed into the flames gradually. The key lies in how you arrange your fuel and airflow.
By strategically positioning logs or using a specific design, gravity can help pull new pieces into the heat zone as others burn down. This ensures that there’s always fresh material available for combustion. This method not only provides a steady flame but also enhances efficiency.
You’ll find yourself spending less time managing your fire and more enjoying its warmth. It’s an art that combines physics with outdoor skills, making it both fascinating and practical for anyone looking to elevate their fire-making techniques.
The Benefits of Building a Self Feeding Fire
Building a self feeding fire offers numerous advantages that can enhance your outdoor experience. One of the most significant benefits is reduced maintenance. Once set up, the fire requires minimal attention, allowing you to enjoy nature without constant poking and prodding.
Another great aspect is efficiency. A well-constructed self feeding fire burns longer compared to traditional fires. This means more time for relaxation and less time worrying about running out of fuel. Additionally, these fires are eco-friendly.
By stacking wood strategically, you optimize airflow and combustion, which leads to better use of resources. Self feeding fires create a mesmerizing visual display. The flames dance gracefully as they consume the wood efficiently, providing both warmth and ambiance for gatherings with friends or family under the stars.
Materials Needed for Building a Self Feeding Fire
Building a self feeding fire requires some specific materials to ensure it operates efficiently. First, gather dry wood logs of varying sizes. You’ll need larger logs for the base and smaller kindling to get things started.
Next, consider using a fire pit or stone ring. This creates a contained environment that enhances airflow and safety. You will also want access to some lighter fluid or matches if you’re starting from scratch. Always prioritize safe ignition methods.
A shovel can help in arranging your wood structure properly, ensuring that air circulates effectively around the flames. Don’t overlook the importance of proper ventilation; having an open area where smoke can escape is crucial for maintaining your fire’s health and longevity.
Step-by-Step Guide to Building a Self Feeding Fire
Step 1: Creating a Stable Base with Logs
Creating a stable base is crucial for your self-feeding fire. Start by selecting sturdy logs that can support the structure above. Look for dry, seasoned wood; it ignites easily and burns longer.
Arrange the logs parallel to each other on the ground, leaving some space in between. This gap allows airflow, which fuels combustion.
Next, stack another layer of logs perpendicular to the first one. This crosshatch pattern increases stability and provides additional support as your fire grows.
Make sure the base is level—an unsteady foundation could lead to an uneven burn or even collapse later on. A solid start ensures that your self-feeding fire remains consistent and efficient throughout its duration.
With a strong base established, you’re ready to move forward with adding kindling and tinder for ignition!
Step 2: Adding Kindling and Tinder
With your stable base in place, it’s time to focus on kindling and tinder. These materials are essential for igniting the fire and ensuring it catches easily.
Start by gathering small twigs, dry leaves, or pieces of bark. This is your kindling—the fuel that will bridge the gap between your tinder and larger logs.
For tinder, look for highly flammable items like dried grass or newspaper scraps. You want something that lights quickly and burns hot enough to ignite the kindling.
Arrange a small pile of tinder at the center of your log cabin structure. Lay the kindling around it in a teepee shape, leaving space for air circulation. This setup encourages flames to rise efficiently as you light them.
The key here is positioning—ensure everything is compact yet breathable to allow oxygen flow while maintaining effective heat transfer.
Step 3: Building the Log Cabin Structure
Building the log cabin structure is a crucial step in creating your self-feeding fire. Start by laying down two larger logs parallel to each other, leaving enough space for air circulation.
Next, take additional logs and stack them crosswise on top of the first layer. This method creates a stable framework that promotes airflow while maintaining heat. The crisscross design helps the fire burn efficiently.
Ensure each layer fits snugly but allows gaps where oxygen can flow freely. You want flames to thrive without suffocating them under too much weight.
As you build upward, keep an eye on balance; it prevents collapse as the fire grows hotter. Once your structure reaches a suitable height—around three or four layers—you’re ready to proceed with adding kindling and tinder.
Step 4: Igniting the Fire and Letting it Burn
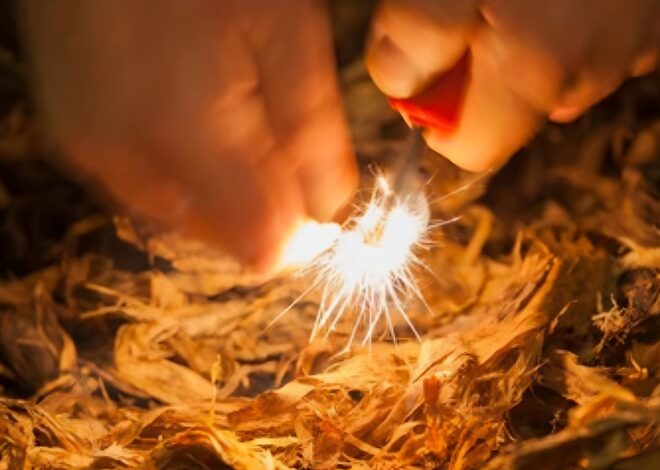
Once your log cabin structure is in place, it’s time to ignite the fire. Use a long lighter or matches to catch the kindling. Focus on lighting the edges first; this ensures an even burn.
As flames begin to rise, step back and observe how the fire develops. The logs will gradually catch heat from the burning kindling. This allows for a smoother transition into full flames without needing constant attention.
Allowing the fire to burn naturally is key here. As it consumes fuel, it will self-feed by drawing in more wood from your carefully arranged logs. Keep an eye on its progress but avoid smothering it with too much air or trying to adjust things unnecessarily.
Enjoy watching as your self-feeding creation takes shape—a mesmerizing dance of light and warmth that sustains itself with minimal intervention.
Different Techniques for Building a Self Feeding Fire
When it comes to building a self feeding fire, several techniques can enhance your experience. One popular method is the top-down fire; you stack larger logs at the bottom and smaller kindling on top. This allows for an efficient burn as the heat rises.
Another effective approach is the log cabin technique. It involves creating a square frame with logs stacked in alternating layers. This design promotes airflow while gradually feeding fuel into the flames.
If you’re camping or in a survival situation, consider using a teepee structure. Arrange sticks in a cone shape over your tinder, allowing easy access for air circulation and quick ignition.
Try experimenting with different fuels like pine needles or dry leaves mixed within wood layers. These natural accelerants can spark quickly and keep your fire sustained longer without constant attention.
Safety Precautions and Tips
Safety should always be your top priority when building a self feeding fire. Start by selecting a safe location, away from flammable materials like trees or structures. A clear area will minimize risks. Always keep a bucket of water or sand nearby.
This ensures you can quickly extinguish the fire if it gets out of control. When choosing your fuel, opt for dry wood and avoid any treated lumber that could release harmful chemicals into the air. Wear gloves to protect your hands while handling hot materials.
Even small sparks can cause burns, so it’s wise to maintain a safe distance. Never leave the fire unattended. Check on it regularly to ensure its stability and make adjustments as needed. These precautions will help create an enjoyable experience without compromising safety.
Tips and Tricks for Maintaining a Self Feeding Fire
To maintain a self feeding fire, regular monitoring is essential. Check the fuel supply frequently to ensure it’s adequate for your needs. Adjusting the airflow can significantly impact the fire’s efficiency. More air typically means a hotter fire, while less can help control it.
Keep an eye on any ash buildup. Too much ash can obstruct airflow and hinder performance. Remove excess ashes as needed. It’s also wise to choose appropriate materials for your setup. Dry wood burns more efficiently than wet or green logs.
Experiment with different placements of fuel to determine what works best in your setup. Each environment may require slight adjustments for optimal performance. Always be prepared to stoke or rearrange if necessary. A little attention goes a long way in keeping that self feeding fire going strong!
Other Creative Uses for Self Feeding Fires
Self feeding fires can do more than just provide warmth. They offer innovative solutions in various outdoor activities. Consider using a self feeding fire for cooking during camping trips. With the right setup, you can prepare meals with minimal effort while enjoying the comforting crackle of wood burning nearby.
These fires also serve as an excellent source of light and ambiance for nighttime gatherings. The steady glow creates a cozy atmosphere perfect for storytelling or stargazing. In colder climates, homeowners can utilize self feeding fires for heating purposes.
This method allows them to maintain warmth efficiently without constant monitoring. Gardeners might find creative uses too. A self feeding fire can help manage yard waste effectively by converting branches and leaves into nutrient-rich ash that benefits soil health.
Embrace the versatility of self feeding fires; they enhance both practicality and enjoyment in many outdoor settings.
Conclusion
Building a self feeding fire can transform your outdoor or indoor experience. It offers convenience, efficiency, and an impressive display of flames that require minimal maintenance. As you master the techniques involved and gather your materials, you’ll find yourself captivated by this engaging process.
With safety always in mind, practice the various methods to ensure you’re comfortable and confident around fire. The joy of watching logs feed themselves into a roaring blaze is unmatched. Plus, exploring creative uses expands its utility beyond just warmth and cooking.
Whether you’re camping with friends or enjoying a cozy evening at home, knowing how to build a self feeding fire enriches your skills as both an outdoors enthusiast and entertainer. Embrace the adventure of creating lasting memories around the mesmerizing glow of flames that take care of themselves while you enjoy every moment.


This article offers a comprehensive guide to this fascinating and practical outdoor skill. I actually just started enjoying camping and being outdoors more and I feel I gained valuable insights into the benefits of self-feeding fires, including reduced maintenance, increased efficiency, and enhanced ambiance. The step-by-step instructions, make it easy to understand and apply the techniques. Additionally, the post provides helpful tips on safety precautions, maintenance, and creative uses for self-feeding fires. Overall, this informative article has equipped me with the knowledge and confidence to build my own self-feeding fire and enjoy the many advantages it offers. I must try this out and hopefully amaze my co-campers 😉 Thanks for this Jack.
Hi Kris,
There’s nothing like being in the great outdoors. It’s an experience like no other! Now that you know what it’s like, I’m sure you are well aware of what it takes for a great camping experience. Basic survival skills such as being able to safely build a campfire. However, I decided to write an article on how to build a sell-feeding fire also known as the all night fire. American pioneers used this technique to build their self-feeding fires which were crucial on the western frontier. So the next time you go camping, you’ll know how to build a self-feeding fire. Please come and share your experience building your self feeding fire. Happy camping Kris!