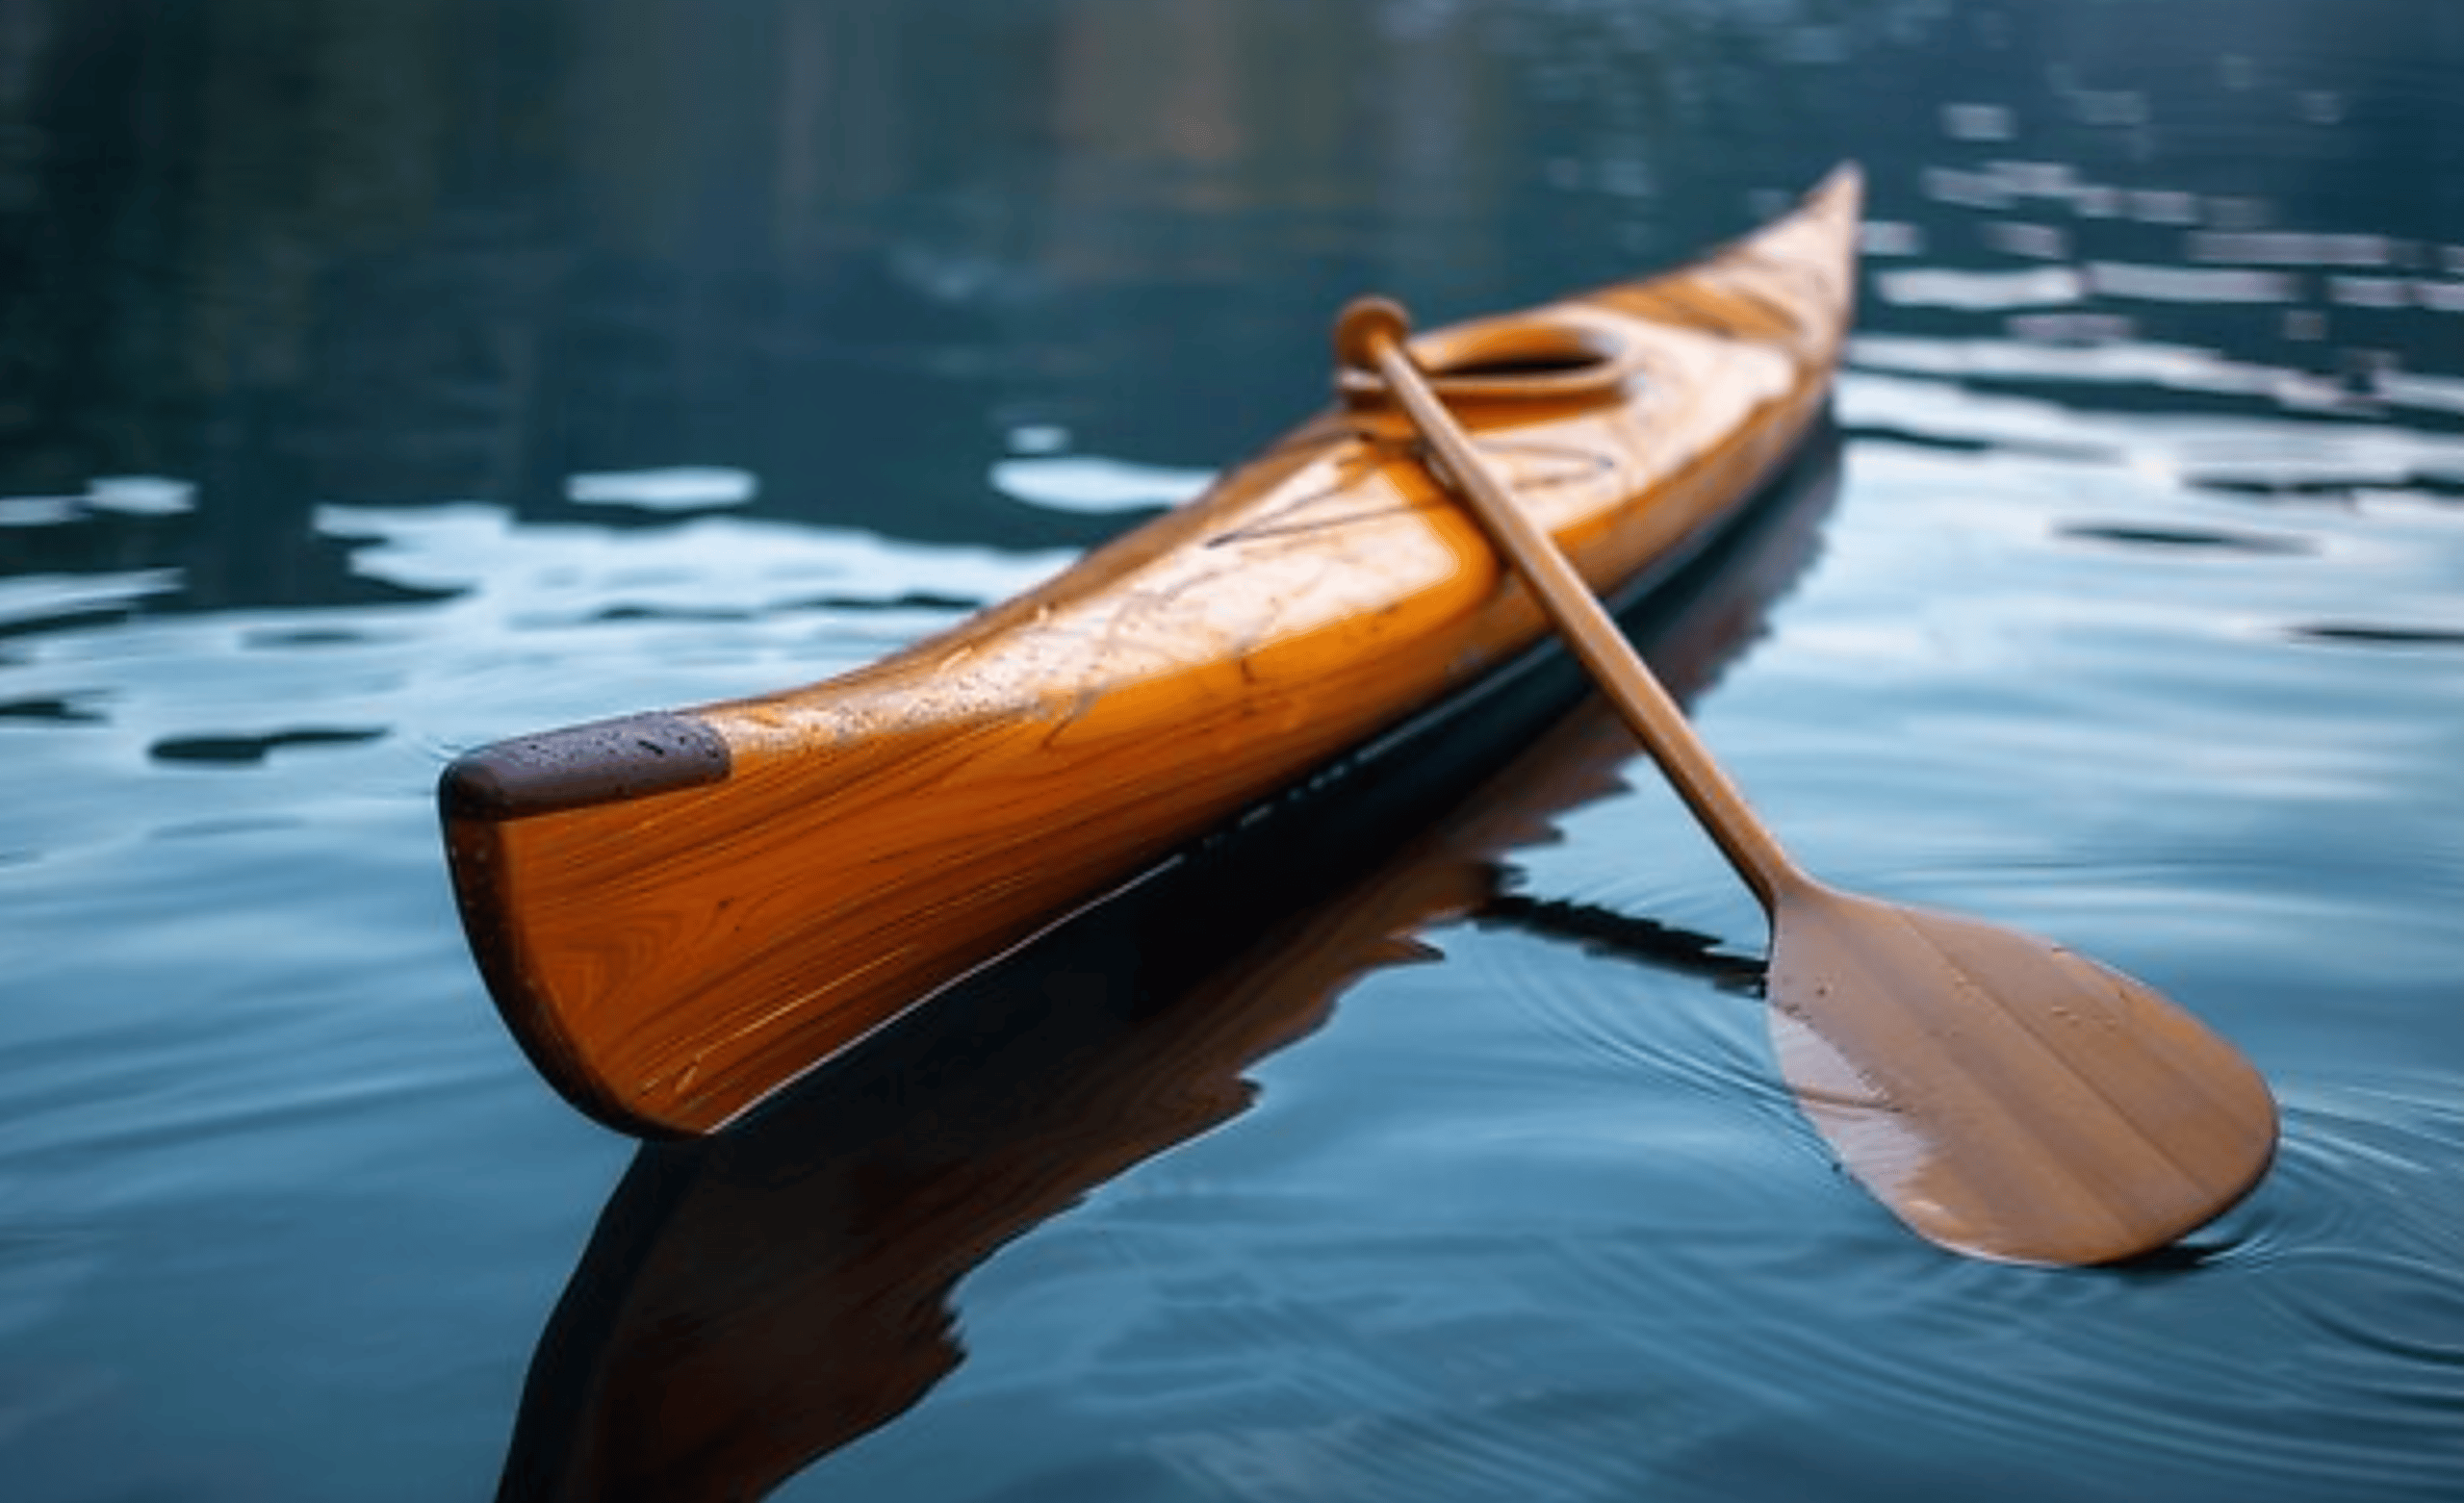
How To Build A Kayak
Learning how to build a kayak can be an exciting and rewarding adventure. Imagine gliding across serene waters in a vessel crafted entirely by your hands. Not only do you gain a unique boat tailored to your needs, but you also enjoy the satisfaction of creating something special.
Whether you’re a seasoned DIY enthusiast or just starting with woodworking projects, this guide will walk you through every step of the process. Kayak building might seem daunting at first, but with the right tools and guidance, it’s achievable for anyone ready to embark on this journey.
You’ll learn how to choose designs that suit your style and skill level while transforming materials into a functional masterpiece. So grab your gear and let’s dive into how to build a kayak!
Tools and Materials Needed
To build a kayak, having the right tools and materials is crucial. Start with basic hand tools like saws, chisels, and sanders. A good quality utility knife will be your best friend for precision cuts. For frame construction, you’ll need lightweight wood such as cedar or plywood.
These materials provide strength without adding too much weight to your kayak. Don’t forget about screws and epoxy; they play a vital role in holding everything together securely. A measuring tape and square are essential for accuracy during assembly.
Clamps can help keep pieces aligned while they’re being glued or fastened. Consider waterproofing materials like marine-grade varnish or paint to protect your kayak from water damage once it’s complete. With these tools and supplies at hand, you’re ready to start crafting your vessel!
Step-by-Step Guide to Building a Kayak
Building your own kayak can be a rewarding adventure. The process is both creative and practical, allowing you to craft something uniquely yours.
Step 1: Choosing a Design and Plans
Choosing the right design and plans is crucial in your kayak building journey. There are various styles to consider, from sit-on-top kayaks to traditional touring models.
Think about how you plan to use your kayak. Will it be for leisurely paddling, fishing, or tackling rough waters? Each purpose requires a specific shape and size.
Many resources offer free or paid designs online. Look for detailed plans that include measurements and materials lists. Some even come with step-by-step instructions.
Don’t hesitate to explore unique designs too! Customizing shapes can add personal flair while enhancing performance on the water.
If you’re new to this craft, starting with a simpler model can build confidence as you gain experience. Take your time selecting what feels right for you; it’s the foundation of your entire project!
Step 2: Preparing the Workspace
Creating the right workspace is crucial when building your kayak. Choose a well-ventilated area with plenty of room to maneuver around your materials and tools. A garage, basement, or even a large outdoor space can work wonders.
Next, organize your tools and materials within easy reach. Lay out everything you’ll need: wood strips, glue, screws, and any hardware required for assembly. This setup minimizes frustration later on.
Make sure to protect the floor from spills or scratches by laying down tarps or cardboard. Having a clean surface will help maintain focus throughout the project.
Lighting is essential as well; ensure that you have sufficient illumination so you don’t miss any details during construction. Think about using portable lights if necessary.
Gather safety gear like gloves and goggles before diving into this exciting journey of kayak building!
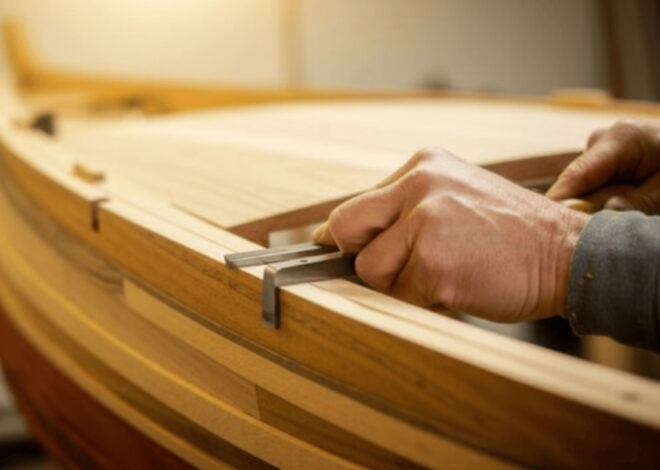
Step 3: Building the Frame
Building the frame is a crucial step in your kayak construction. It provides the structure and integrity that will support your entire vessel.
Start by carefully following your chosen design plans. Lay out all the frame pieces to ensure you have everything on hand. This stage requires precision, so take your time measuring and cutting each component.
Use lightweight materials like wood or aluminum for ease of handling. As you assemble, pay attention to joints; they need to be secure for stability on water. Clamping pieces together can help maintain alignment while fastening them.
Consider using epoxy resin or strong adhesives at junctions for added durability. Once secured, sand any rough edges to prevent splinters during use.
This foundation sets the stage for building a sturdy kayak that meets all safety standards while allowing for customization later on.
Step 4: Constructing the Hull
Constructing the hull is a crucial step in kayak building. This part determines how well your kayak will glide through water and withstand various conditions.
Start by selecting the material for your hull, typically plywood or fiberglass. Plywood offers durability and ease of use, while fiberglass can provide a lighter weight option. Whichever you choose, ensure it’s waterproof to avoid any leaks during use.
Carefully cut your material according to the design dimensions. Use high-quality adhesive or epoxy resin to bond pieces together securely. Pay attention to curves; they’re essential for maintaining speed and stability on the water.
Allow ample time for drying before proceeding with further construction steps. A strong foundation here means fewer worries when you’re paddling out into open waters! Keep everything smooth; sand down rough edges for an aesthetically pleasing finish as well as improved performance during each adventure you undertake.
Step 5: Adding the Deck
Once the hull is securely in place, it’s time to focus on adding the deck. This part of your kayak not only enhances aesthetics but also provides structure and support.
Begin by selecting a material that complements your design. Lightweight plywood or fiberglass are popular choices among builders. Cut the panels according to your plans, ensuring they fit snugly over the frame.
Secure the deck using epoxy or screws, making sure every joint is reinforced for strength. A watertight seal is crucial here; any gaps could lead to unwanted leaks during use.
After attaching, sand down rough edges for a smooth finish. You might want to consider ventilating hatches as well, providing easy access to storage inside while keeping everything protected from water splashes.
Don’t forget about aesthetics! Painting or varnishing adds personality and protects against environmental wear and tear.
Step 6: Adding Finishing Touches
With the hull and deck in place, it’s time to focus on those finishing touches that will elevate your kayak. Start by sanding any rough edges for a smooth finish. This attention to detail not only enhances aesthetics but also improves safety.
Next, consider applying a protective coat of varnish or epoxy resin. This layer adds durability against water damage while giving your kayak a professional sheen. Choose colors wisely; bright shades can enhance visibility on the water.
Don’t forget about hardware installation! Attach grab handles and footrests securely to ensure comfort during paddling. A few strategically placed bungee cords can also help stow gear safely.
Think about personalization options like decals or custom paint designs. These unique elements reflect your personality and make your kayak truly yours as you prepare to hit the water with style.
Tips for a Successful Build
Building a kayak can be rewarding, but a few tips can enhance your experience. Start by taking your time. Rushing through any part of the process may lead to mistakes or unsatisfactory results. Ensure you read all instructions thoroughly before beginning each step.
Understanding the requirements will save you headaches later on. Organization is key. Keep your tools and materials neatly arranged to avoid losing anything mid-project. Don’t hesitate to ask for help if you’re unsure about something. Engaging with online communities or local builders can provide valuable insights.
Consider documenting your progress with photos or notes. This not only helps track advancements but also serves as great reference material for future projects. Embrace creativity! Making adjustments along the way allows you to add personal touches that make your kayak truly unique.
Customizing Your Kayak: Design Options
Customizing your kayak opens up a world of possibilities. You can let your creativity shine with colors, patterns, and graphics that reflect your personality. Consider adding custom decals or painting intricate designs on the hull. This not only enhances aesthetics but also helps in identifying your kayak among many.
Storage is another area where customization shines. Adding extra compartments or modifying existing ones allows for better organization during trips. Think about integrating bungee cords for securing gear easily. Don’t forget about comfort! Upgrading the seat to something more ergonomic can drastically improve long paddling sessions.
Adjustable footrests are also a great addition to enhance overall ergonomics. Think about accessories like fishing rod holders, cup holders, or even built-in LED lights if you plan on nighttime adventures. Each tweak you make transforms your kayak into a personal reflection of what waterway exploration means to you.
Launching and Maintenance of Your Kayak
Launching your kayak is an exciting moment. Choose a calm day and a suitable location. Ensure the water is deep enough to avoid scraping the bottom. Carry your kayak carefully to the edge, keeping it upright. Before you launch, check all equipment like paddles and life jackets.
Secure everything in place for easy access once on the water. Once launched, practice stability by sitting in gently before paddling away from shore. Take time to familiarize yourself with how it handles. Maintenance plays a crucial role in extending your kayak’s lifespan.
Rinse off saltwater or dirt after each use to prevent wear and tear. Store it out of direct sunlight when not in use; UV rays can damage materials over time. Inspect regularly for cracks or leaks, especially at seams and joints. Repair any issues promptly for safety and durability as you continue your adventures on the water.
Conclusion and Benefits of Building Your Own Kayak
Building your own kayak can be a fulfilling and rewarding experience. It offers a unique sense of accomplishment that store-bought options simply cannot match. You become intimately familiar with your vessel, knowing every curve and contour.
Creating a kayak tailored to your preferences means you have control over its design, materials, and features. This customization allows for enhancements in performance or comfort based on how you plan to use it. Whether it’s for leisurely paddling on calm lakes or tackling more adventurous waters, the choice is yours.
Moreover, this process fosters creativity and resourcefulness. Each step taken in constructing your kayak teaches valuable skills—like woodworking, planning, and problem-solving—that extend beyond just boat building.
The satisfaction doesn’t end once you’ve launched your new creation onto the water; maintaining it becomes an enjoyable journey too. Caring for something you’ve built instills pride while also deepening your connection to nature during each outing.
For those who love water sports or seek adventure, crafting a personalized kayak opens doors to endless exploration while enriching life experiences along the way. Why not embark on this journey?
2 thoughts on “How To Build A Kayak”
Leave a Reply
Related Posts
How To Build A Plywood Boat
How To Build A Small Boat

As a person who loves fishing and just being in the outdoors, preferably on a lake or river, knowing how to build a kayak would be something cool to do. Your article provides a lot of detail on how to do it, I would just recommend a few pictures to go with the explanations. But overall a good article, opened my eyes to something new…
Hey Larry,
Thanks for stopping by and sharing your thoughts on how to build a kayak. Building your own kayak can be overwhelming but with the right guide, anyone can do it. So go ahead and give it a try. If you do decide to build your own kayak. Please come back and share your experience with us. Happy kayak building!
Best wishes,