Beer Brewing For Beginners
Our guide on beer brewing for beginners is an exciting journey filled with creativity and science. Have you ever sipped a craft beer and thought about how it was made? The rich flavors, the intricate aromas, and that satisfying fizz—there’s something truly magical about beer.
Now, imagine taking that experience a step further by brewing your own at home! Whether you’re aiming to impress friends at your next gathering or simply enjoy a refreshing pint crafted by your own hands, this guide will walk you through every essential step.
So grab your apron and get ready to dive into the world of home-brewing where endless possibilities await!
What is Beer Brewing?
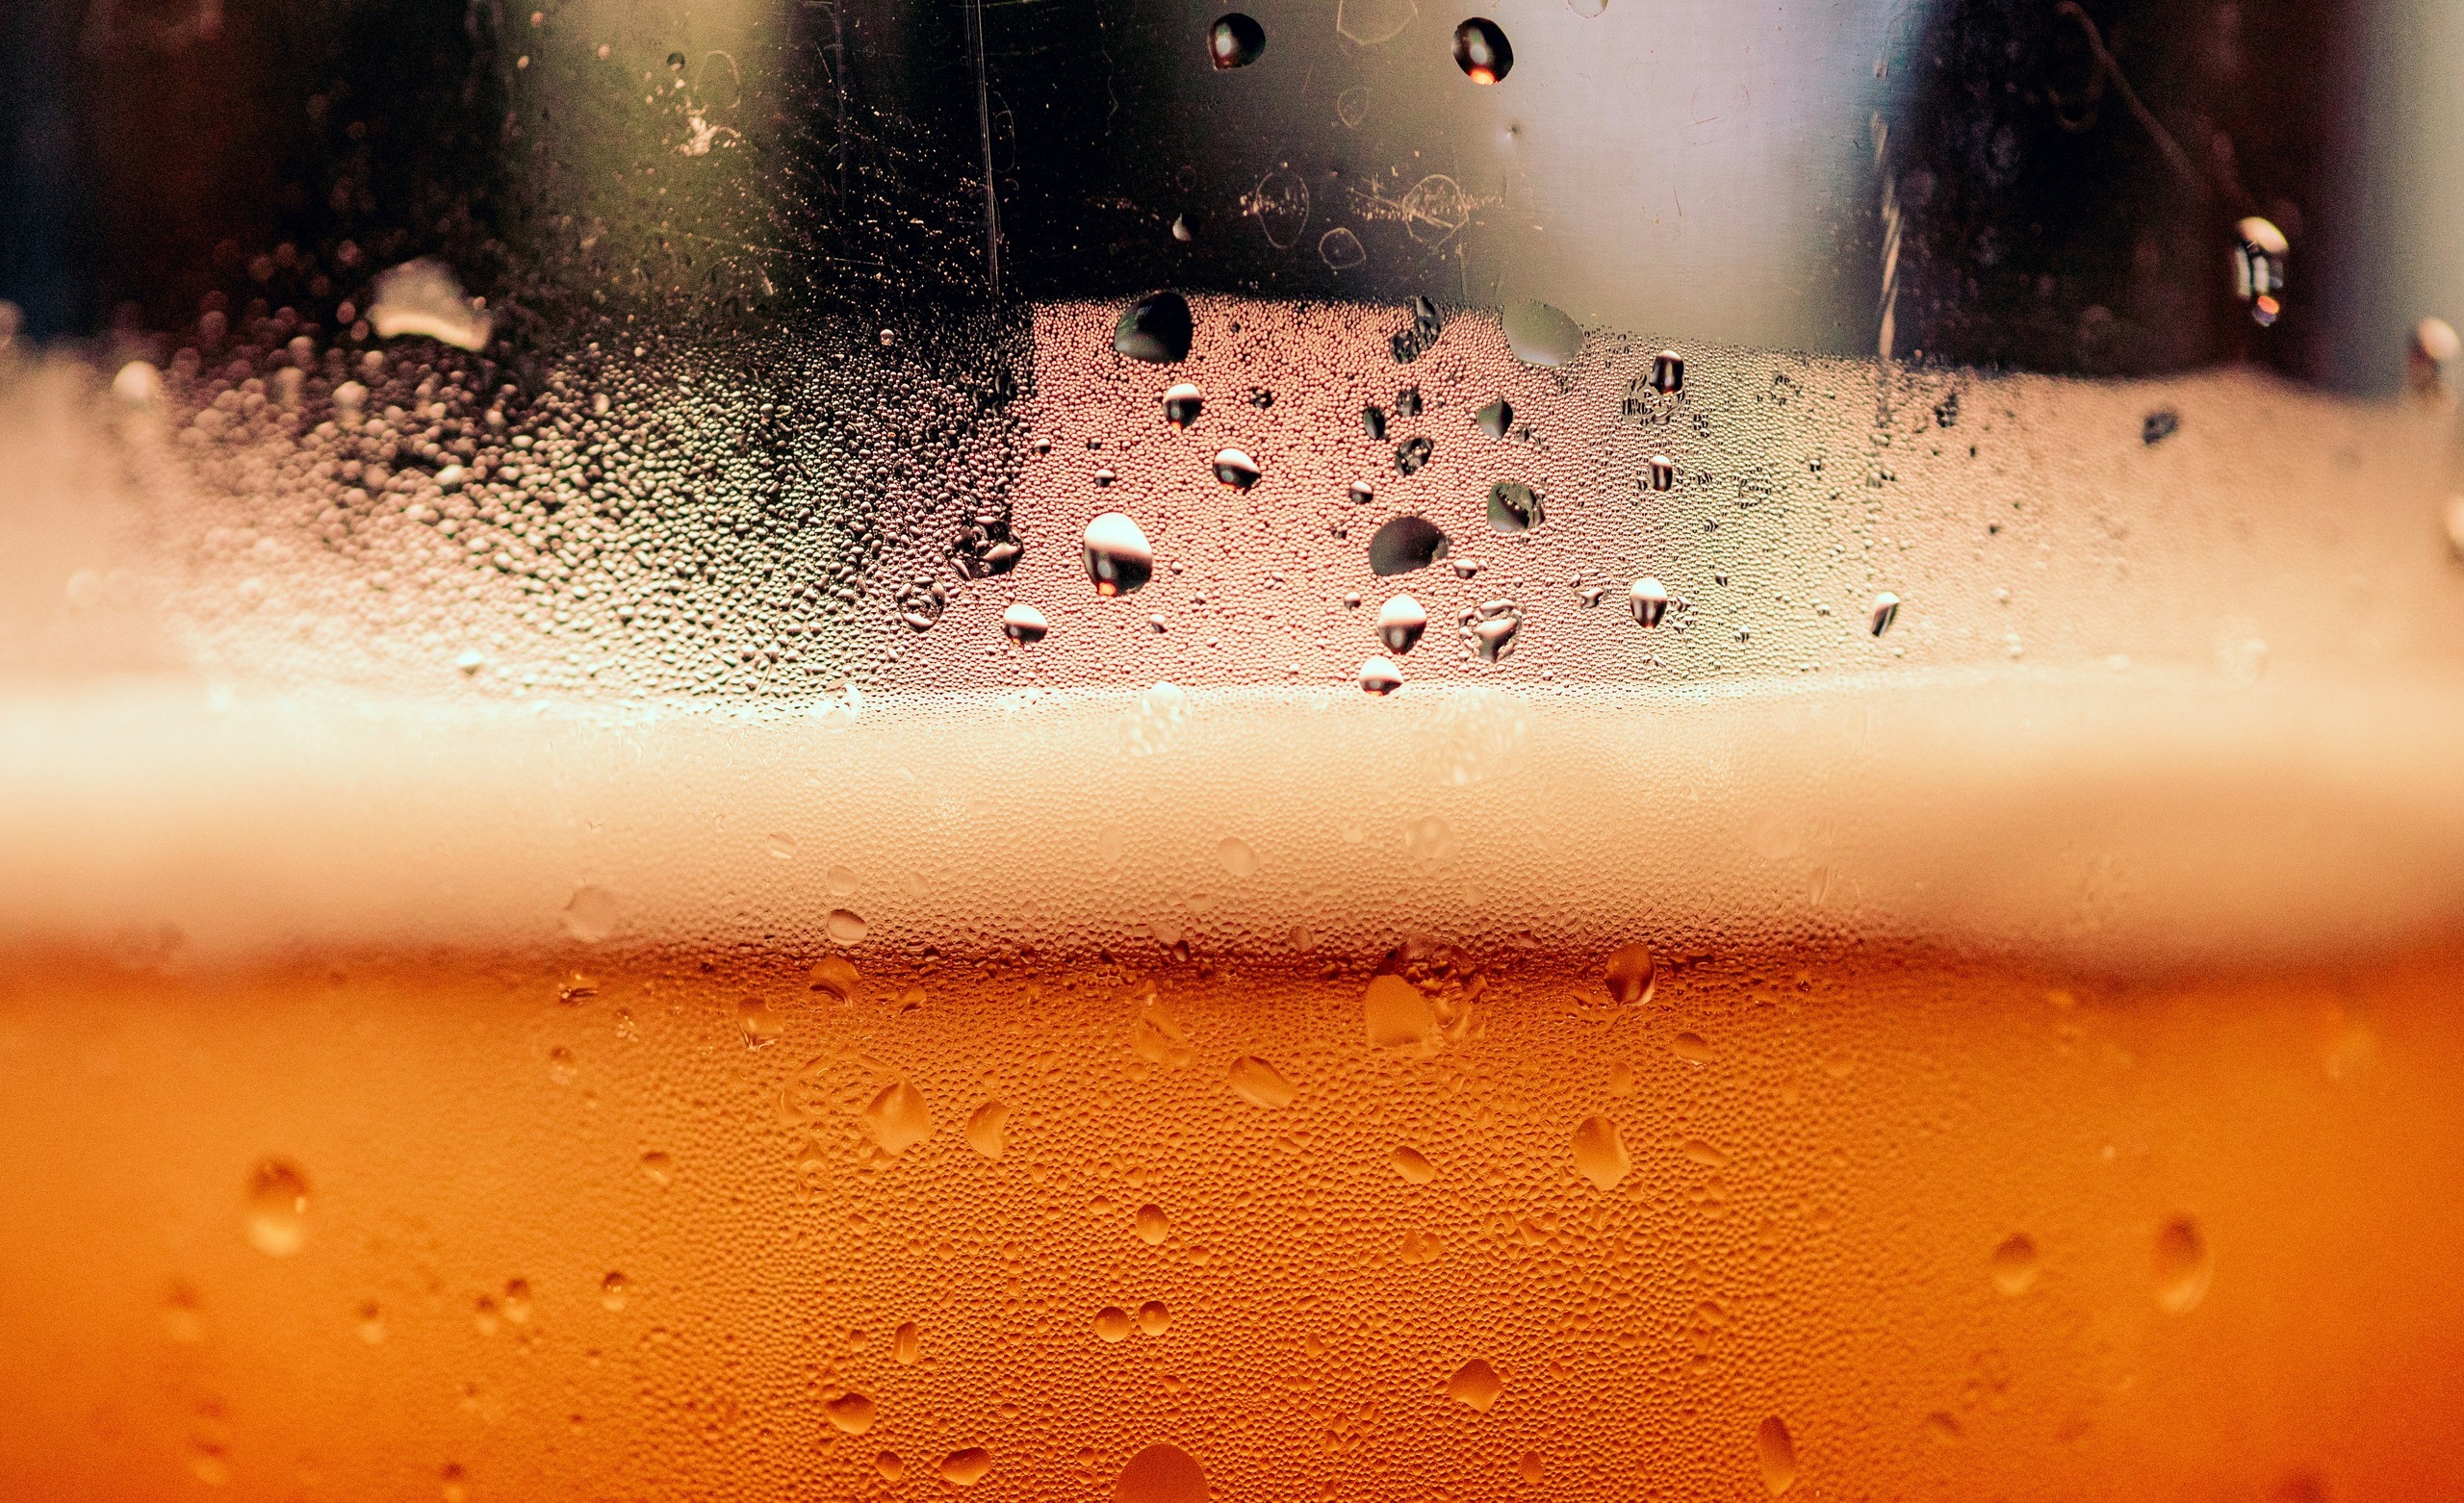
Beer brewing is the art and science of transforming simple ingredients into a delicious beverage. At its core, it involves the fermentation of sugars extracted from grains, primarily barley. This process creates alcohol, flavor compounds, and carbonation.
The magic begins when malted grains are mixed with hot water to create a mash. During this stage, enzymes break down starches into fermentable sugars. Once the sugar-rich liquid—called wort—is extracted, hops are added for bitterness and aroma.
Yeast plays a crucial role in beer brewing as well. It consumes the sugars in wort during fermentation, producing alcohol and carbon dioxide in return. The whole process can take weeks or even months depending on the style of beer being brewed.
Each brewer has their unique approach to crafting recipes that reflect personal tastes while incorporating regional influences and traditions.
The History of Beer Brewing
Beer brewing dates back thousands of years, with evidence found in ancient Mesopotamia around 5,000 BC. Sumerians revered the beverage, even dedicating a goddess to it named Ninkasi. They celebrated its creation in hymns and recipes.
As civilizations evolved, so did beer-making techniques. Egyptians brewed their own varieties using barley and emmer wheat while incorporating spices for flavor. Beer became integral to their culture, often consumed daily by people of all ages.
By the Middle Ages, monasteries across Europe took charge of brewing. Monks perfected methods, creating richer flavors and higher alcohol content. This period marked significant advancements like hops as a preservative.
The Industrial Revolution brought further innovation—mechanization transformed home-brewing into large-scale production. Despite these changes, the craft of home-brewing remained alive through generations as enthusiasts sought to connect with history and tradition in every batch they created.
Health Benefits of Home-Brewed Beer
Home-brewed beer offers more than just a delightful taste. It can provide notable health benefits that may surprise many enthusiasts. First, home-brewing allows for control over ingredients. You can choose organic grains and hops, reducing exposure to harmful chemicals often found in commercial beers.
Moderate consumption of beer has been linked to heart health. The antioxidants present can help reduce the risk of heart disease by improving cholesterol levels. Additionally, brewing your own means you’re less likely to consume preservatives or additives commonly found in store-bought varieties.
This purity enhances both flavor and potential health benefits. Moreover, sharing your creations fosters social connections. Engaging with friends over a pint promotes relaxation and happiness—two essential elements for mental well-being.
Turning brewing into a hobby not only nurtures creativity but also contributes positively to your physical and emotional health.
Equipment and Ingredients Needed for Beer Brewing
When diving into beer brewing for beginners, having the right equipment is crucial. Start with a fermentation vessel, which can be glass or food-grade plastic. This is where your magic happens. Next on the list are airlocks and stoppers to allow gases to escape during fermentation while keeping contaminants out.
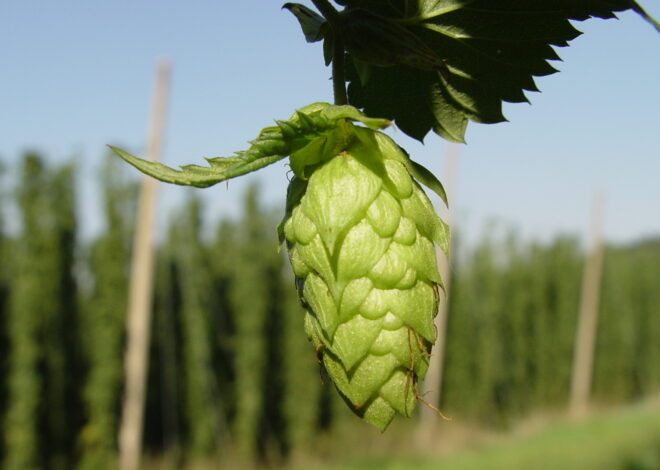
Don’t forget a hydrometer; it measures alcohol content by evaluating sugar levels in your brew. Moving on to ingredients, malted grains are essential as they provide sugars for fermentation. Hops add bitterness and aroma—choose your favorites wisely!
Yeast is the powerhouse that transforms sugar into alcohol, so selecting a good strain will impact flavor significantly. Water quality matters too; it’s often overlooked but can make all the difference in taste. Having these basics will set you up nicely for an enjoyable brewing experience without unnecessary complications.
Step-by-Step Guide to Brewing Your First Batch:
Brewing your first batch of beer can be both exciting and rewarding. Follow these simple steps for a successful experience. Be prepared for potential troubleshooting along the way; it’s part of learning! Many home-brewers encounter issues initially but learn from each experience as they refine their craft.
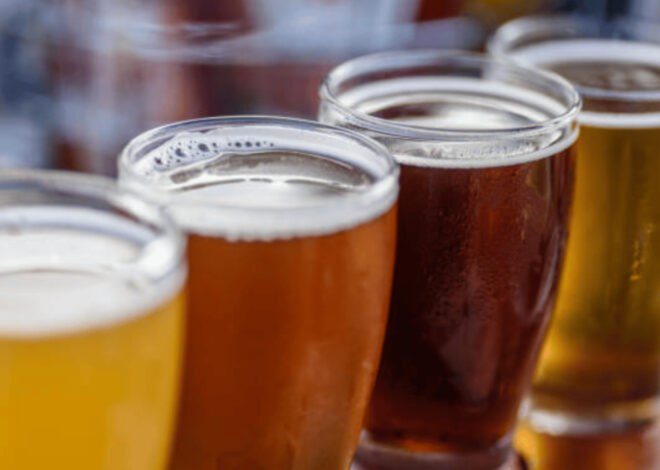
Step 1. Choosing Your Style of Beer
Choosing your style of beer is the first exciting step in your brewing journey. With countless varieties available, it can feel overwhelming at first.
Start by considering what you enjoy drinking. Are you a fan of hoppy IPAs or do stouts and porters call to you? Each style brings its own unique flavors and characteristics.
Research popular styles like pale ales, lagers, or wheat beers. Understanding their profiles helps narrow down your options. Think about seasonal preferences too—light and refreshing for summer, rich and hearty for winter.
Don’t hesitate to experiment! A homebrew allows you to create something tailored just for you. Write down a few styles that intrigue you and explore recipes that match them.
This process sets the stage for an enjoyable brewing experience while keeping your taste buds excited along the way.
Step 2. Sanitizing and Preparing Your Equipment
Sanitizing your equipment is a crucial step in beer brewing for beginners. Any leftover residue can spoil your hard work.
Start by gathering all the necessary tools: fermenters, bottles, and utensils. Rinse everything with hot water to remove dust or dirt.
Next, choose an effective sanitizer. Many homebrewers prefer no-rinse sanitizers for convenience. Follow the instructions carefully to ensure proper dilution.
After sanitizing, let your equipment air dry completely. This ensures that there’s no lingering moisture that could lead to unwanted bacteria growth.
Remember, cleanliness is key in brewing! Treat every tool as if it will touch your brew directly—because it will!
Keep a clean workspace throughout the process too. A tidy area helps maintain focus and reduces contamination risks during brewing sessions.
Step 3. Preparing the Mash
Preparing the mash is a critical step in beer brewing for beginners. It’s where the magic begins, transforming your grains into fermentable sugars.
Start by heating water to around 150-155°F (65-68°C). This temperature range helps activate enzymes within the malted grains. Pour the crushed grains into a large brew kettle or mash tun. Then, slowly add hot water while stirring to avoid clumps.
Once everything is mixed well, maintain this temperature for about 60 minutes. During this time, the starches convert into sugars through enzymatic action. You’ll notice a sweet aroma wafting up—this means you’re on track!
After an hour has passed, it’s time to rinse off any remaining sugars from the grain bed with additional hot water in a process called sparging. Collect this sugary liquid; it will be your wort—the foundation of your future beer!
Step 4. The Boil Process
The boil process is a critical step in beer brewing. It’s where the magic really begins to happen. Once you’ve prepared your mash, it’s time to bring that liquid to a rolling boil.
As you heat the wort, various flavors and aromas start to develop. This stage typically lasts about an hour. During this time, hops are added at different intervals for bitterness and flavor balance.
Keep an eye on your pot; boiling too vigorously can lead to unwanted evaporation or even scorch the wort. Stir gently if necessary, ensuring everything mixes well while avoiding any stuck bits on the bottom.
Don’t forget about sanitation—this is key! Bacteria don’t stand a chance against high temperatures, but be mindful of introducing anything unclean after boiling finishes. The next phase will soon follow as you cool down this flavorful brew ready for fermentation.
Step 5. Fermentation and Bottling
Fermentation is where the magic happens. Once your wort has cooled, transfer it to a sanitized fermenter and add yeast. This tiny organism will consume sugars and produce alcohol and carbon dioxide.
Seal the fermenter with an airlock to allow gases to escape while keeping contaminants out. In just a few days, you’ll notice bubbling as fermentation gets underway.
After about one to two weeks, it’s time for bottling. Before you begin, make sure everything is properly sanitized — bottles, caps, and siphoning equipment are essential for preventing off-flavors or spoilage.
When bottling day arrives, carefully siphon your beer into clean bottles without splashing too much oxygen in there. Adding priming sugar before sealing helps carbonate your brew over the next couple of weeks.
Once capped, store them in a dark spot at room temperature until they’re fully carbonated. The anticipation builds as you wait for that first taste of your creation!
Step 6. Troubleshooting Common Issues
Even the best brewing plans can hit bumps along the way. It’s essential to know how to troubleshoot common issues that arise during the beer-making process.
One frequent problem is a stuck fermentation. If your brew isn’t bubbling as expected, check the temperature and ensure it’s within an optimal range. Sometimes, simply giving it a gentle swirl can help kick start those yeast cells into action again.
Another challenge could be off-flavors in your final product. This might stem from various sources like poor sanitation or using stale ingredients. Taste tests throughout the brewing process are key; they allow you to catch undesirable flavors before bottling.
Bottle bombs can occur if carbonation gets out of hand. Always measure priming sugar accurately and give bottles ample time to condition without overdoing it on sugar additions. Keep notes on each batch for future reference—learning from experience is invaluable!
Flavoring and Experimentation
Flavoring your home-brew can transform a basic recipe into something truly unique. The beauty of brewing at home lies in the endless possibilities for experimentation. Consider adding fruits, spices, or even herbs to enhance flavors. Citrus peels can brighten an ale, while vanilla beans might add depth to a stout.
Don’t be afraid to think outside the box; ingredients like coffee or cacao nibs can create delightful surprises. Timing is essential. Adding flavors during fermentation versus bottling impacts their intensity and character. Try small batches first to gauge how different additions affect taste.
Documentation is key when experimenting with flavors. Keeping notes on what works and what doesn’t will help refine your process over time. Remember that less is often more; start with subtle additions and adjust based on your palate preferences as you brew more frequently. Happy brewing!
Legal Considerations for Home-Brewers
Navigating the legal landscape of home brewing can be daunting for beginners. Each country, and often individual states or regions, has its own regulations regarding home production of beer. In many places, you are allowed to brew a certain amount of beer for personal use without needing a license.
However, it’s crucial to check local laws. Some areas have strict limits on how much you can produce annually. If you plan to share your creations with friends or sell them at events, additional permits may be necessary. Commercial distribution usually requires licenses that can involve fees and inspections.
Always keep records of your brewing activities. This not only helps with tracking but also proves useful if any questions arise about compliance with local laws. Being informed ensures that your brewing experience remains enjoyable and stress-free while adhering to regulations in your area.
Joining a Home-Brewing Community
Joining a home-brewing community can transform your brewing journey. It opens doors to shared knowledge and experiences. You’ll find fellow enthusiasts eager to share tips, tricks, and personal stories. Local clubs often host tastings and competitions, which are perfect for honing your craft. These events foster camaraderie and provide immediate feedback on your brews.
Online forums also offer a wealth of resources. You can ask questions, seek advice, or simply browse through countless discussions about different brewing techniques. Networking with other brewers allows you to experiment with new recipes. Collaboration can lead to exciting innovations that elevate your skills further.
Don’t underestimate the power of social media groups dedicated to home-brewing. They’re vibrant spaces where creativity thrives and friendships form over shared passions. Diving into these communities will enrich not just your brewing knowledge but also enhance the enjoyment of creating beer from scratch.
Conclusion: Brewing Your Own Beer
Brewing your own beer opens up a world of creativity and satisfaction. Each batch is an opportunity to experiment with flavors, styles, and techniques. The journey from novice brewer to skilled artisan can be both rewarding and fun.
As you embark on this adventure, remember that every great brew starts with a spark of curiosity. Embrace the learning curve; mistakes are just part of the process. Join local home-brewing groups or online forums for support, tips, and camaraderie as you refine your craft.
Whether you’re brewing for personal enjoyment or planning to share with friends and family, each bottle tells a story. Your unique recipes reflect your tastes and experiences. So grab your equipment, gather those ingredients, and start exploring the fascinating art of beer brewing—it’s time to raise a glass!
2 thoughts on “Beer Brewing For Beginners”
Leave a Reply
Related Posts
Advanced Beer Brewing Tips

Best Beer Bottles For Home Brewing
I found this article fascinating. Several years ago, I thought it would be fun to brew my own beer. I generally prefer darker beers, like Bocks for example. I went ahead and bought everything starting with a 5 gallon brewing pot and continuing onto the fermenting bottle, transfer tubing and 2 dozen 20 oz bottles.
I bought some beer kits that had all of the ingredients and brewed a couple of batches. It was fun watching the fermenting. process, and it was worth the wait when it was time to drink. It was surprisingly tasty! Most of the gear and the recipe kits were bought from a company that specialized in those kind of supplies.
The only reason I stopped was because I bought an induction cook top that required an iron pot, and I just never got around to buying one. As far as kits, do you recommend any particular companies, or do you think it is better to buy individual ingredients?
Hey Patrick,
Thanks for stopping by and sharing your experience brewing beer. Brewing beer is easier than most people think. It’s like anything else, a little knowledge and a little experience can go along way in brewing the perfect beer. And the best part is, you can brew beet to your own liking.
I too love watching the fermenting process. It’s been quite some time since I’ve brewed my own beer. Mostly because I’ve lost a taste for it. However, I still enjoy a beer or two from time to time but I don’t drink enough of it to brew my own beer any longer.
I gave all of my beer brewing equipment to my brother who regularly brews his own batch for personal consumption. Now as far as kits go, you have all the necessary equipment to brew your own beer so I would just use fresh ingredients unless you find it easier to invest in a kit.
Happy beer brewing Patrick,