How To Tan A Deer Hide
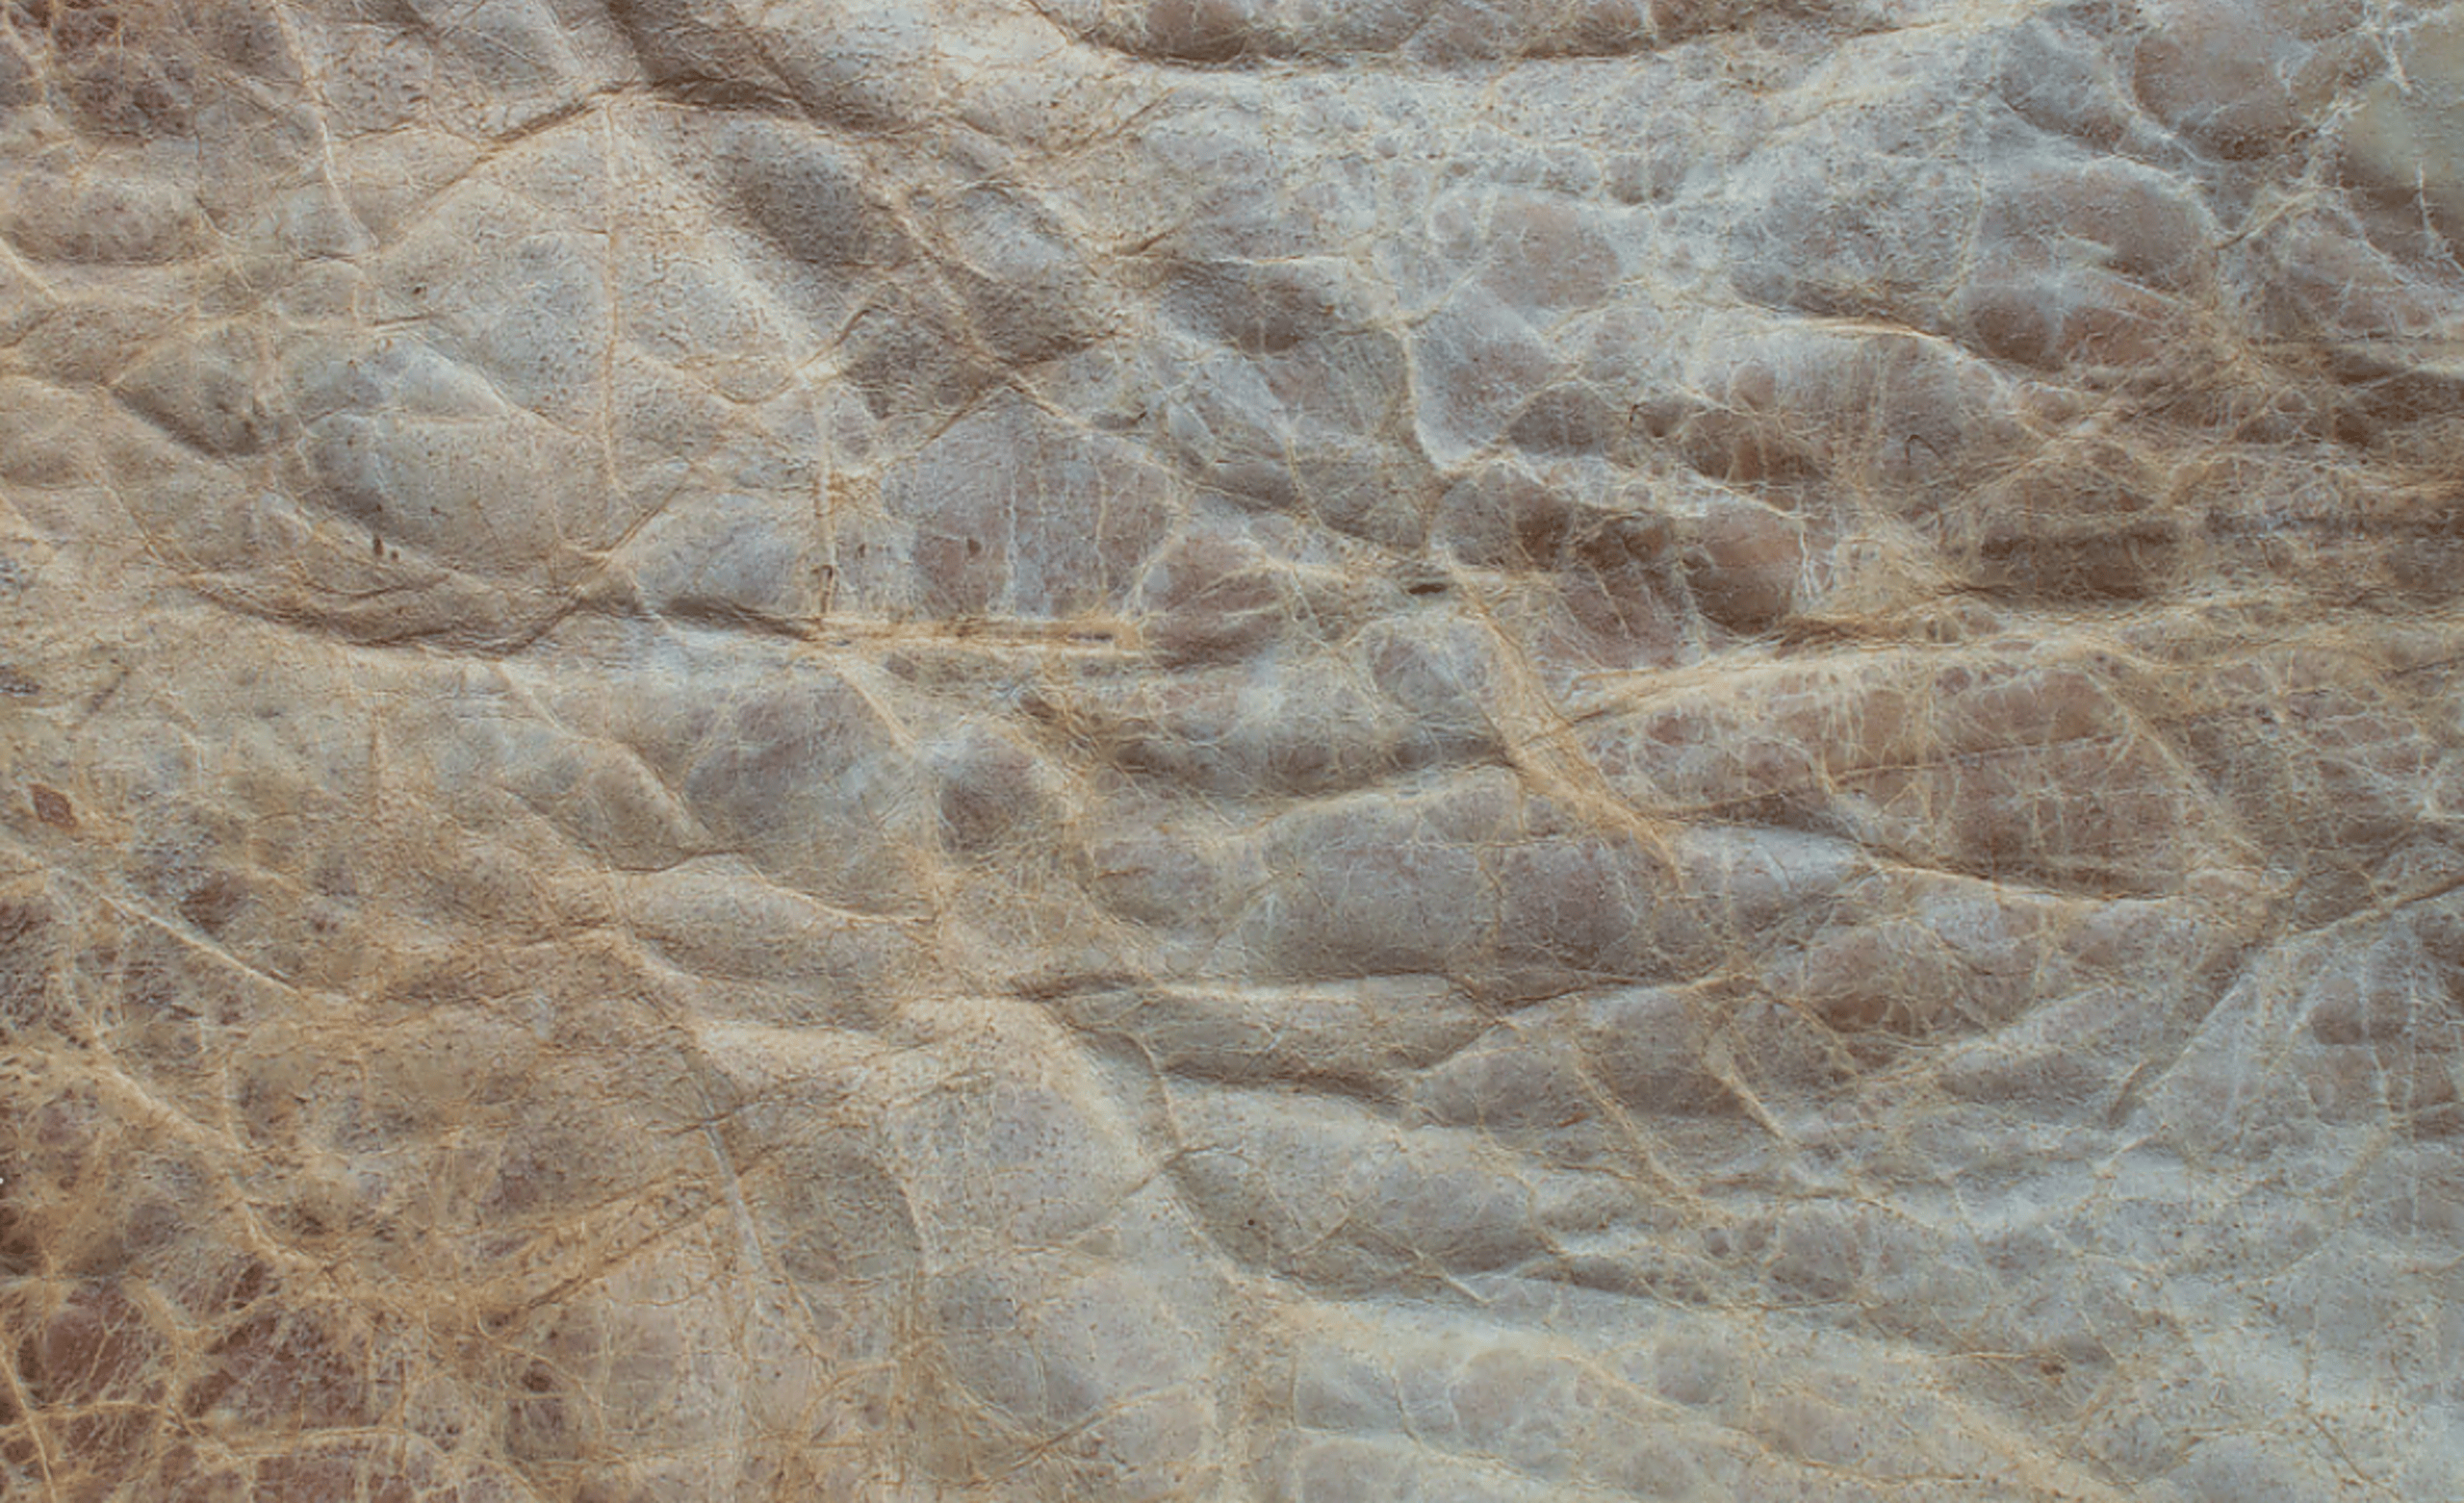
Are you ready to learn how to tan a deer hide? Tanning a deer hide is an age-old craft that transforms raw animal skins into beautiful, usable leather. Whether you’re looking to create unique clothing, functional gear, or stunning home decor, mastering the art of tanning can open up a world of creative possibilities.
Not only does it allow you to honor the animal by utilizing every part of it, but it also connects you with traditional skills passed down through generations. So if you’ve ever wondered how to tan a deer hide and unlock its full potential, this guide has got you covered! Let’s dive into the fascinating process together and discover how rewarding this project can be.
Benefits of Tanning Deer Hide
Tanning deer hide offers a range of benefits that go beyond mere aesthetics. First, it transforms raw skin into durable leather, making it suitable for various projects like clothing and accessories. This longevity means your work can stand the test of time.
Moreover, tanned hides maintain their natural beauty. The unique patterns and textures add character to any item you create. Each piece tells its own story. Additionally, tanning is an eco-friendly practice. It allows you to utilize every part of the animal sustainably while reducing waste in your hunting endeavors.
Engaging in this hands-on process fosters a deeper connection with nature and traditional crafting techniques. It’s not just about preserving hide; it’s also about honoring the animal’s life through mindful craftsmanship.
Tools and Materials Needed for Tanning
To successfully tan a deer hide, you’ll need a variety of tools and materials. Start with the basics: a sharp knife for fleshing and dehairing. A good quality knife makes all the difference in precision. Next, gather your soaking container.
This can be anything from a large tub to a barrel, depending on the size of your hide. You will also require water and possibly salt or other tanning agents. Don’t forget about brain matter if you’re opting for traditional methods; this is key to achieving that soft finish.
A stretching frame can help maintain shape as it dries—this is essential for preventing shrinkage. Keep some cloths handy for cleaning up spills or wiping excess moisture. With these tools ready, you’re well on your way to mastering the art of tanning deer hides!
Step-by-Step Guide to Tanning a Deer Hide
Tanning a deer hide involves several important steps that transform it from raw to usable leather. Each step requires patience, but the reward is well worth it when you see your beautifully tanned deer hide come to life.
Step #1: Preparing the Hide
Preparing the deer hide is a crucial first step in the tanning process. Start by carefully removing any excess flesh and fat from the skin. This ensures that you have a clean surface to work with.
Lay the hide flat on a clean, sturdy surface. It’s important to keep it smooth and free from wrinkles during this phase. Use a sharp knife for precision, taking your time to avoid damaging the hide itself.
Rinse the hide in cold water to remove any blood or debris. This initial wash helps prevent spoilage as you continue working on it.
Once rinsed, check for any remaining bits of flesh or fat; be thorough here! Proper preparation sets the stage for successful tanning and will make all subsequent steps easier and more effective.
Step #2: Fleshing and Dehairing the Hide
Once your hide is prepared, it’s time to tackle the fleshing and dehairing process. This step is crucial in ensuring a clean and supple final product.
Start by laying the hide flesh-side up on a sturdy surface. Using a sharp knife or fleshing tool, carefully remove any remaining fat and tissue. Work gently to avoid cutting into the skin. The goal here is to achieve an even layer without damaging the hide itself.
Next comes dehairing. If you’re using traditional methods, you may choose to soak the hide in water mixed with animal brains or other natural solutions for several hours. This helps loosen hair follicles, making them easier to remove.
After soaking, scrape off the hair with your knife or a specialized tool designed for this purpose. Rinse thoroughly afterward; this ensures all debris is gone before moving on to the next steps of tanning your deer hide.
Step #3: Soaking and Braining the Hide
Soaking the deer hide is a crucial step that prepares it for tanning. Start by immersing the hide in a solution of warm water mixed with salt. This helps to soften the skin and makes it easier to work with.
Once soaked, it’s time for braining. The process involves using animal brains or a brain substitute like soap or egg yolk. Apply this mixture evenly over the hide’s surface. The natural oils in the brain penetrate deeply into the fibers, which enhances flexibility and softness.
Make sure you massage it well into every part of the hide, ensuring complete coverage. Allow some time for absorption; this can take several hours depending on your method.
Afterward, rinse off any excess material carefully before moving on to stretching and drying your now supple deer hide. Each step builds upon one another toward achieving that beautifully tanned finish you desire.
Step #4: Stretching and Drying the Hide
Once you’ve brained the hide, it’s time for stretching and drying. This crucial step ensures your deer hide maintains its shape while preventing unwanted shrinkage.
Begin by laying the wet hide flat on a clean surface. Using your hands, gently pull and stretch the edges to create an even surface. Focus on areas that may be thicker or uneven; this helps achieve a uniform texture later.
Next, secure the stretched hide to a frame or board with nails or clamps. Make sure it is taut but not overly tight. This allows air to circulate freely during drying.
Let the hide dry slowly in a cool, shaded area. Avoid direct sunlight as it can cause fading and damage. Monitor its progress regularly; turning it occasionally prevents moisture build-up and promotes even drying throughout all sections of the hide.
Step #5: Smoothing and Softening the Hide
Once your hide is fully dried, it’s time to focus on the smoothing and softening process. This step transforms your stiff piece of leather into a supple material ready for crafting or displaying.
Begin by laying the hide flat on a clean surface. Use a smooth stone, wood paddle, or even your hands to gently rub the surface. The friction helps break down any remaining fibers that may feel coarse.
Next, you can use a mixture of water and natural oils like neatsfoot oil or mink oil. Apply this lightly with a cloth, massaging it into the hide. This not only hydrates but also enhances its flexibility.
Don’t rush through this stage; patience is key here. Work slowly until you achieve that desired softness while maintaining durability in the leather structure. A well-smoothed hide will feel luxurious against your skin and age gracefully over time.
Step #6: Finishing Touches and Maintenance Tips
Once your deer hide is soft and dry, it’s time to add those finishing touches. A light application of neatsfoot oil can help maintain suppleness while enhancing the natural luster. Use a soft cloth for even distribution.
Next, consider adding a protective layer with beeswax or lanolin. This not only helps keep moisture out but also adds an attractive sheen to your hide. Gently rub it into the surface, focusing on areas that may experience more wear.
For maintenance, store the hide in a cool, dry place away from direct sunlight. Avoid folding it tightly; instead, roll it loosely to prevent creases and damage.
Periodically check for signs of mold or dryness. If you notice any issues, treat them promptly with appropriate oils or waxes to preserve your hard work and ensure its longevity for future projects or displays.
Tips and Tricks for a Successful Tan
For a successful tan, timing is everything. Work during cooler parts of the day to prevent the hide from drying out too quickly. Maintain a clean workspace to avoid contaminants that can spoil the tanning process. A tidy area not only helps you stay organized but also keeps your hide free from unwanted debris.
Experiment with different natural brain solutions like egg yolk or animal brains for softer results. Each method has its nuances, so don’t be afraid to find what works best for you. Stay patient throughout each step. Rushing can lead to uneven results and undesirable texture.
Keep your tools sharp and in good condition. Well-maintained equipment makes each task easier and enhances overall quality.
Alternative Methods for Tanning Deer Hide
If traditional methods aren’t for you, there are alternative approaches to tanning deer hide that can yield impressive results. One popular option is using synthetic tanning agents. These chemicals often speed up the process and provide consistent outcomes.
Another method involves using salt and vinegar. This technique utilizes salt to draw moisture out of the hide while vinegar helps break down fats. The combination produces a softer, more pliable leather if done correctly. For those interested in natural options, consider brain tanning with animal brains or egg yolks.
While this method requires patience, many enthusiasts appreciate its organic appeal and historical roots. Experimenting with these alternatives allows you to find what works best for your preferences and desired outcome. Each approach has unique characteristics that can enhance your crafting experience.
Conclusion: Enjoying Your Beautifully Tanned Deer Hide
Tanning a deer hide is not just about preserving the material; it’s an art that connects you to nature and your heritage. Once you’ve followed the steps outlined, you’ll be left with a beautifully tanned hide that can serve many purposes.
Whether you decide to turn it into clothing, decorative items, or simply display it as a trophy, each use adds a personal touch. The satisfaction of working with your hands and creating something unique is unmatched.
Remember to take care of your finished product by storing it properly and keeping it away from direct sunlight or moisture for longevity. Enjoying the fruits of your labor will bring joy and pride every time you look at your expertly tanned deer hide. Embrace this skill — it’s more than just tanning; it’s about craftsmanship and tradition intertwined with nature’s gifts.


