How To Repair A Musket
Whether you’re restoring a family heirloom or keeping your favorite piece in working order, understanding how to repair a musket can deepen your appreciation for this historical firearm. Musket repair may not be the most common topic, but for enthusiasts and collectors alike, it’s an essential skill.
With their intricate mechanics and rich history, muskets deserve proper care and attention. Imagine holding a piece of history—an 18th-century weapon that once echoed through battlefields. Musket repairs are about more than just fixing; they’re about preserving stories etched into wood and metal over centuries.
In this guide, we’ll take you through everything you need to know about repairing a musket—from tools you’ll require to step-by-step instructions that break down the process. So roll up those sleeves; let’s dive deep into the world of musket maintenance!
Tools and Materials Needed
When preparing to repair a musket, having the right tools and materials is crucial. Start with basic hand tools like screwdrivers of various sizes, pliers, and wrenches. These will help you disassemble your firearm safely.
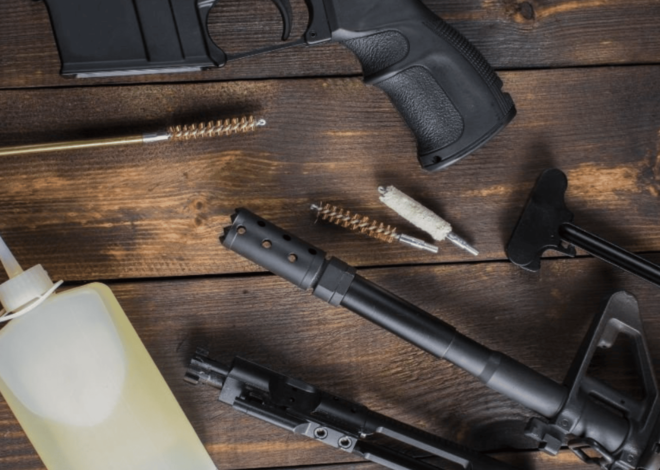
Next, you’ll need cleaning supplies. A good quality gun cleaning solvent, brushes, and patches are essential for removing residue and debris from the barrel and other components. Don’t forget about replacement parts. Depending on the condition of your musket, you might need springs, screws or even wood pieces for stock repairs.
Lubricants play an important role too. Gun oil helps maintain smooth operation after reassembly. Keep safety gear handy—gloves and eye protection are always wise choices when working on firearms like muskets.
Understanding the Parts of a Musket
A musket is a fascinating piece of history, comprised of various components that work together to fire ammunition effectively. At its core, the barrel is essential. It’s where the ignition and combustion occur. The length and caliber can greatly affect accuracy.
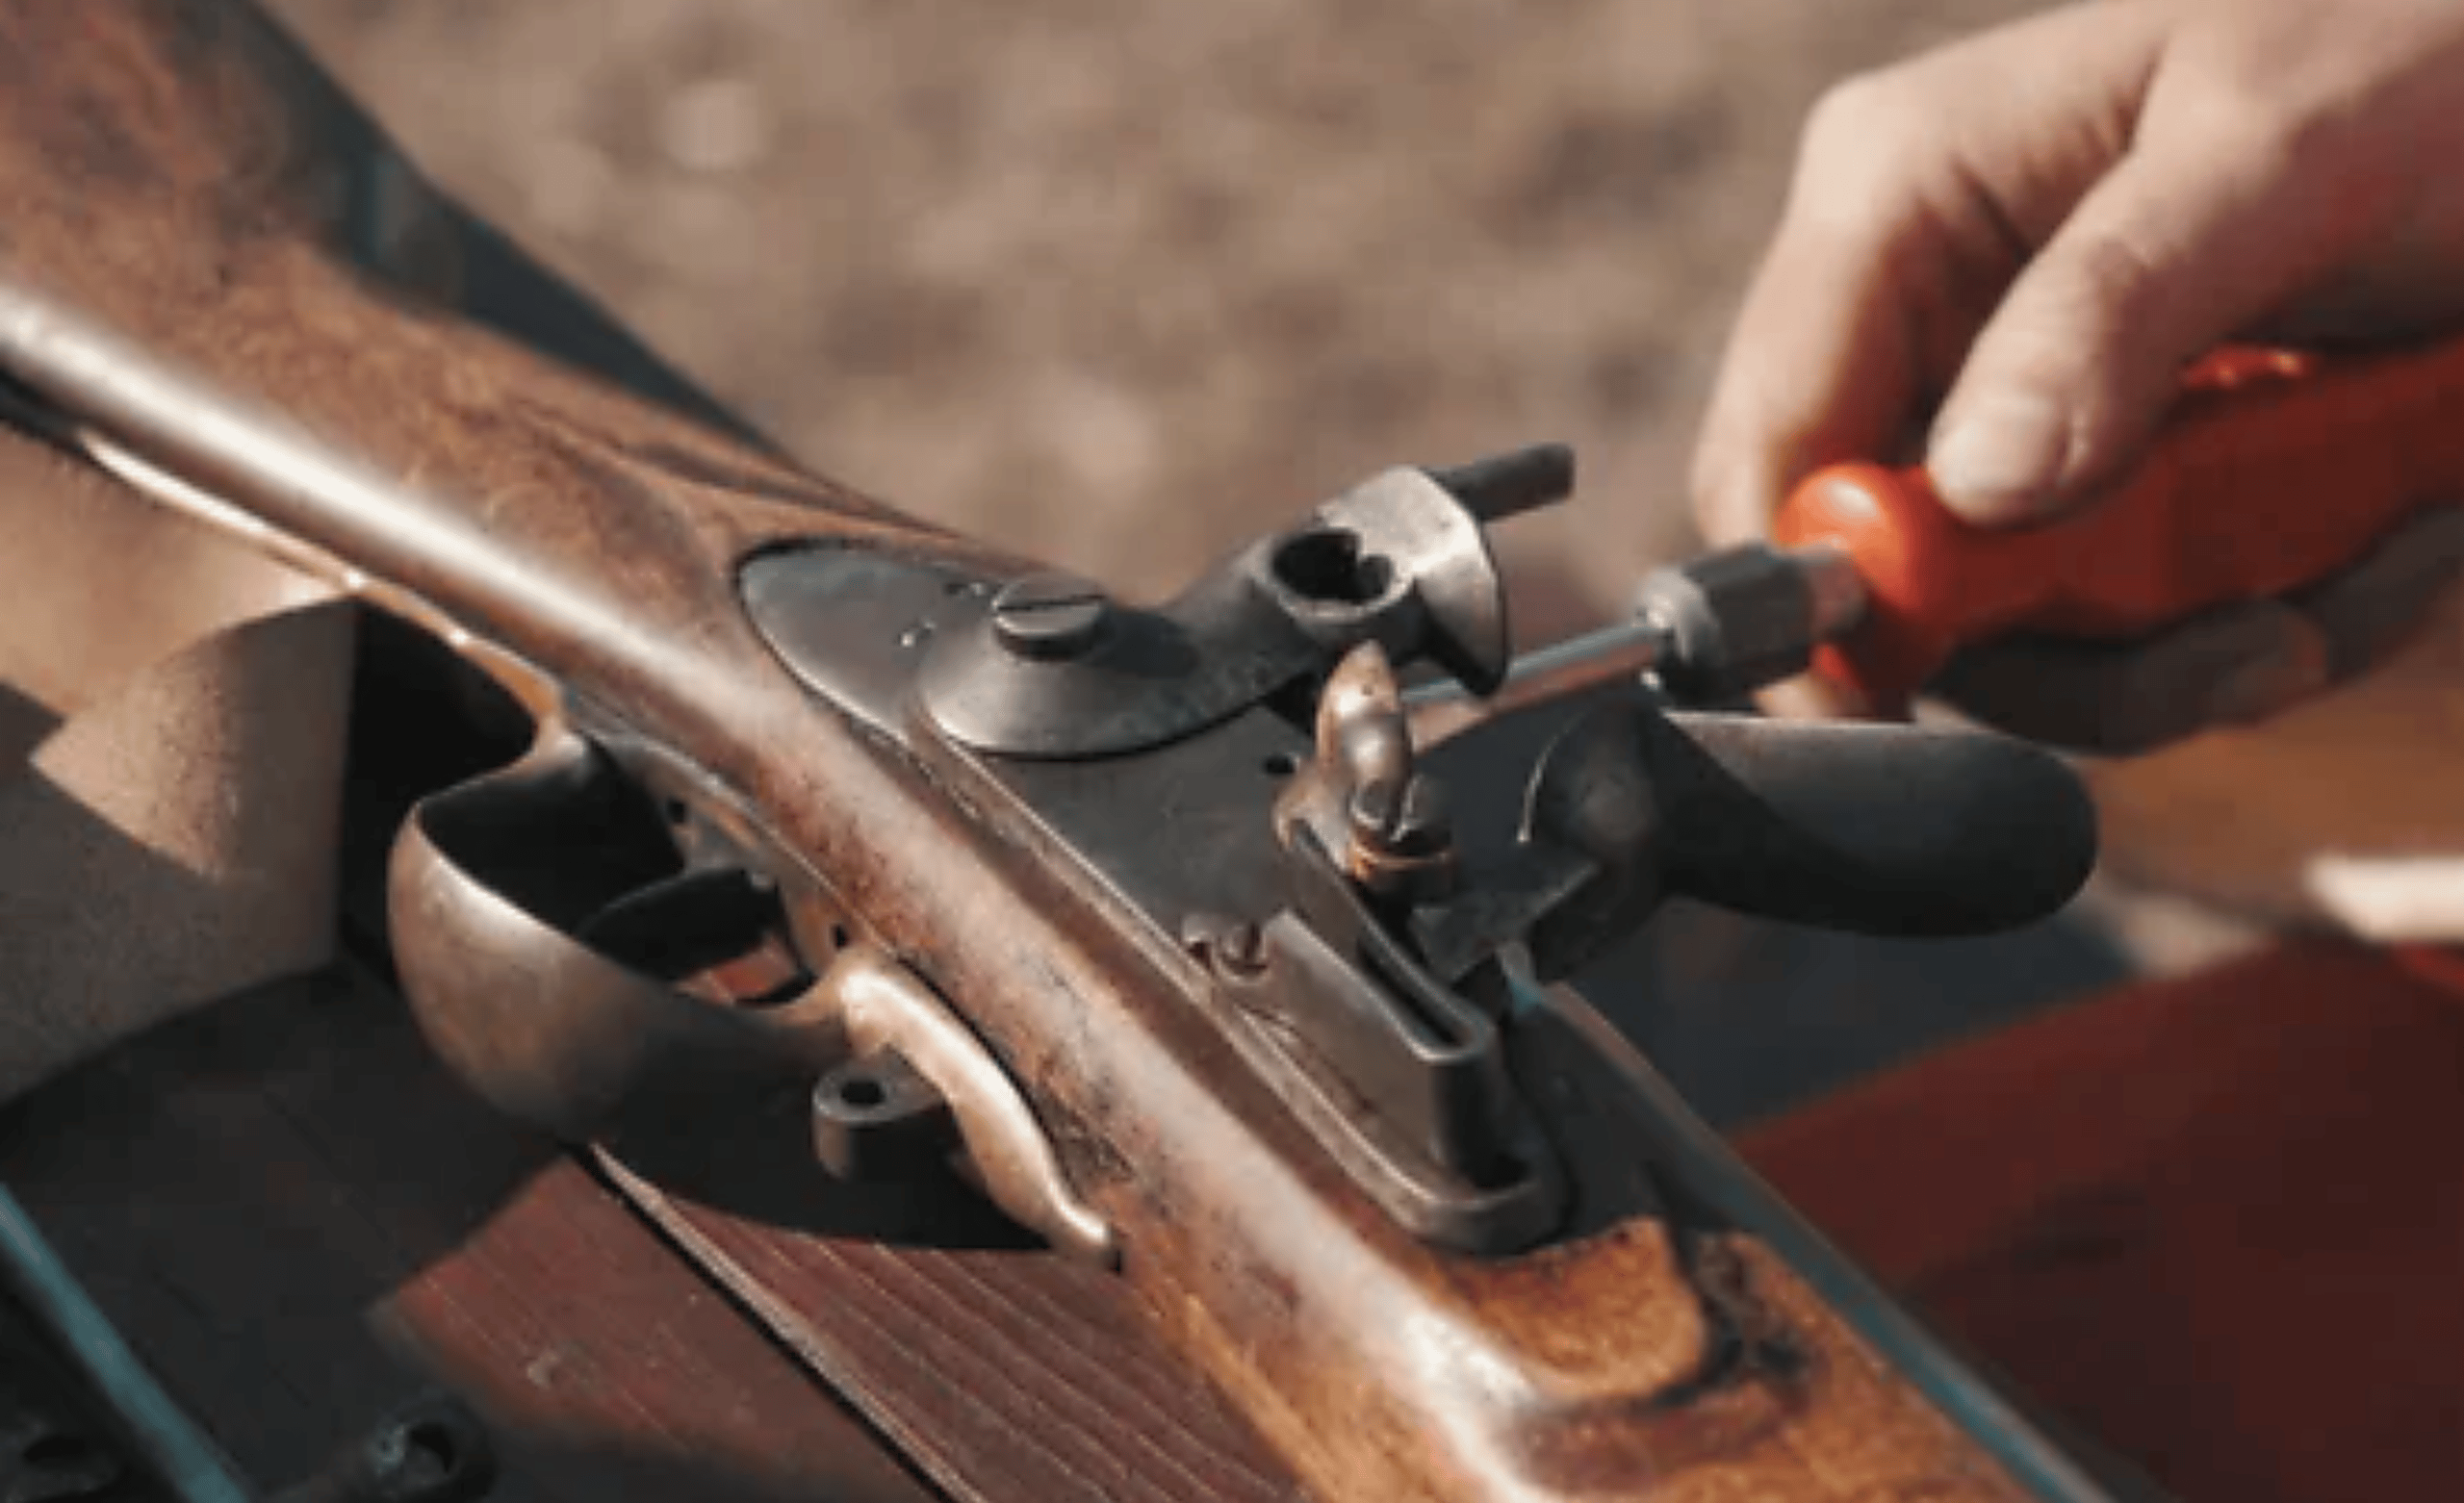
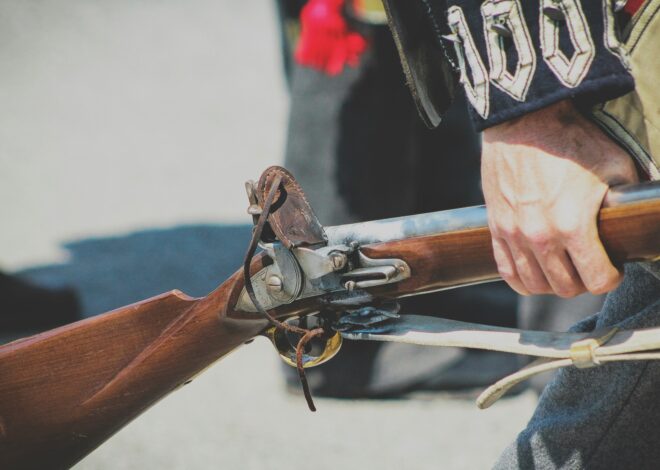
The lock mechanism is equally important. This part contains the hammer, frizzen, and pan—all crucial for creating a spark that ignites gunpowder. Next comes the stock, which provides stability and comfort during handling. Its design influences both weight distribution and overall aesthetics.
Don’t overlook small but vital elements like sights for aiming and triggers for firing mechanisms. Each component contributes significantly to performance. Understanding these parts helps not only in repairs but also enhances appreciation for this historical weapon’s engineering marvels.
Step-by-Step Guide to Repairing a Musket
Repairing a musket can seem daunting, but following a clear step-by-step approach makes it manageable. So let’s go ahead and repair your musket!
A. Cleaning and Disassembly
Cleaning and disassembly are essential steps in musket repair. Before starting, ensure you have a clean workspace. This will make the process smoother.
Begin by removing any ammunition or accessories from the musket. Safety is key here—double-check to avoid accidents. Once clear, gently wipe down the exterior with a soft cloth to remove dust and grime.
Next, use appropriate tools to carefully take apart your musket. Start with unscrewing screws or pins that hold parts together. Take note of each component’s position as you go; this will help during reassembly.
As you disassemble, inspect each part for wear or damage. Use brushes and cleaning solutions specifically designed for firearms to clean intricate areas like barrels and locks thoroughly. Remember, patience is crucial in this stage to prevent any unintentional damage while taking everything apart.
B. Identifying and Replacing Damaged Parts
When repairing a musket, identifying damaged parts is crucial. Start by examining the barrel for any signs of rust or pitting. A clean barrel ensures accuracy and safety.
Next, check the lock mechanism. Look for broken springs or worn-out sears that may hinder proper firing. These components are essential for reliable operation.
Don’t forget to inspect the stock as well. Cracks or loose fittings can affect overall stability and handling. If you find any issues here, consider using wood glue for minor repairs or replacing sections entirely if necessary.
If a part needs replacement, sourcing authentic materials is vital to preserve your musket’s integrity. Local gunsmiths or specialty suppliers often have what you need – just ensure they match original specifications closely.
Always remember: meticulous attention during this process will save time in future repairs and enhance your musket’s performance on the range.
C. Lubrication and Reassembly
Lubrication is vital for a musket’s performance. It ensures smooth operation and reduces wear on moving parts. Choose high-quality gun oil or grease specifically designed for firearms.
Apply lubricant sparingly to the lock mechanism, barrel, and any joints. Avoid over-lubricating; excess can attract dirt and grime, leading to future issues. Use a clean cloth or brush to distribute the oil evenly.
Once lubricated, reassembly begins with careful attention to detail. Start by aligning all components correctly according to your notes from disassembly. Secure screws gently but firmly—too tight can strip threads.
After everything is back in place, check that each part moves as intended before testing it out fully. A well-reassembled musket should feel solid yet fluid when handled carefully. Ensure you’ve followed every step meticulously; this will pay off during use on the range or in historical reenactments.
Common Issues and Troubleshooting Tips
When working with muskets, several common issues may arise. One frequent problem is misfiring. This can stem from moisture in the powder or a faulty flint. Always check your ignition system and ensure everything is dry. Another issue to watch for is rust on metal components.
Regular inspections are vital here; clean any rust spots with fine steel wool and apply oil to prevent further corrosion. If accuracy seems off, inspect the barrel for obstructions or damage. Sometimes debris can accumulate inside, affecting performance.
If you encounter sticky actions when loading or firing, this might indicate inadequate lubrication. A well-lubricated musket functions smoothly and enhances its lifespan significantly. Always refer back to your user manual for specific troubleshooting related to your particular model as different muskets may have unique quirks.
Proper Maintenance for Longevity of Your Musket
Proper maintenance is essential to ensure your musket remains functional and in excellent condition. Regular cleaning after each use prevents the buildup of residue that can lead to corrosion and malfunctions. Use a soft cloth and appropriate solvents to clean both the barrel and lock mechanism.
Pay special attention to areas where dirt can accumulate. This helps maintain accuracy during shooting. Inspect wood components for cracks or signs of wear. Applying a thin layer of oil protects the wood from moisture, enhancing its longevity. Store your musket in a cool, dry place, ideally with a humidity control option.
A well-maintained musket should be periodically checked for signs of damage or needed repairs. Establishing a routine care schedule will keep your weapon ready for action whenever you need it while preserving its historical integrity for future generations.
Safety Precautions when Handling a Musket
Handling a musket requires utmost care. Always treat it as if it’s loaded, even if you believe it’s empty. Before any handling, ensure you’re in a safe environment free from distractions and potential hazards. A well-lit area is ideal for inspecting the musket closely.
When lifting or carrying your musket, keep it pointed away from yourself and others. This simple practice can prevent accidental discharges. Wear appropriate safety gear such as eye protection. Particles could exit during cleaning or repair efforts, posing risks to your vision.
Always follow manufacturer guidelines when repairing or modifying the musket. Each model has specific nuances that are crucial for its proper function and safety. Store your musket securely when not in use. A locked cabinet prevents unauthorized access and protects against accidents while preserving the integrity of this historical weapon.
Conclusion and Final Thoughts
Repairing a musket can seem like a daunting task, but with the right tools and knowledge, it becomes manageable. Understanding each component of your firearm is essential for effective repairs and maintenance. It’s crucial to approach every step methodically, from cleaning and disassembly to identifying damaged parts.
Regular upkeep will extend the life of your musket significantly. Following proper techniques not only ensures functionality but also enhances safety when handling this historical weapon. Stay informed about common issues that may arise, as well as troubleshooting tips that can save you time and effort in future repairs.
By prioritizing both care and safety, you’ll ensure that your musket remains in excellent condition for years to come. Enjoy the process of repairing this iconic piece of history while embracing its rich heritage.


