How To Render Lard At Home
Welcome to our guide on how to render lard at home. Are you ready to dive into the world of cooking fats? If so, rendering lard at home might just be your next culinary adventure. This age-old technique is not only simple but also allows for a deliciously rich flavor that can elevate your meals.
Lard has been used in kitchens for generations, and with a renewed interest in traditional cooking methods, it’s making a comeback. Whether you’re looking to create flaky pastries or enhance the juiciness of roasted meats, learning how to render lard at home opens up a realm of possibilities.
Let’s explore what makes this fat so special and how you can easily bring it into your own kitchen!
Understanding Lard and its Uses
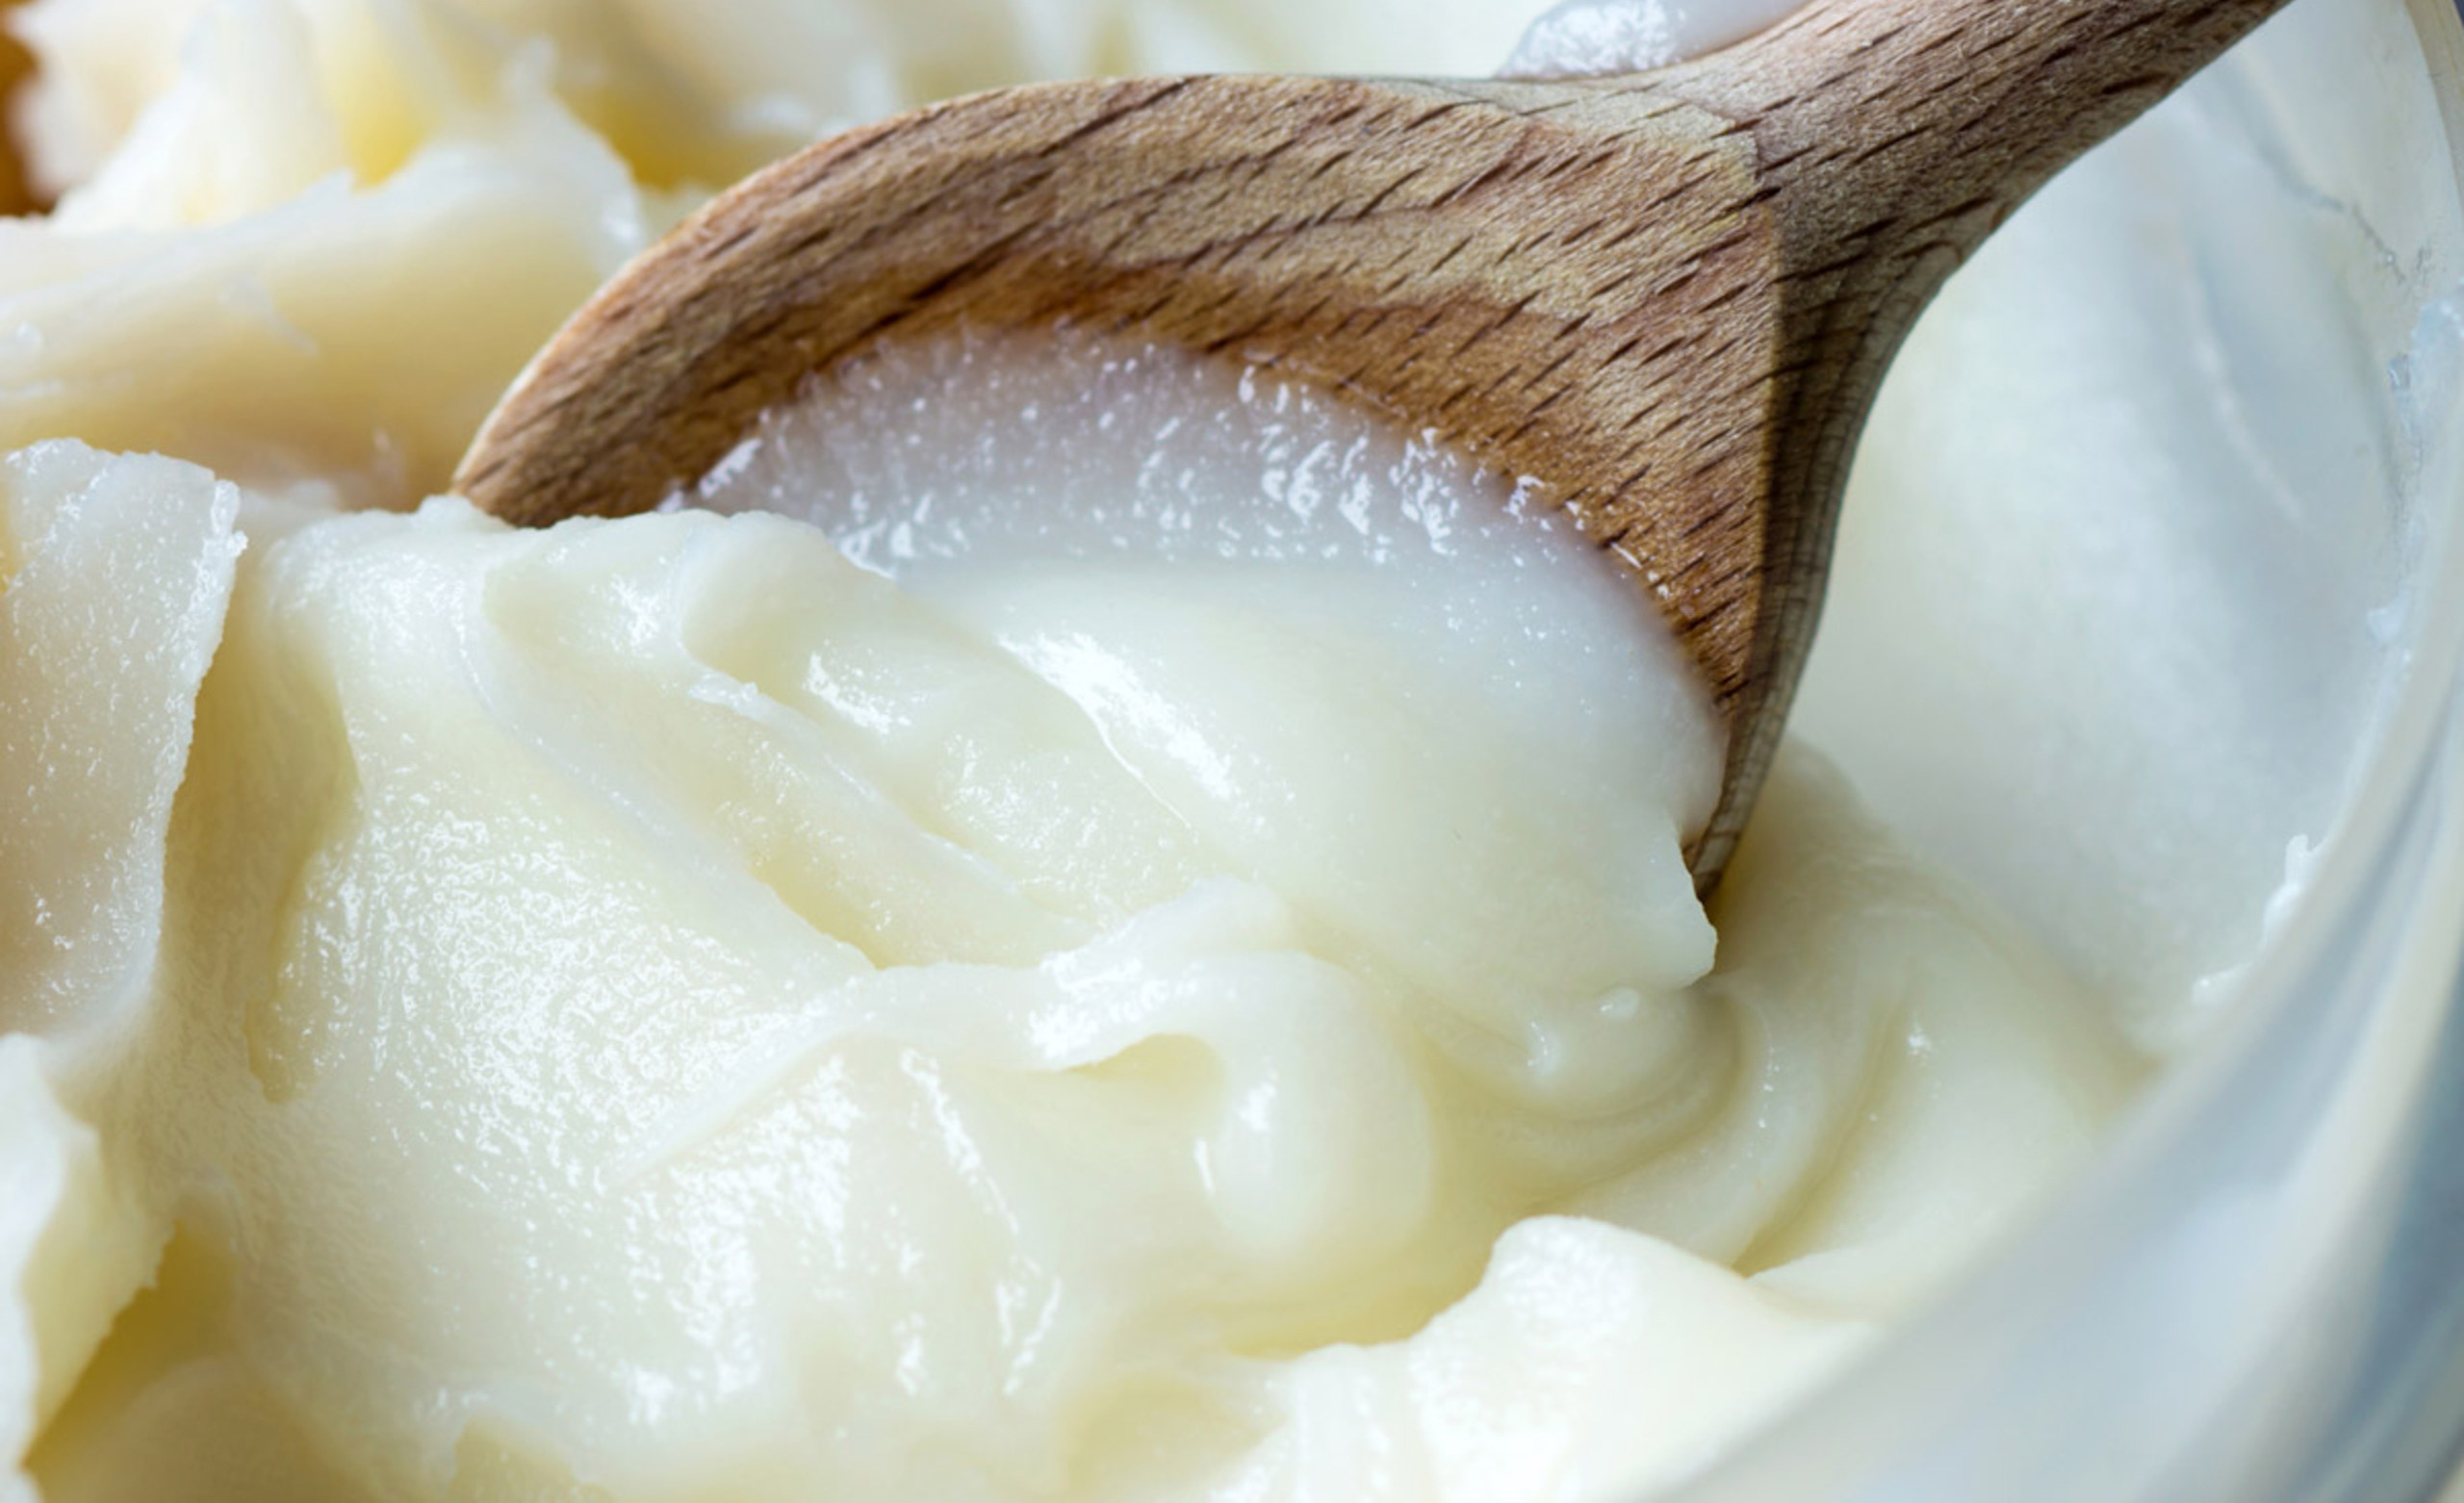
Lard is rendered pig fat, prized for its versatility and rich flavor. It has been a staple in many cuisines around the world, cherished by home cooks and professional chefs alike.
Historically, lard was often used for frying, baking, and as a base for savory dishes. Its high smoke point makes it ideal for frying meats or vegetables without burning.
In baking, lard creates tender pastries with a flaky texture that butter alone can’t match. Imagine pies that melt in your mouth or biscuits that rise to perfection—lard plays an essential role here.
Beyond cooking, lard can be an excellent ingredient in soap-making and skin care products due to its moisturizing properties. With such a range of uses, it’s clear why understanding this traditional fat is important for any culinary enthusiast!
The Benefits of Rendering Lard at Home
Rendering lard at home offers a multitude of advantages. First, it allows you to control the quality of the fat you’re using. Choosing high-quality, pasture-raised pork ensures that your lard is rich in nutrients.
Homemade lard also saves money compared to store-bought alternatives. When you render fat from whole animals or buy trimmings, you’ll find it’s often more economical than pre-packaged options.
Another key benefit is its versatility in cooking. Lard can be used for frying, baking, and even as an ingredient in savory dishes. Its high smoke point makes it ideal for various cooking methods without compromising flavor.
In addition to culinary uses, rendering lard gives you a sense of accomplishment. It connects you with traditional practices while reducing waste by utilizing every part of the animal. This method promotes sustainability and supports local farmers when sourcing your ingredients responsibly.
Supplies Needed for Rendering Lard
To start rendering lard, gather a few essential supplies. You’ll need high-quality pig fat, commonly sourced from the back or belly of the animal. Leaf lard is prized for its mild flavor and smooth texture.
Next, grab a sharp knife to cut the fat into small pieces. Smaller chunks render more efficiently and evenly. A heavy-bottomed pot or slow cooker will serve well for cooking down the fat gently.
Don’t forget about a sturdy strainer or cheesecloth to filter out impurities as you work. This step ensures that your final product is pure and ready for storage.
Have clean jars on hand for storing your rendered lard once it cools down. Glass containers are ideal as they can withstand heat and seal tightly for freshness later on. With these supplies ready, you’re all set to embark on this rewarding culinary adventure!
Our Step-by-Step Guide to Rendering Lard
Step 1: Choosing the Right Type of Fat
Choosing the right type of fat is crucial for rendering lard successfully. The best option comes from healthy pigs, which yield a higher quality product. Look for leaf lard or fatback as prime choices.
Leaf lard, found around the kidneys, has a mild flavor and creamy texture. It’s perfect for baking pastries or making pie crusts. Fatback sits beneath the skin and offers richer flavors that suit savory dishes well.
When sourcing your fat, consider local butchers or farmers who raise heritage breeds. These pigs typically have better-quality fat compared to conventional options.
The freshness of the fat matters too; ensure it’s not rancid or overly old. Freshness will result in cleaner-tasting lard without unwanted odors that can affect your finished product. Choosing wisely sets you up for success in your rendering journey!
Step 2: Preparing the Fat for Rendering
Preparing the fat is a crucial step in rendering lard. Start by trimming away any impurities, such as blood vessels or connective tissues. These bits can affect the flavor and quality of your final product.
Next, cut the fat into small pieces. Aim for cubes about one inch in size to ensure even melting during the rendering process. Smaller pieces will also help speed up cooking time, allowing you to achieve that perfect liquid gold more quickly.
If you prefer, you can grind the fat instead. Using a meat grinder creates tiny shavings that melt faster but may require additional care when straining later on.
Once everything is prepped, you’re ready to move on to the exciting part—rendering! This careful preparation sets a solid foundation for achieving rich and flavorful lard at home.
Step 3: The Rendering Process
Once your fat is prepared, it’s time for the rendering process. Place your cut pieces of fat into a heavy-bottomed pot or skillet. Using low heat is essential here; patience pays off.
As the fat heats, it will begin to melt slowly. Stir occasionally to ensure even melting and prevent any sticking on the bottom. This stage can take anywhere from one to three hours, depending on how much fat you’re working with.
You’ll start noticing small bits of cracklings forming as the moisture evaporates and the fat liquefies completely. These crispy bits are delicious—save them for later!
Keep an eye on your mixture since overheating can create a burnt flavor that affects your lard’s quality. If you see smoke or hear sizzling sounds, reduce the heat immediately! Enjoy this transformative culinary experience as you’re just steps away from homemade lard.
Step 4: Straining and Storing the Rendered Lard
Once the rendering process is complete, it’s time to strain your lard. This step is crucial for achieving that smooth, clean texture. Grab a fine-mesh strainer or cheesecloth and place it over a heatproof bowl or jar.
Carefully pour the hot liquid lard through the strainer. Take your time; you want to catch any bits of leftover fat or impurities. They’ll settle at the bottom and can be discarded later.
After straining, allow the rendered lard to cool slightly before transferring it into storage containers. Glass jars work best as they provide an airtight seal and protection from light.
Store your strained lard in a cool, dark place if you plan to use it soon. For longer shelf life, keep it in the fridge or freezer. Properly stored, rendered lard can last several months while retaining its rich flavor and versatility for cooking!
Different Techniques for Rendering Lard
Rendering lard can be accomplished through a few different methods, each with its own unique benefits. The slow cooker method is popular for those who prefer a hands-off approach. Simply place the cubed fat in the slow cooker on low heat and let it slowly melt over several hours.
This technique allows for even rendering without constant supervision. Stovetop rendering is another effective option. Start by placing your chopped fat in a heavy-bottomed pot over medium heat. Stir occasionally to prevent sticking and ensure that all pieces render evenly.
For those looking for speed, the oven method offers efficiency. Spread the fat cubes on a baking sheet and bake at around 250°F until fully melted, which usually takes about two hours. Each technique produces quality lard; it ultimately comes down to personal preference and available time.
Tips for Storing and Using Rendered Lard
Rendered lard is a versatile cooking fat that can elevate your culinary creations. Storing it properly ensures longevity and flavor retention.
Use clean, airtight containers to keep lard fresh. Glass jars or food-grade plastic containers work well. Avoid metal containers as they may impart unwanted flavors over time.
Lard can be kept in the refrigerator for several months or frozen for longer storage. If freezing, consider portioning it into smaller amounts for easy use later on.
When you’re ready to cook with lard, allow it to come to room temperature before using it in recipes. This helps achieve a smooth texture when measuring out portions.
For frying or sautéing, remember that rendered lard has a high smoke point. It’s perfect for various cooking methods while adding depth of flavor to dishes like biscuits and pie crusts. Enjoy experimenting!
Recipes that Use Rendered Lard
Rendered lard is a versatile fat that enhances the flavor of many dishes. One classic recipe to try is flaky pie crusts. The richness of lard creates a tender texture that’s hard to beat.
For a savory twist, consider using rendered lard in sautéed vegetables. It adds depth and an irresistible aroma, elevating simple greens or root vegetables into something special.
Another delightful option is homemade biscuits; they turn out incredibly light and fluffy when made with lard instead of butter.
If you’re feeling adventurous, try making traditional tamales. Lard gives the masa dough its unique softness and flavor that complements any filling beautifully.
Don’t overlook frying! Rendered lard achieves high temperatures without smoking, perfect for crispy fried chicken or donuts with that golden finish everyone loves.
Alternative Options for Cooking Fats
When exploring alternatives to lard, several cooking fats stand out. Butter is a classic choice, offering rich flavor and versatility in both baking and sautéing.
Coconut oil has gained popularity for its unique taste and health benefits. It’s great for high-heat cooking due to its stability.
Olive oil shines in Mediterranean dishes. Its distinct aroma enhances everything from salads to roasted vegetables, making it a staple in many kitchens.
Avocado oil is another excellent option. With a high smoke point, it’s perfect for frying without compromising on nutrition.
Ghee provides the buttery essence of clarified butter but with lactose removed. This makes it suitable for those with dairy sensitivities while still delivering that creamy richness we love.
Choosing the right fat depends on your dish’s requirements and personal preference!
Health Considerations and Alternatives
When considering lard, it’s essential to weigh its health implications. Lard is high in saturated fats but also contains monounsaturated fats, which can be beneficial when consumed in moderation. These fats support heart health and can improve cholesterol levels.
However, some individuals may prefer alternatives due to dietary restrictions or personal beliefs. Options like olive oil and avocado oil offer healthier fat profiles while still providing rich flavors for cooking.
Coconut oil has gained popularity as a versatile substitute featuring medium-chain triglycerides that may help with weight management.
For those exploring plant-based options, consider using nut oils or vegan butter blends that cater to a more diverse diet without compromising taste.
Choosing the right cooking fat ultimately depends on your individual needs and preferences. Always consult with a healthcare professional if you have specific concerns regarding dietary fats.
Conclusion
Rendering lard at home is a simple and rewarding process that connects you with traditional cooking methods. The versatility of lard makes it an excellent choice for various culinary applications, whether you’re frying, baking, or sautéing.
By taking the time to render your own lard, you gain control over the quality and purity of the fat you use in your kitchen. It’s not only economical but also allows you to embrace a sustainable approach by utilizing every part of the animal.
Experimenting with different rendering techniques can add depth to your culinary skills while providing delicious results. Plus, with proper storage tips in mind, rendered lard can last for months—making it a staple ingredient ready when inspiration strikes.
Whether you’re looking for healthier alternatives or simply want to try something new in your cooking routine, making lard at home opens up endless possibilities. Embrace this age-old practice; you’ll find that rendered lard enhances flavor and adds richness to a wide variety of dishes. Enjoy exploring all that this traditional fat has to offer!


