How To Recondition A Motorcycle Battery
Welcome to our step-by-step guide on how to recondition a motorcycle battery. Motorcycle enthusiasts know that a reliable battery is essential for the thrilling ride ahead. However, even the best batteries can falter over time.
Instead of rushing to replace your motorcycle’s power source, why not consider reconditioning it? This process can breathe new life into a sluggish battery and save you money in the long run. Not only does it extend the lifespan of your battery, but it also contributes to more efficient rides.
Whether you’re an experienced rider or just starting out, knowing how to recondition a motorcycle battery is an invaluable skill that ensures you’re always ready for the open road. Let’s dive into what makes motorcycle batteries tick and how you can revitalize yours today!
Signs of a Dead or Weak Battery
A motorcycle battery can display several warning signs when it’s on its last legs. One of the most noticeable indicators is a slow engine crank. If your bike hesitates or struggles to start, it’s time to investigate further. Dim headlights and weak signals are other clues that something isn’t right.
These electrical components rely heavily on battery power, so any reduction suggests weakness. Frequent jump-starts might also indicate an underlying issue with your battery’s health. If you find yourself reaching for jumper cables often, don’t ignore it.
Physical symptoms like corrosion around terminals or swelling in the battery case signal serious problems. Addressing these signs early can save you from being stranded on the road later.
Materials Needed for Reconditioning
To recondition a motorcycle battery effectively, you’ll need a few essential materials. Start with safety gear like gloves and goggles to protect yourself during the process. Next, gather tools such as a multimeter for voltage testing.
This handy device will help you assess the current state of your battery accurately. You’ll also need a specialized battery charger designed for motorcycle batteries. A smart charger can automatically adjust charging rates based on the battery’s condition.
Don’t forget distilled water if you’re working with lead-acid batteries; maintaining proper fluid levels is vital. Have some baking soda and an old toothbrush ready for cleaning terminals and removing corrosion buildup efficiently. Having everything at hand streamlines your work and ensures safer handling throughout the reconditioning process.
Step-by-Step Guide to Reconditioning A Motorcycle Battery
Step #1. Gather Necessary Materials
Before diving into the process of reconditioning your motorcycle battery, it’s essential to gather all necessary materials. This preparation will streamline your efforts and ensure you have everything at hand.
Start with basic tools: a wrench set for loosening terminals, safety goggles for protection, and gloves to keep your hands safe from acid. You’ll also need a multimeter to measure voltage accurately.
Next, stock up on cleaning supplies. Baking soda mixed with water works wonders for neutralizing any corrosion. A soft brush or cloth can help scrub off stubborn grime without damaging the battery casing.
Don’t forget a quality charger that suits your battery type — an important step in reviving its life. With these materials ready, you’re set to embark on the journey of breathing new life into your motorcycle’s heart!
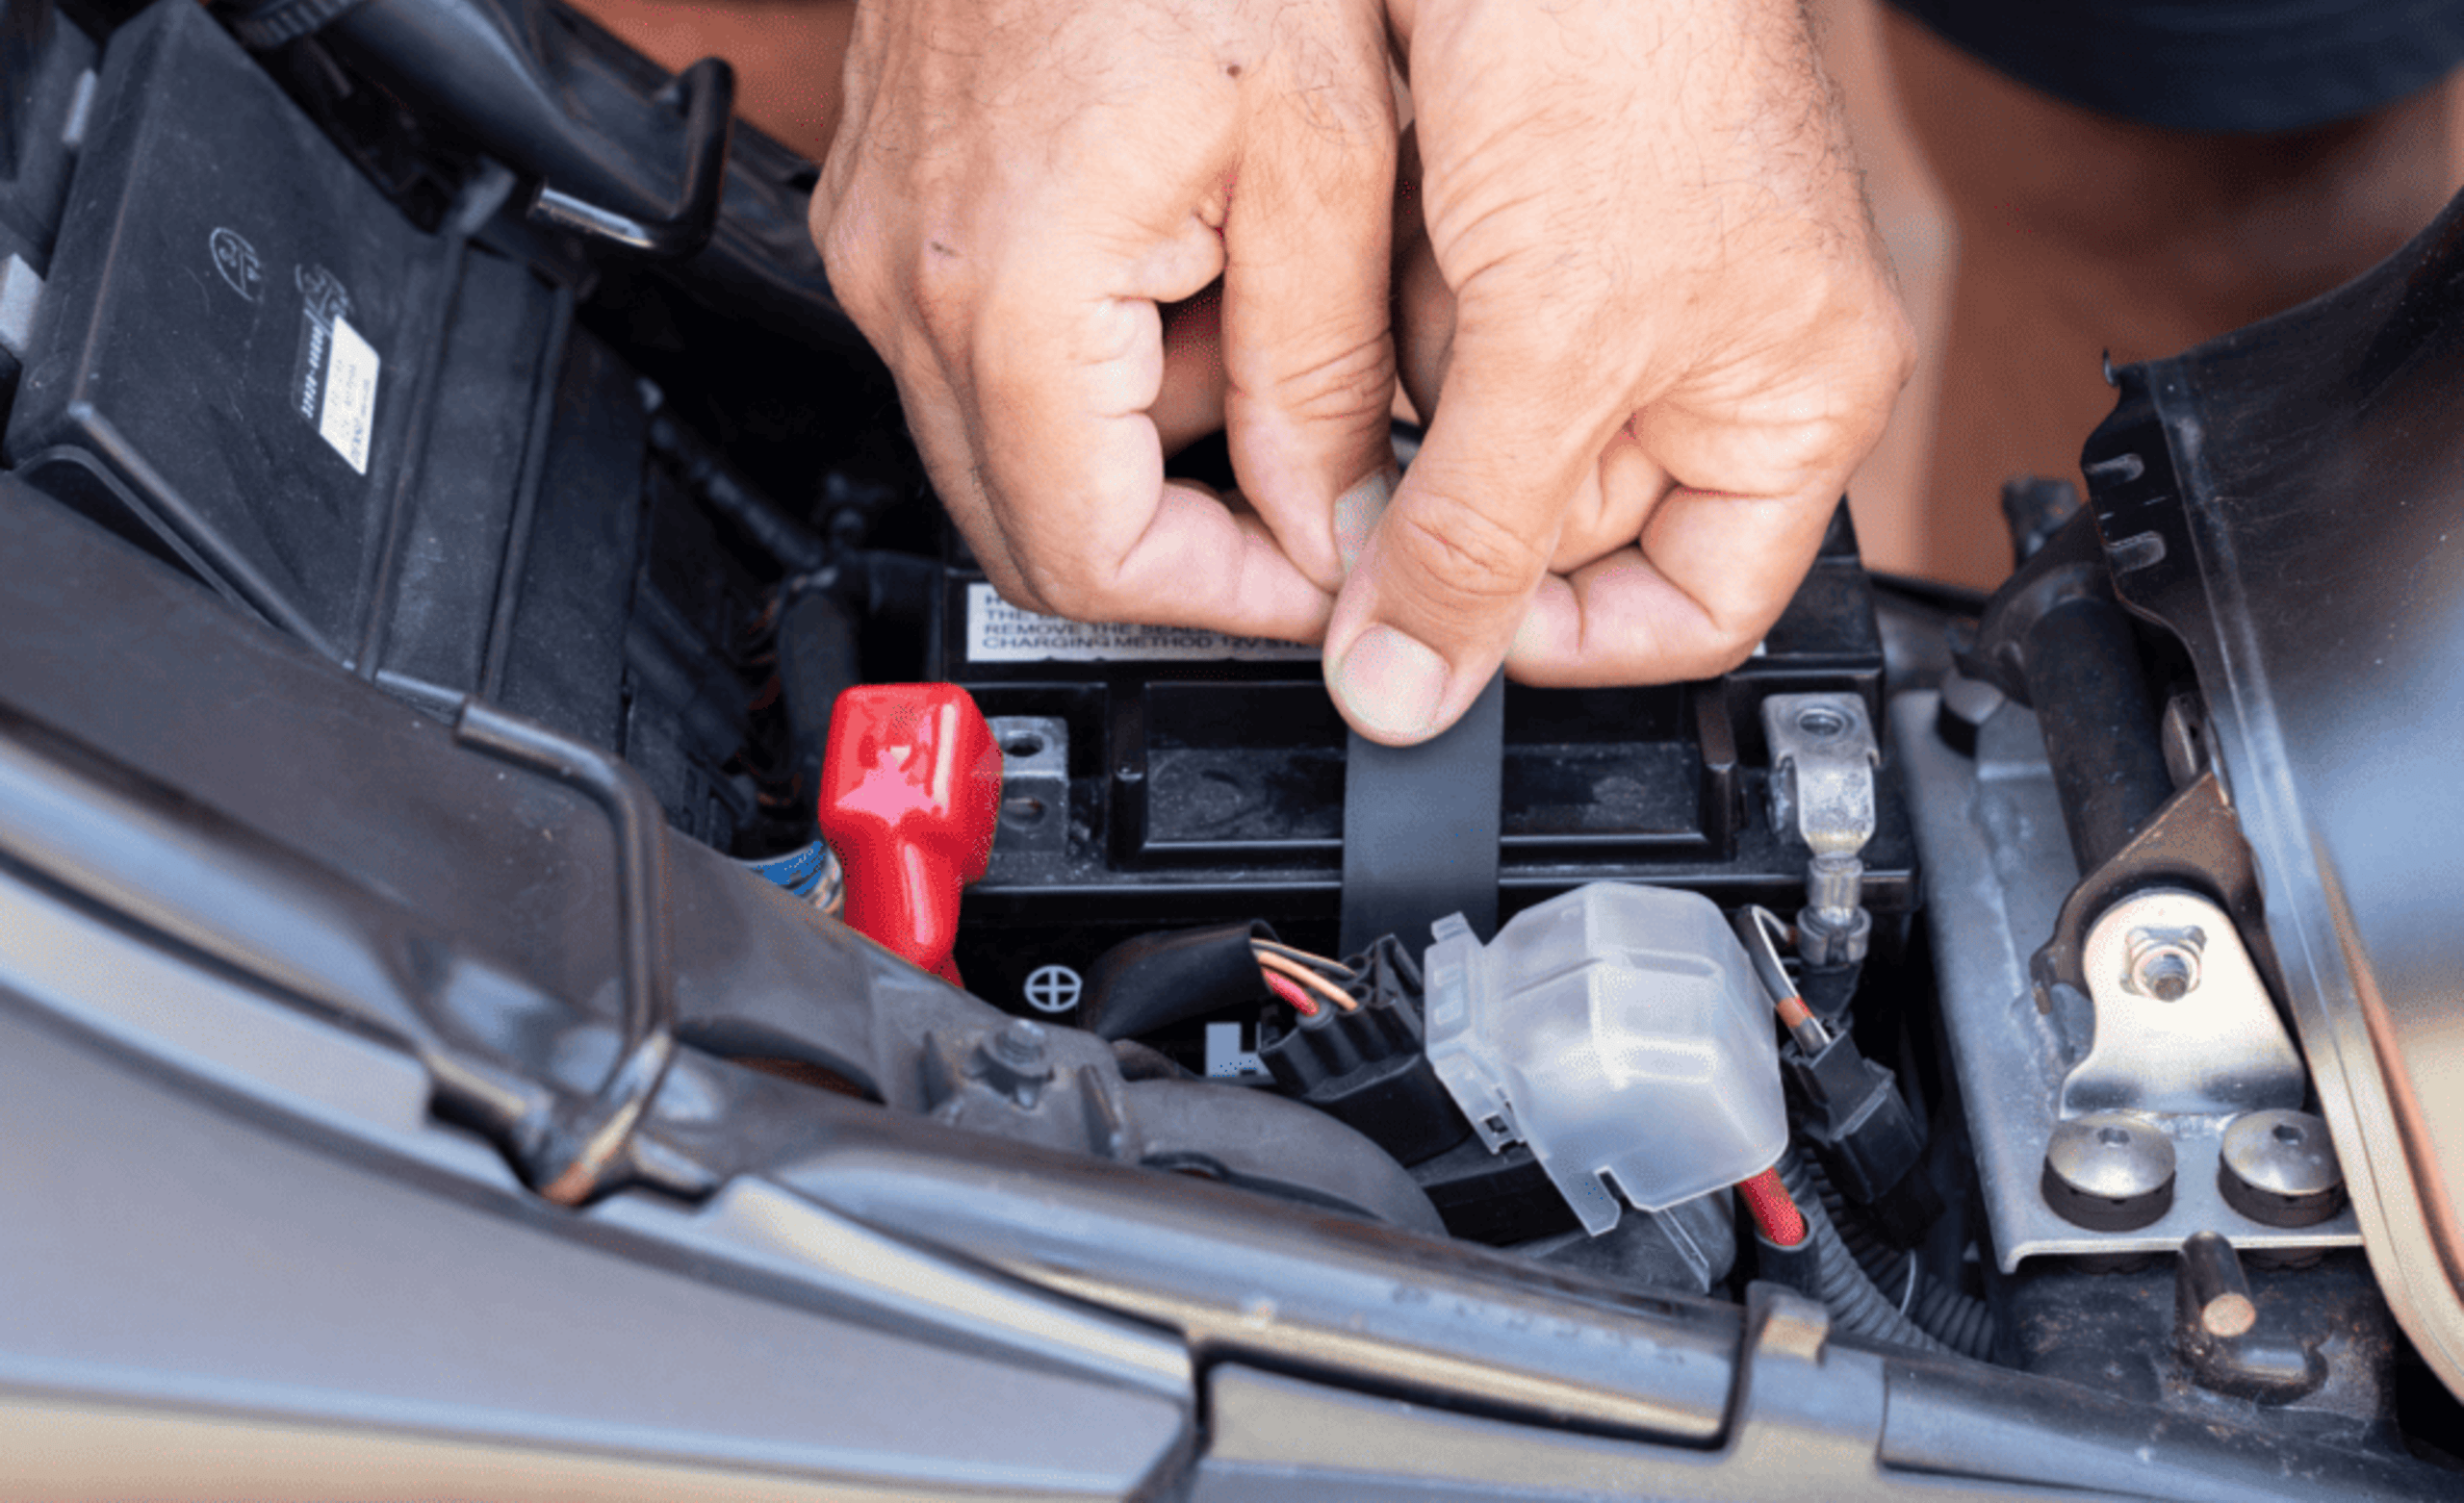
Step #2. Disconnect the Battery
Before getting your hands dirty, safety comes first. Begin by turning off the motorcycle and removing the key from the ignition. This simple step prevents any accidental starts while you work.
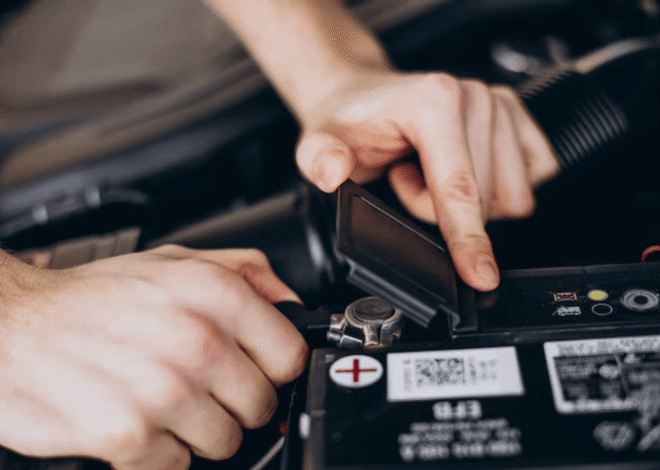
Next, locate the battery compartment. Most motorcycles have it easily accessible beneath a side panel or seat. Carefully remove any covering to expose the battery.
With tools in hand, take note of which terminal is positive (usually marked with a red cover) and which is negative (often black). Start with the negative terminal; use a wrench to loosen its bolt and gently pull it away from the battery post.
Once that’s done, repeat this process for the positive terminal. Store both cables aside in a safe spot where they won’t touch anything metallic or each other during your reconditioning journey. Now you’re ready for what comes next!
Step #3. Clean the Battery Terminals
Cleaning the battery terminals is a crucial step in reconditioning your motorcycle battery. Over time, corrosion can build up on these connections, leading to poor performance and unreliable starts.
Start by wearing gloves and safety glasses for protection. Use a mixture of baking soda and water to create an effective cleaning solution. Apply it generously to the terminals, focusing on any visible corrosion.
Grab an old toothbrush or wire brush to scrub away the grime gently. Be careful not to damage any surrounding components during this process. Once clean, rinse with distilled water to remove any residue from the solution.
Make sure both positive and negative terminals are free from dirt and oxidation before reconnecting them later. This simple step can significantly improve conductivity and extend the life of your battery as you continue with the reconditioning process.
Step #4. Test the Voltage
Once you’ve cleaned the battery terminals, it’s time to test the voltage. This step is crucial for determining whether your battery can still hold a charge.
Grab a multimeter and set it to measure DC voltage. Connect the red probe to the positive terminal and the black probe to the negative terminal.
A healthy motorcycle battery should read around 12.6 volts or higher when fully charged. If your reading falls below 12 volts, this indicates that your battery is weak or discharged.
If you’re getting very low numbers, it’s an excellent sign that reconditioning may be necessary. The readings will guide you on how much work your battery needs before attempting a recharge. Always ensure safety protocols are in place as you handle these electrical components for accurate results.
Step #5. Revive the Battery with a Charger
Once you’ve tested the battery and confirmed it’s ready for a boost, grab your smart charger. This tool is essential for reviving those sluggish cells without causing further damage.
Connect the charger leads to the battery terminals. Red goes to positive, black to negative. It’s crucial to ensure these connections are secure; loose contacts can hinder the charging process.
Set your charger according to the type of battery you’re working with—AGM or lead-acid? Each requires different settings for optimal performance. Patience is key here; let it charge fully until it reaches that sweet spot of around 12.6 volts or higher.
Watch out for any unusual signs during this phase like hissing sounds or excessive heat. These could signal trouble ahead, so keep an eye on things as you proceed with reviving your motorcycle’s lifeline!
Step #6. Charge and Test the Battery Again
After allowing the battery to charge for several hours, it’s time to test its performance once more. This step is crucial to ensure that your efforts have paid off.
Use a multimeter to measure the voltage again. A healthy motorcycle battery should read between 12.6 and 13.0 volts when fully charged.
If the readings are satisfactory, reconnect the battery terminals securely before reinserting it into your motorcycle.
However, if the voltage is still low or inconsistent, you may need to repeat previous steps or consider alternative methods of restoration.
This process helps determine whether your reconditioning efforts were successful or if further intervention is needed.
Tips for Maintaining a Healthy Motorcycle Battery
To keep your motorcycle battery in top shape, regularly check the terminals for corrosion. Clean them with a mixture of baking soda and water if you see any buildup. Keep your battery charged, especially during long periods of inactivity.
A trickle charger can help maintain optimal levels without overcharging. Avoid exposing the battery to extreme temperatures. Storing it in a cool, dry place will prolong its life. Regularly inspect the fluid levels if you have a lead-acid battery.
Top off with distilled water when necessary to prevent damage. Always secure connections tightly but avoid overtightening. Loose connections can lead to poor performance or unexpected failures on the road.
Benefits of Reconditioning a Motorcycle Battery
Reconditioning a motorcycle battery can breathe new life into an old power source. One of the most significant advantages is cost savings. Instead of purchasing a new battery, you can revive your existing one and extend its lifespan.
Environmental benefits also come into play. Reconditioning reduces waste by keeping batteries out of landfills, contributing to eco-friendly practices in motorcycle maintenance. Additionally, reconditioned batteries often perform just as well as brand-new ones. This means reliable starts and consistent power for your rides without breaking the bank.
Gaining hands-on experience with your battery helps enhance your mechanical skills. You learn valuable techniques that come in handy for other aspects of motorcycle care. Embracing this process not only boosts performance but fosters a deeper connection with your machine too.
Conclusion
Reconditioning a motorcycle battery can be a rewarding process. Not only does it save you money, but it also extends the life of your battery and keeps your bike running smoothly. By following the steps outlined above, you’ll have the knowledge to give your old battery a new lease on life.
Regular maintenance is key to maximizing performance. Keeping terminals clean and ensuring proper charging practices will go a long way in preventing future issues. The ability to recondition batteries empowers riders with self-sufficiency and fosters a deeper connection with their machines.
With just a few tools and some patience, anyone can breathe new life into an old motorcycle battery. So why not take the plunge? The next time you notice signs of weakness in your battery, remember that there’s hope for revival through reconditioning. Your motorcycle deserves it, and so do you!
2 thoughts on “How To Recondition A Motorcycle Battery”
Leave a Reply
Related Posts
How To Recondition A Boat Battery
How To Recondition A Cordless Drill Battery
That’s such a helpful guide! Reconditioning a motorcycle battery sounds like a great way to save money and extend its life. I had no idea you could bring a dead battery back to life with just a few simple steps. The safety tips are also super important, especially wearing gloves and goggles. Definitely going to keep this in mind for my next battery issue. Thanks for sharing such practical advice!
Hey Randi,
Thanks for stopping by and sharing your thoughts on how to recondition a motorcycle battery. I’m glad that you found our step-by-guide useful and educational. The thought of reconditioning a battery never occurs to most people because they just go and buy another one. Reconditioning a motorcycle battery is relatively easy if you can follow instructions.
Best wishes,