How To Recondition A Battery
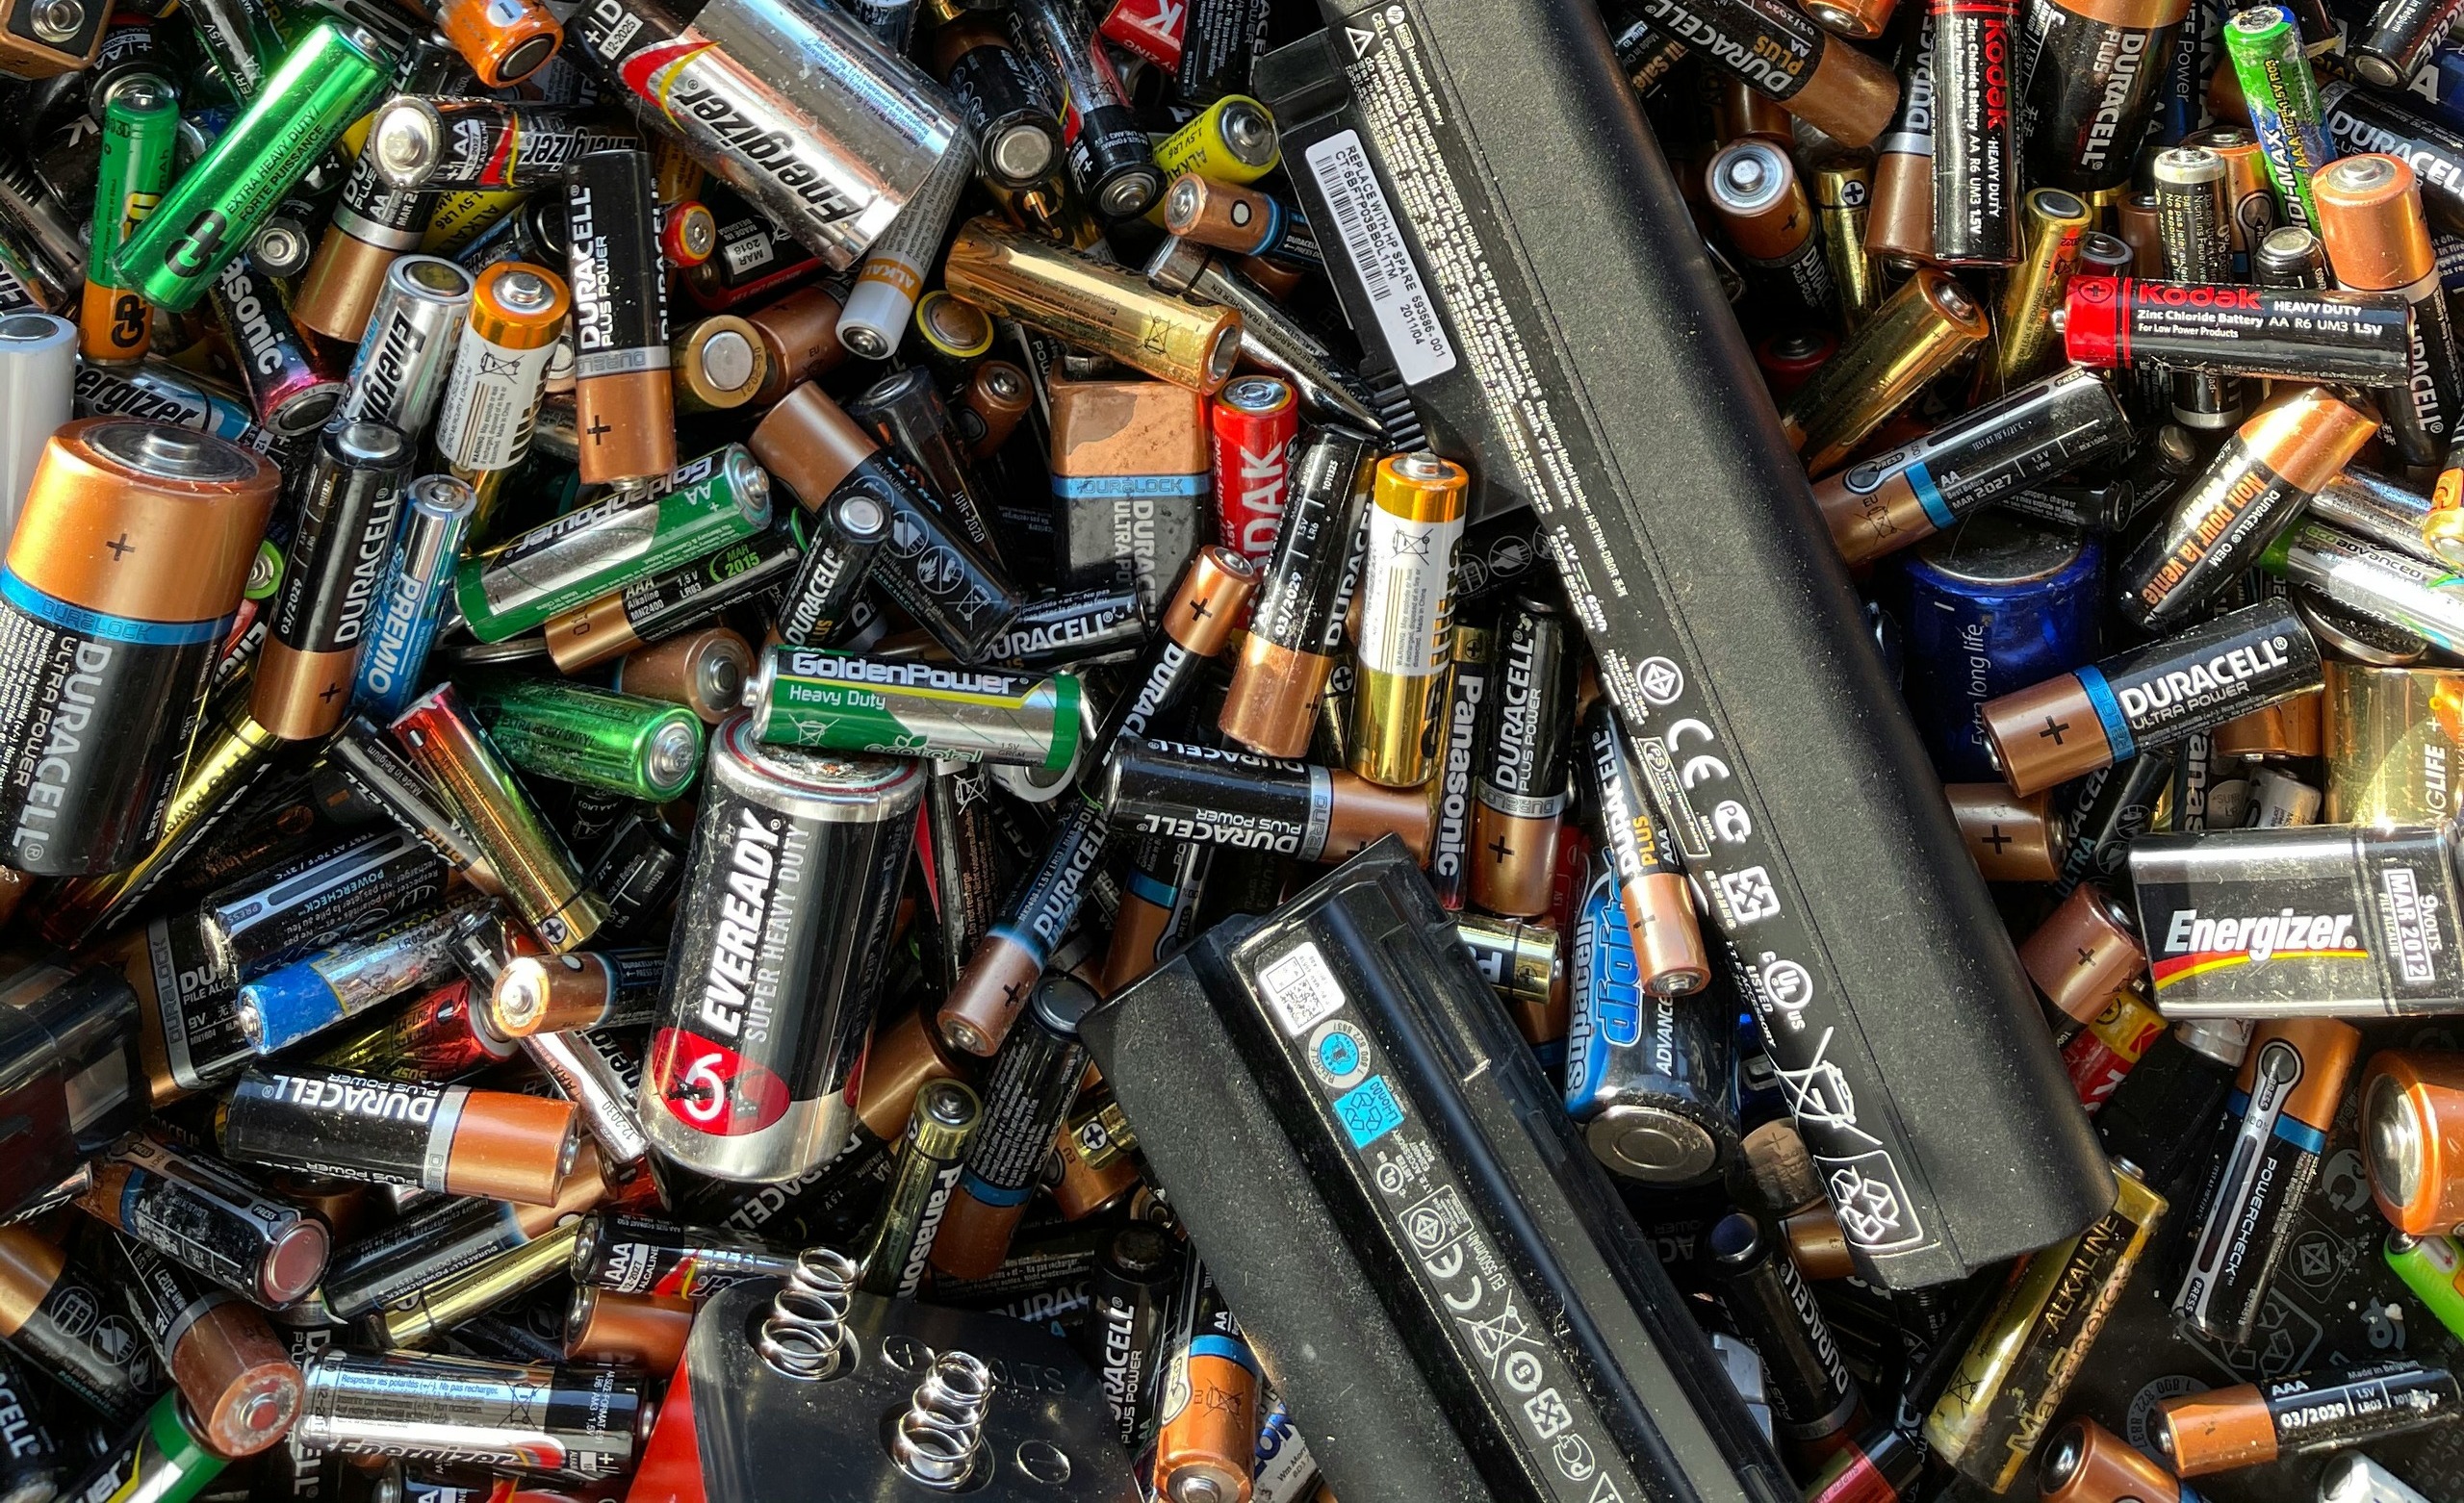
In this guide, we’ll explore how to recondition a battery and help you save money while contributing to a greener planet. The electric battery is the unsung hero of our everyday lives. From powering smartphones to starting cars, they keep us connected and on the move.
But what happens when your trusty battery starts to lose its charge? Instead of tossing it out or rushing to buy a new one, why not consider reconditioning? This process can breathe new life into your old batteries, making them work like new again. Let’s dive into the world of battery rejuvenation!
Understanding Batteries and their Lifespan
Batteries are essential components of modern life, powering everything from smartphones to electric vehicles. Understanding how they work can extend their lifespan significantly. Each battery type has a unique chemistry that influences its performance and longevity.
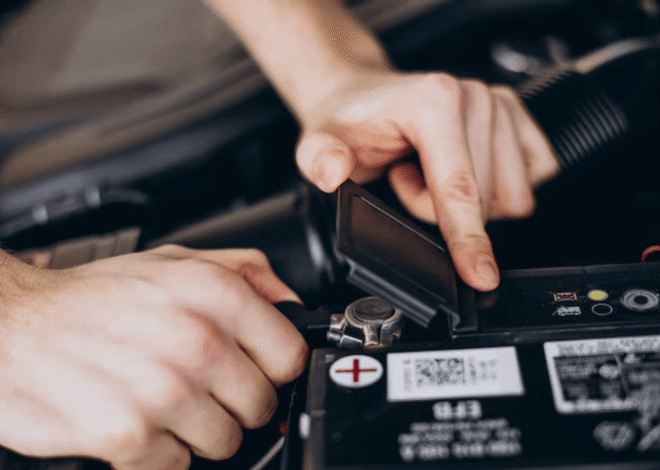
For instance, lithium-ion batteries are popular for their energy density and rechargeability, while lead-acid batteries are commonly used in vehicles due to their robustness. The typical lifespan of a battery varies widely based on usage patterns and environmental conditions. Factors like temperature fluctuations, charging cycles, and over-discharge can severely affect overall durability.
A well-maintained battery may last several years; however, neglecting basic care practices can shorten this timeline dramatically. Learning about your specific battery type will empower you to make informed decisions regarding maintenance and reconditioning strategies.
Signs That a Battery Needs Reconditioning
Batteries can show several signs indicating they need reconditioning. One common signal is a significant drop in performance. If your device struggles to hold a charge or powers down unexpectedly, it’s time to investigate. Another red flag is the physical condition of the battery itself.
Swelling, leaks, or corrosion on terminals are strong indicators that something is wrong. These issues can impact functionality and safety. Frequent recharging may also be an issue. If you find yourself plugging in more often than usual, it could mean your battery isn’t retaining power effectively.
Unusual heat during charging or usage suggests potential problems inside the battery. This overheating can lead to further damage if left unchecked. Pay attention to these signs; they help you determine when it’s time for some much-needed reconditioning work.
Tools and Materials Needed for Battery Reconditioning
Before you dive into battery reconditioning, gathering the right tools and materials is essential. Start with safety gear like gloves and goggles to protect yourself from chemicals. Next, you’ll need a multimeter for testing voltage levels.
This device ensures you can accurately assess your battery’s condition before proceeding. A cleaning solution composed of baking soda and water will help tackle corrosion on terminals. A small brush or an old toothbrush works wonders for scrubbing away grime.
You’ll also require a charger compatible with your battery type, along with distilled water if you’re working on lead-acid batteries that need refilling. Keep some insulated wire handy for electrical connections during the process. With these supplies in place, you’re ready to embark on your battery reconditioning journey!
Step-by-Step Guide to Reconditioning a Battery
Step 1: Preparing the Battery for Reconditioning
Before diving into the reconditioning process, take a moment to prepare your battery properly. Safety should always be your first priority. Wear gloves and safety goggles to protect yourself from any potential acid spills or leaks.
Next, gather all relevant documentation for the specific type of battery you’re working on. Knowing its specifications will guide you through each step more efficiently.
Inspect the battery’s exterior carefully. Look for any cracks, leaks, or signs of damage that may render it unfit for reconditioning. If everything looks good, find a clean workspace with proper ventilation.
It’s also wise to disconnect the battery from any devices it powers. This ensures there’s no risk of electrical shock while you work on it.
With these preparations in place, you’re ready to move forward confidently into the next steps of restoring your battery’s performance!
Step 2: Cleaning and Removing Corrosion
Cleaning the battery is a crucial step in the reconditioning process. Start by wearing gloves and safety goggles to protect yourself from any hazardous materials.
Use a mixture of baking soda and water to neutralize acid buildup on the terminals. This simple solution works effectively against corrosion, allowing you to restore conductivity.
Apply the paste with an old toothbrush or small brush, scrubbing gently until all residue is removed. Be sure to focus on both positive and negative terminals for optimal results.
After cleaning, rinse with plain water but avoid soaking the battery itself. Pat it dry with a clean cloth, ensuring no moisture lingers around electrical connections.
Inspect for any signs of damage like cracks or leaks. If everything looks good, you’re ready for the next steps in your reconditioning journey!
Step 3: Testing the Battery Voltage
Once your battery is prepared and cleaned, it’s time to test its voltage. This step is crucial in determining whether the battery can hold a charge.
Using a multimeter, set it to the DC voltage setting. Connect the red probe to the positive terminal and the black probe to the negative terminal of the battery. A normal reading for fully charged batteries typically ranges between 12.6 volts and 12.8 volts.
If you get a lower reading, don’t panic just yet. It may still have potential but needs reconditioning first. If it’s significantly less than 12 volts, consider that as an indication of deeper issues within the battery.
Record your measurements carefully; they’ll help guide your reconditioning process later on. Remember that this assessment gives you valuable insight into how much work lies ahead in rejuvenating your battery’s performance.
Step 4: Applying the Reconditioning Process
With the battery prepped, it’s time to dive into the reconditioning process.
Start by selecting a suitable method based on your battery type. For lead-acid batteries, you might use a desulfator. This device helps break down sulfation buildup that can hinder performance.
For lithium-ion batteries, consider using a slow charge technique. Gradually increasing the voltage can help revive their capacity without causing damage.
Monitor the temperature during this phase. Batteries can heat up quickly; if they become too hot, stop immediately to prevent any risk of explosion or fire.
Once you’ve applied your chosen method, allow some time for it to work its magic. Patience is key here—this isn’t an instant fix but rather a thoughtful restoration process that requires careful attention and timing.
Step 5: Charging and Testing the Battery
After applying the reconditioning process, it’s time to charge your battery. Begin by connecting the charger according to the manufacturer’s instructions. Ensure that all connections are secure and in good condition.
Monitor the charging progress closely. Depending on your battery type, this could take several hours. It’s essential not to rush this step; allowing sufficient time ensures a fuller recovery of capacity.
Once charged, disconnect everything carefully and prepare for testing. Use a multimeter to measure voltage levels accurately. Compare these readings with the manufacturer’s specifications to gauge improvement.
If the voltage is satisfactory, proceed with testing under load conditions. This simulates real usage scenarios and helps confirm whether reconditioning was successful or if additional adjustments are necessary for optimal performance.
Common Mistakes to Avoid
When reconditioning a battery, it’s easy to overlook essential details. One common mistake is skipping the cleaning step. Corrosion can hide underlying issues that might affect performance. Another frequent error is using incorrect tools. Always ensure you have the right equipment before starting.
Using makeshift tools can lead to damage or inaccurate measurements. Some people rush through testing the battery voltage, assuming their intuition will suffice. This can result in misdiagnosing problems and wasted effort. Neglecting safety precautions is also risky.
Protective gear should never be optional when handling batteries due to potential leaks or explosions. Don’t forget about patience during charging cycles. Many jump ahead too soon, which could compromise the lifespan of your reconditioned battery significantly.
Maintenance Tips for Extended Battery Life
To extend your battery’s lifespan, consider regular maintenance. Keeping terminals clean is crucial. Dust and corrosion can hinder performance. Avoid deep discharges whenever possible. Draining a battery completely can reduce its longevity. Instead, try to recharge it when it dips below 40%.
Temperature plays a significant role in battery health. Store batteries in cool, dry places to avoid damage from heat or cold extremes. Using smart chargers can be beneficial too. These devices monitor the charging process and prevent overcharging, which is harmful over time.
If you’re not using a device for an extended period, remove the battery entirely if feasible. This simple step prevents unnecessary drain and keeps your batteries ready when needed again.
Benefits of Battery Reconditioning
Battery reconditioning offers numerous advantages that can significantly impact your life. First and foremost, it extends the lifespan of your batteries. Instead of tossing them out prematurely, you can revive them to their former glory. Cost savings are another major benefit.
Purchasing new batteries frequently adds up over time. By reconditioning, you save money while still enjoying reliable power sources for your devices. Environmental benefits also play a crucial role in battery reconditioning. Reducing waste by prolonging battery life helps decrease pollution caused by discarded batteries.
Additionally, many people find satisfaction in DIY projects like this one. It’s empowering to learn how to restore something rather than simply replacing it. Mastering the art of battery reconditioning equips you with valuable skills that may come in handy for other electrical repairs or maintenance tasks around the home.
Alternatives to Reconditioning a Battery
If battery reconditioning isn’t your preferred route, there are alternatives worth considering. One option is to recycle the old battery properly. Many local recycling centers accept batteries, ensuring they are disposed of in an environmentally friendly manner. Another alternative is investing in new technology.
Lithium-ion batteries, for example, offer longer lifespans and better performance than traditional lead-acid batteries. Upgrading could save you time and money in the long run. You might also explore battery leasing programs. Some companies provide options where you pay for usage rather than ownership.
This can be a cost-effective solution if you’re frequently replacing batteries. Consider regular maintenance routines with your existing batteries to maximize their lifespan without full reconditioning efforts. Simple habits like cleaning terminals and avoiding deep discharges can make a difference over time.
Conclusion
Reconditioning a battery can be an excellent way to extend its life and save money. By understanding how batteries work, recognizing the signs that they need reconditioning, and following the right steps, you can breathe new life into your old batteries.
With proper tools and materials on hand, along with regular maintenance practices, you’ll not only enhance performance but also contribute positively to environmental sustainability by reducing waste. While reconditioning is a practical option for many people, it’s important to consider alternatives when necessary.
Whether you choose to dive into the world of battery reconditioning or opt for other solutions, having knowledge about this process empowers you as a consumer. It opens up possibilities for smarter energy usage in everyday life. Embrace these insights; they’ll serve you well in managing your devices more efficiently over time.
4 thoughts on “How To Recondition A Battery”
Leave a Reply
Related Posts
How To Recondition A Boat Battery

How To Recondition A Cordless Drill Battery
Wow so much info in this article. I thought I knew all about batteries. I use to believe that you could revive a battery by putting it in the refrigerator. Today I just learned that you can recondition lead and lithium-ion batteries. I may have to give this a try for some of the batteries that still have a charge but not as strong as they were. As for the other ones that don’t even show a charge on a battery tester, I’ll throw them in the recycle bin. Thanks for the info!
Hey Robert,
Thanks for stopping by and sharing your thoughts on how to recondition a battery. Reconditioning a battery is not commonly known to the public because we are all conditioned to believe that once a battery dies we throw them away. Recycling an old battery is another option as well and better than throwing them away.
Reconditioning old batteries is not difficult if you know how to do it. There are different steps and techniques for different kinds of batteries. In the near future I will be providing step-by-step instructions for reconditioning car, motorcycle and all sorts of other batteries. So make sure you check in from time to time for these articles.
Best wishes Robert,
Hi Jack,
I found this post super helpful—especially the tip about using the refrigerator! I never knew that trick before. As a bit of a closet survivalist (much to my wife’s chagrin), I’m always keen on learning practical tips like this. Do you have any other battery maintenance or survival hacks you’d recommend? Thanks for the fantastic read, and keep up the great work!
Best,Opa
Hi Opa,
Thank you for stopping by today. I am so glad that you found this information useful. Reconditioning old batteries can save you lots of money and it is surprisingly easy to do. Just make sure to wear safety goggles and rubber gloves. Always think of safety first when attempting to recondition a battery.
I will be writing some articles in the coming weeks about how to recondition specific types of batteries such as car, motorcycle batteries and more so stay tuned and check back often because we add new posts daily. As far as other survival hacks, just click on the different categories that interest you.
The Survival Way is loaded with hundreds of survival hacks with many, many more to come. If there is a survival hack you are interested in, contact me and will find the best information available about the topic for you.
Best wishes Opa,