How To Process A Whitetail Deer
Learning how to process a whitetail deer can be an immensely rewarding experience. Not only do you take pride in the fruits of your labor, but you also get to enjoy fresh, flavorful venison that’s free from preservatives and additives. Whether you’re a seasoned hunter or a novice looking to delve into the world of meat processing, understanding how to properly process a whitetail deer is essential.
Imagine standing in your kitchen with cuts of tender meat ready for cooking; it’s not just about hunting anymore—it becomes a connection to nature and self-sufficiency. Plus, there’s something undeniably satisfying about knowing exactly where your food comes from.
In this guide, we’ll walk you through every crucial step of the process—from field dressing right down to packaging and storage—so that you can tackle it with confidence and skill. Let’s dive into the art of processing a whitetail deer!
Tools and Equipment Needed
Processing a whitetail deer requires the right tools to ensure efficiency and safety. Start with a sharp knife that can handle various cuts, especially for field dressing. A gut hook knife is ideal for opening the abdomen without damaging internal organs.
Don’t forget a sturdy cutting board or surface; it will make your work easier and cleaner. You’ll also need gloves to maintain hygiene throughout the process. A pair of heavy-duty gloves protects your hands from blood and bacteria. Next, gather some game bags to store meat after processing.
These bags help keep venison fresh while it cools down. Have a cooler on hand filled with ice packs. This will preserve the meat until you’re ready to package or cook it later. Having these essentials nearby makes the entire experience smoother and more enjoyable.
Step-by-Step Guide to Processing a Deer
Processing a deer can seem daunting, but breaking it down into steps simplifies the task. Start by gathering your tools and equipment to ensure you’re fully prepared.
Step #1: Field Dressing
Field dressing is a crucial first step in processing a whitetail deer. This technique not only ensures quality meat but also helps prevent spoilage. Act quickly after the harvest to maintain freshness.
Start by laying the deer on its back, propping up the hindquarters slightly. Use a sharp knife to make an incision just below the rib cage and cut towards the pelvis, being careful not to puncture any organs.
Once you’ve opened up the cavity, remove internal organs carefully. Take your time here; any mistakes can lead to contamination of the meat.
Make sure to keep everything clean as you work through this process. Dispose of offal properly and keep your workstation tidy for efficiency later on.
Field dressing sets the tone for all subsequent steps, making it essential that this initial phase is executed with care and attention.
Step #2: Skinning
Once you’ve completed field dressing, it’s time to move on to skinning. This step is crucial for preparing the meat while keeping it clean and free from contaminants.
Begin by laying the deer on its back. Make a shallow incision around each ankle joint, being careful not to cut too deeply. These cuts will allow you to grip the hide easily as you work.
Next, start at the base of one hind leg and carefully slice through the skin without piercing the underlying flesh. Using your knife, gently pull apart the hide as you make your way up toward the body.
Work methodically and take your time; rushing can lead to unwanted damage or contamination. Once you’ve reached around both forelegs and across the belly, peel away sections of skin with steady pressure until it’s completely removed.
This process not only protects your venison but also enhances its flavor by allowing it to breathe during aging.
Step #3: Quartering
Quartering a deer is an essential step in the processing journey. It allows for easier handling and more efficient use of the meat.
To begin, place the deer on its back with the legs spread apart. Use a sharp knife to cut through the joints at each knee. This separates the front legs from the body.
Next, make a clean cut along one side of the backbone down to where it meets the pelvis. Repeat this on both sides until you have two separate quarters.
Be mindful of your cuts; aim to minimize waste while maximizing meat yield. Each quarter will provide various cuts that can be transformed into roasts, steaks, or ground venison.
Once separated, it’s crucial to keep everything clean and cool. Proper hygiene during this stage ensures high-quality meat once cooking time arrives.
Step #4: Deboning
Deboning is a crucial step in processing your whitetail deer. It allows you to maximize the meat yield and prepare it for various cuts.
Start by laying the quartered meat on a clean surface. Use a sharp boning knife for precision and ease of cutting. Carefully follow the contours of the bone, separating the muscle from connective tissue.
Take your time during this process to ensure minimal waste. The goal is to get as much usable meat as possible while avoiding any contamination with hair or dirt.
As you debone, place each cut into separate containers or bags for organization. This will make it easier when you move on to packaging later.
Keep an eye out for sinew and fat that can affect taste if not trimmed properly. Deboning might seem daunting at first, but with practice, it becomes second nature—and incredibly rewarding!
Step #5: Packaging and Storage
Once you’ve deboned your whitetail deer, it’s time to focus on packaging and storage. This step is crucial for maintaining the quality and flavor of your venison.
Start by using high-quality freezer bags or vacuum-sealed bags. These options prevent freezer burn and keep air away from the meat. Label each bag with the cut type and date to stay organized.
When storing, make sure your freezer is set at 0°F or lower. Proper temperatures will preserve freshness for months.
If you have space, consider aging portions of the meat before freezing them. Aging enhances flavors but requires careful temperature control—usually around 34°F for about a week.
Always store cuts separately based on their intended use—ground meat in one section, steaks in another. This organization makes meal prep easier down the line without compromising taste.
Tips for Properly Storing and Aging Venison
Properly storing and aging venison is crucial for enhancing its flavor and tenderness. Start by ensuring the meat is clean and dry before storage. This prevents unwanted bacteria from developing. Vacuum sealing or using heavy-duty freezer bags can help protect against freezer burn.
Make sure to remove as much air as possible. Label each package with the date for easy tracking. Aging venison can elevate its taste significantly. Ideally, hang your deer in a cool, dark place at temperatures between 34°F and 40°F.
Aging for about five to seven days allows enzymes to break down muscle fibers, resulting in more tender meat. If you prefer not to hang it, consider placing cuts in a refrigerator instead. Just remember that while aging enhances flavor, monitoring temperature is vital to avoid spoilage!
Benefits of Processing Your Own Deer
Processing your own deer offers a sense of accomplishment that few other activities can match. There’s something gratifying about taking the meat from field to table. It connects you more deeply with the hunt and nature itself. You also have complete control over your meat quality.
You can ensure it’s handled properly, minimizing contamination risks associated with commercial processing facilities. This means fresher venison for your family. Moreover, it’s cost-effective in the long run. While initial equipment costs may seem daunting, you’ll save money by not relying on professional services after each successful harvest.
Learning this skill fosters self-sufficiency and enhances outdoor knowledge. You’ll gain insights into animal anatomy and butchering techniques that many hunters never learn, making future hunts all the more rewarding.
Safety Tips and Precautions
When processing a whitetail deer, safety should be your top priority. Always wear gloves to protect yourself from bacteria and parasites. This simple step can prevent contamination while handling the meat. Use sharp tools for efficiency, but remember that dull knives are more dangerous than sharp ones.
Keep your focus on the task at hand; distractions can lead to accidents. Make sure you have a clean workspace. Bacteria thrive in unsanitary conditions and can spoil your hard work. Disinfect surfaces before starting any processing.
If you’re new to this process or feel unsure about certain steps, don’t hesitate to seek guidance from experienced hunters or local workshops. Learning from others not only enhances your skills but also builds confidence as you embark on this rewarding journey of processing your own deer.
Different Cuts of Meat and How To Use Them
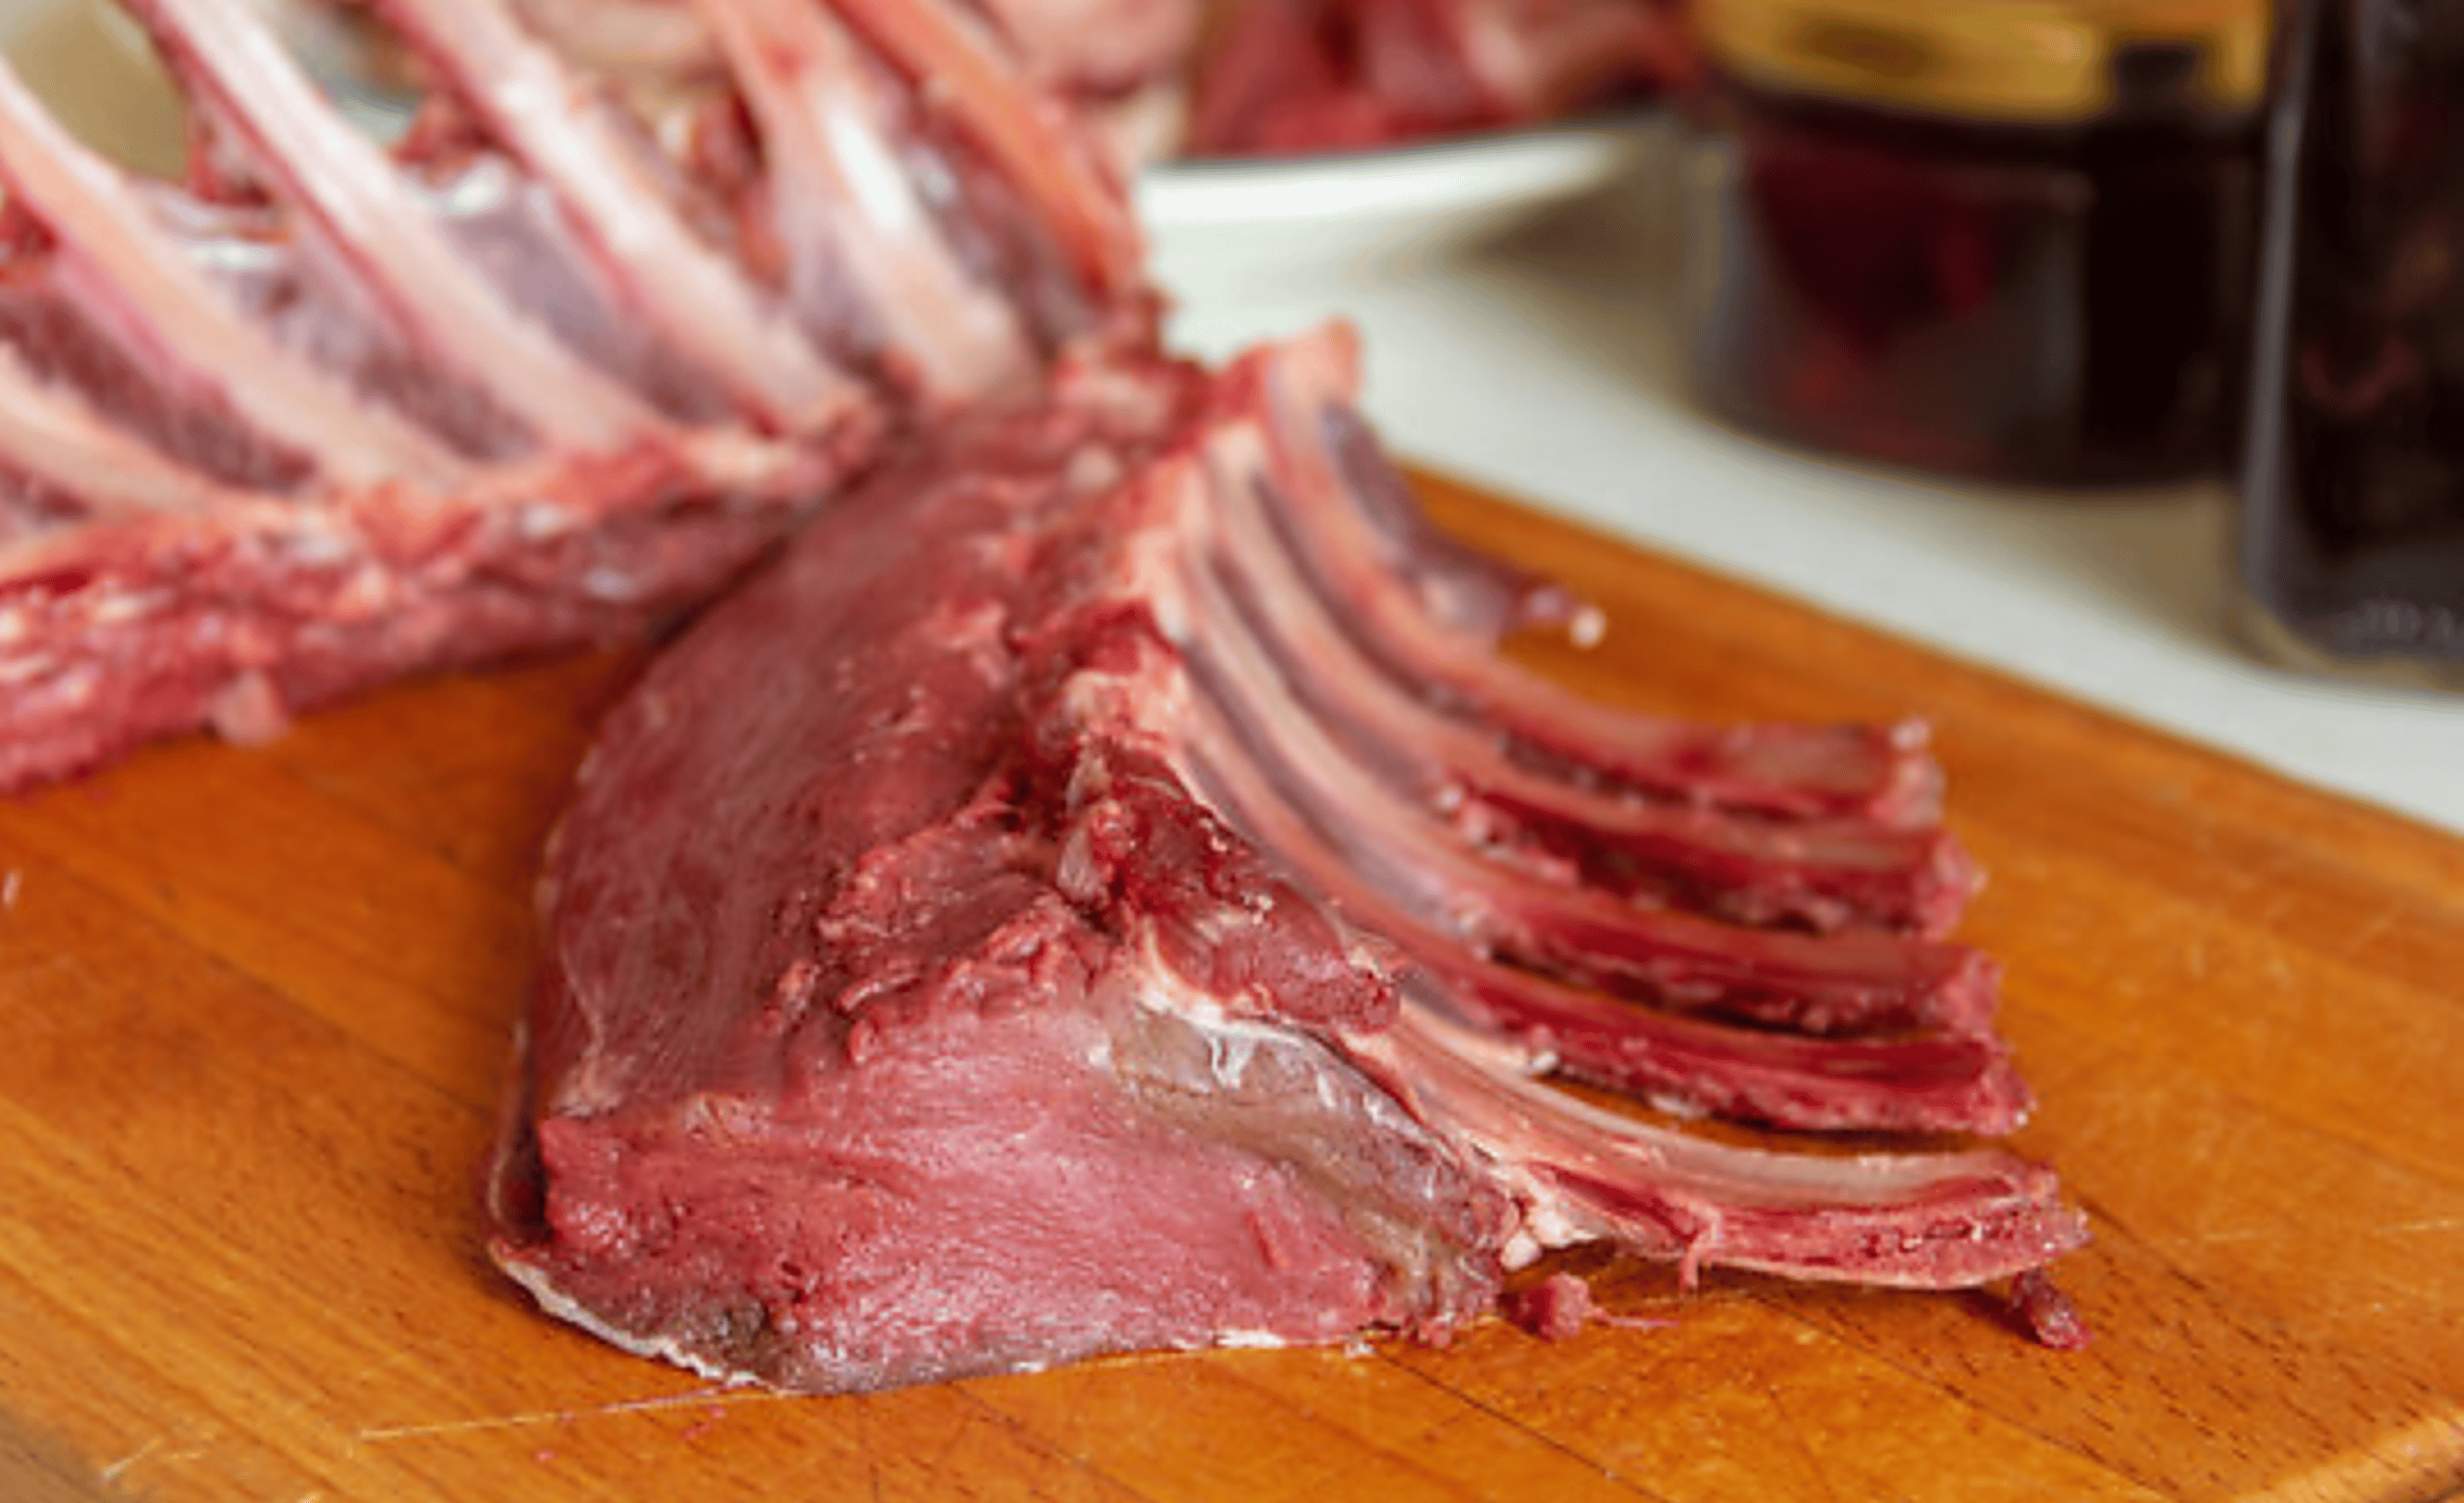
When processing a whitetail deer, understanding the various cuts of meat is essential. Each cut has its unique flavor and texture, making it suitable for different cooking methods. The tenderloin is prized for its tenderness. It’s perfect for grilling or pan-searing.
A simple marinade enhances its natural flavors beautifully. Shoulder roasts are versatile and flavorful. Slow-cooking them yields delectable results. Try braising with herbs and spices to elevate the taste further. For those who enjoy ground venison, using trimmings from various cuts can create a delicious mix.
Combine it with seasonings for burgers or chili. Steaks from the backstrap offer richness that shines when grilled. Just season lightly to let the meat’s quality speak for itself. Shanks are ideal for soups and stews because they become incredibly tender over time when cooked slowly in liquid. Enjoy experimenting with these diverse cuts!
Different Ways to Cook and Enjoy Venison
Venison offers a rich flavor that can elevate any meal. Grilling is one popular method, perfect for steaks and burgers. Simply season with salt, pepper, or your favorite marinade. The high heat ensures a delicious char while keeping the meat juicy.
Slow cooking brings out tenderness in tougher cuts like shanks or roasts. A hearty stew or braised dish allows flavors to meld beautifully over time. For something different, try venison in tacos. Shredded venison pairs wonderfully with fresh toppings like avocado and salsa for a unique twist on a classic dish.
Don’t overlook jerky as well; it’s an excellent snack packed with protein. Marinate strips of meat before dehydrating them until perfectly chewy. Experimenting with spices can transform simple dishes into gourmet experiences. From Italian seasoning to smoky barbecue rubs, the possibilities are endless when it comes to preparing this gamey delight!
Conclusion: Processing Your Own Deer
Processing your own whitetail deer can be a rewarding experience. It not only provides you with high-quality meat but also connects you more deeply to the hunting process. By understanding each step—from field dressing to packaging—you gain valuable skills that enhance your outdoor adventures.
Learning how to properly process a deer empowers you as a hunter and helps ensure that nothing goes to waste. Plus, it’s an opportunity for family and friends to bond over shared experiences in nature, while enjoying some delicious venison meals together.
The pride of knowing exactly where your food comes from is unmatched. As you explore different cuts of meat and cooking methods, you’ll discover just how versatile and flavorful venison can be. Processing your own deer opens up new culinary adventures right in your kitchen.
So grab those tools, gather some friends or family, and embrace the journey of processing your own whitetail deer. It’s not just about filling the freezer; it’s about creating lasting memories along the way.


This article is an incredibly thorough guide on processing a whitetail deer, covering each step from field dressing to butchering with practical tips and clear instructions. It’s especially helpful for beginners, as it breaks down the process into manageable sections, making it easy to follow. The emphasis on safety and respect for the animal also adds a thoughtful touch, which is important for anyone new to hunting. For those looking to become more self-sufficient or interested in understanding the entire process from harvest to table, this article is an invaluable resource.
Hey Marc,
Thanks for your kind words about our step-by-step guide on how to process a whitetail deer. We tried to cover everything and make it as easy to understand as possible. Our goal is to provide the best and most accurate information we can.
I really appreciate your input because it gives us a better understanding of what we need to improve on so we can give you the best user experience possible. Thanks again and make sure you check back often because we post fresh content daily around here.
Best wishes,