How To Make Moonshine Mash
Whether you’re looking to connect with heritage or simply enjoy a unique DIY project, learning how to make moonshine mash can be quite rewarding. Have you ever been curious about the art of crafting your own moonshine? The allure of homemade spirits has fascinated many, and it’s a tradition rich with history.
Making moonshine mash is the first step in this intoxicating journey. Imagine savoring a glass of your very own handcrafted liquor, knowing each drop was made from scratch. It’s not just about the final product; it’s also an experience filled with experimentation and creativity.
With just a few essential ingredients and some basic equipment, you too can dive into this age-old practice that has brought people together for generations. Let’s explore what it takes to create your very own moonshine mash!
The Equipment Needed for Making Moonshine Mash
To embark on your moonshine mash adventure, you’ll need specific equipment to ensure success. A large pot is essential for cooking the cornmeal. Opt for stainless steel or cast iron; they distribute heat evenly. Next up, a fermentation vessel is crucial.
This can be a food-grade plastic bucket with an airlock lid to let gases escape while keeping contaminants out. Don’t forget a hydrometer! It measures sugar content and helps you track fermentation progress accurately. A thermometer will also come in handy. Maintaining the right temperature during cooking and fermentation is key for optimal results.
Consider investing in a still if you’re serious about distilling your mash into moonshine. Ensure it’s made from high-quality materials for safety and efficiency. With these tools at hand, you’ll be well-equipped to start crafting your homemade spirit!
The Ingredients for Moonshine Mash
To create a successful moonshine mash, you need just a few key ingredients. The star of the show is corn. Whether it’s whole kernels or cornmeal, this grain provides the essential starches for fermentation. Next up is sugar.
While some recipes rely solely on corn’s natural sugars, adding granulated sugar can boost your alcohol yield significantly. A balanced ratio will enhance both flavor and potency. Yeast plays a crucial role in converting those sugars into alcohol.
Different strains offer unique characteristics, so choose one that matches your desired outcome. Water quality shouldn’t be overlooked either; pure water leads to better-tasting moonshine. Filtered or spring water works best to avoid harsh flavors from tap water chemicals.
Optional flavoring agents like fruits or spices can add an inventive twist to your mash if you’re feeling adventurous!
Step-by-Step Process of Making Moonshine Mash
Making moonshine mash is a rewarding experience that involves several key steps. So let’s go ahead and get started!
Step 1: Preparing the Corn Meal
The first step in making moonshine mash is preparing the corn meal. Choosing high-quality corn is essential. Opt for yellow dent corn; it provides a rich flavor and adequate starch content.
Start by milling the corn into a coarse powder. This increases surface area, allowing enzymes to break down starches during cooking effectively. A grain mill works wonders here, but if you don’t have one, any heavy-duty blender will suffice.
Once ground, mix your corn meal with water in a large pot or fermenter. The ratio typically ranges around 2:1—two parts water to one part corn meal—but feel free to adjust based on your recipe’s specific needs.
Let this mixture sit for about an hour before proceeding. During this time, moisture will penetrate the grains better, setting you up perfectly for the next phase of cooking!
Step 2: Cooking the Corn Meal
Cooking the corn meal is a crucial step in making moonshine mash. This process transforms the starches into fermentable sugars, which are essential for fermentation.
Start by bringing water to a boil in your pot. The right ratio is about one part corn meal to four parts water. Once boiling, gradually stir in the corn meal to prevent lumps from forming.
Reduce the heat and continue stirring as it thickens. You want a consistency similar to oatmeal—smooth but not too runny. Keep cooking for about 30 minutes, maintaining gentle heat while continuously stirring.
This step also helps release flavors that will enhance your final product. After you achieve that perfect texture, remove it from heat and let it cool slightly before proceeding with adding sugar and yeast. Proper cooking sets the foundation for flavorful moonshine mash ahead!
Step 3: Adding Sugar and Yeast
Once your corn meal has cooled to the right temperature, it’s time to introduce sugar and yeast into the mix. This step is crucial as it kickstarts fermentation.
Start by adding sugar. It acts as food for the yeast, which will convert it into alcohol during fermentation. The amount of sugar can vary based on personal preference, but a good rule of thumb is around 2 pounds per gallon of mash.
Next comes the yeast. You can choose between dry or liquid varieties; both will work wonders when activated properly. Sprinkle it evenly over your mash and give it a gentle stir to incorporate everything well.
After mixing, cover the container with a clean cloth or lid—allowing air circulation while preventing contaminants from getting in. Your mixture may start bubbling within hours as fermentation begins its magic!
Step 4: Fermentation Process
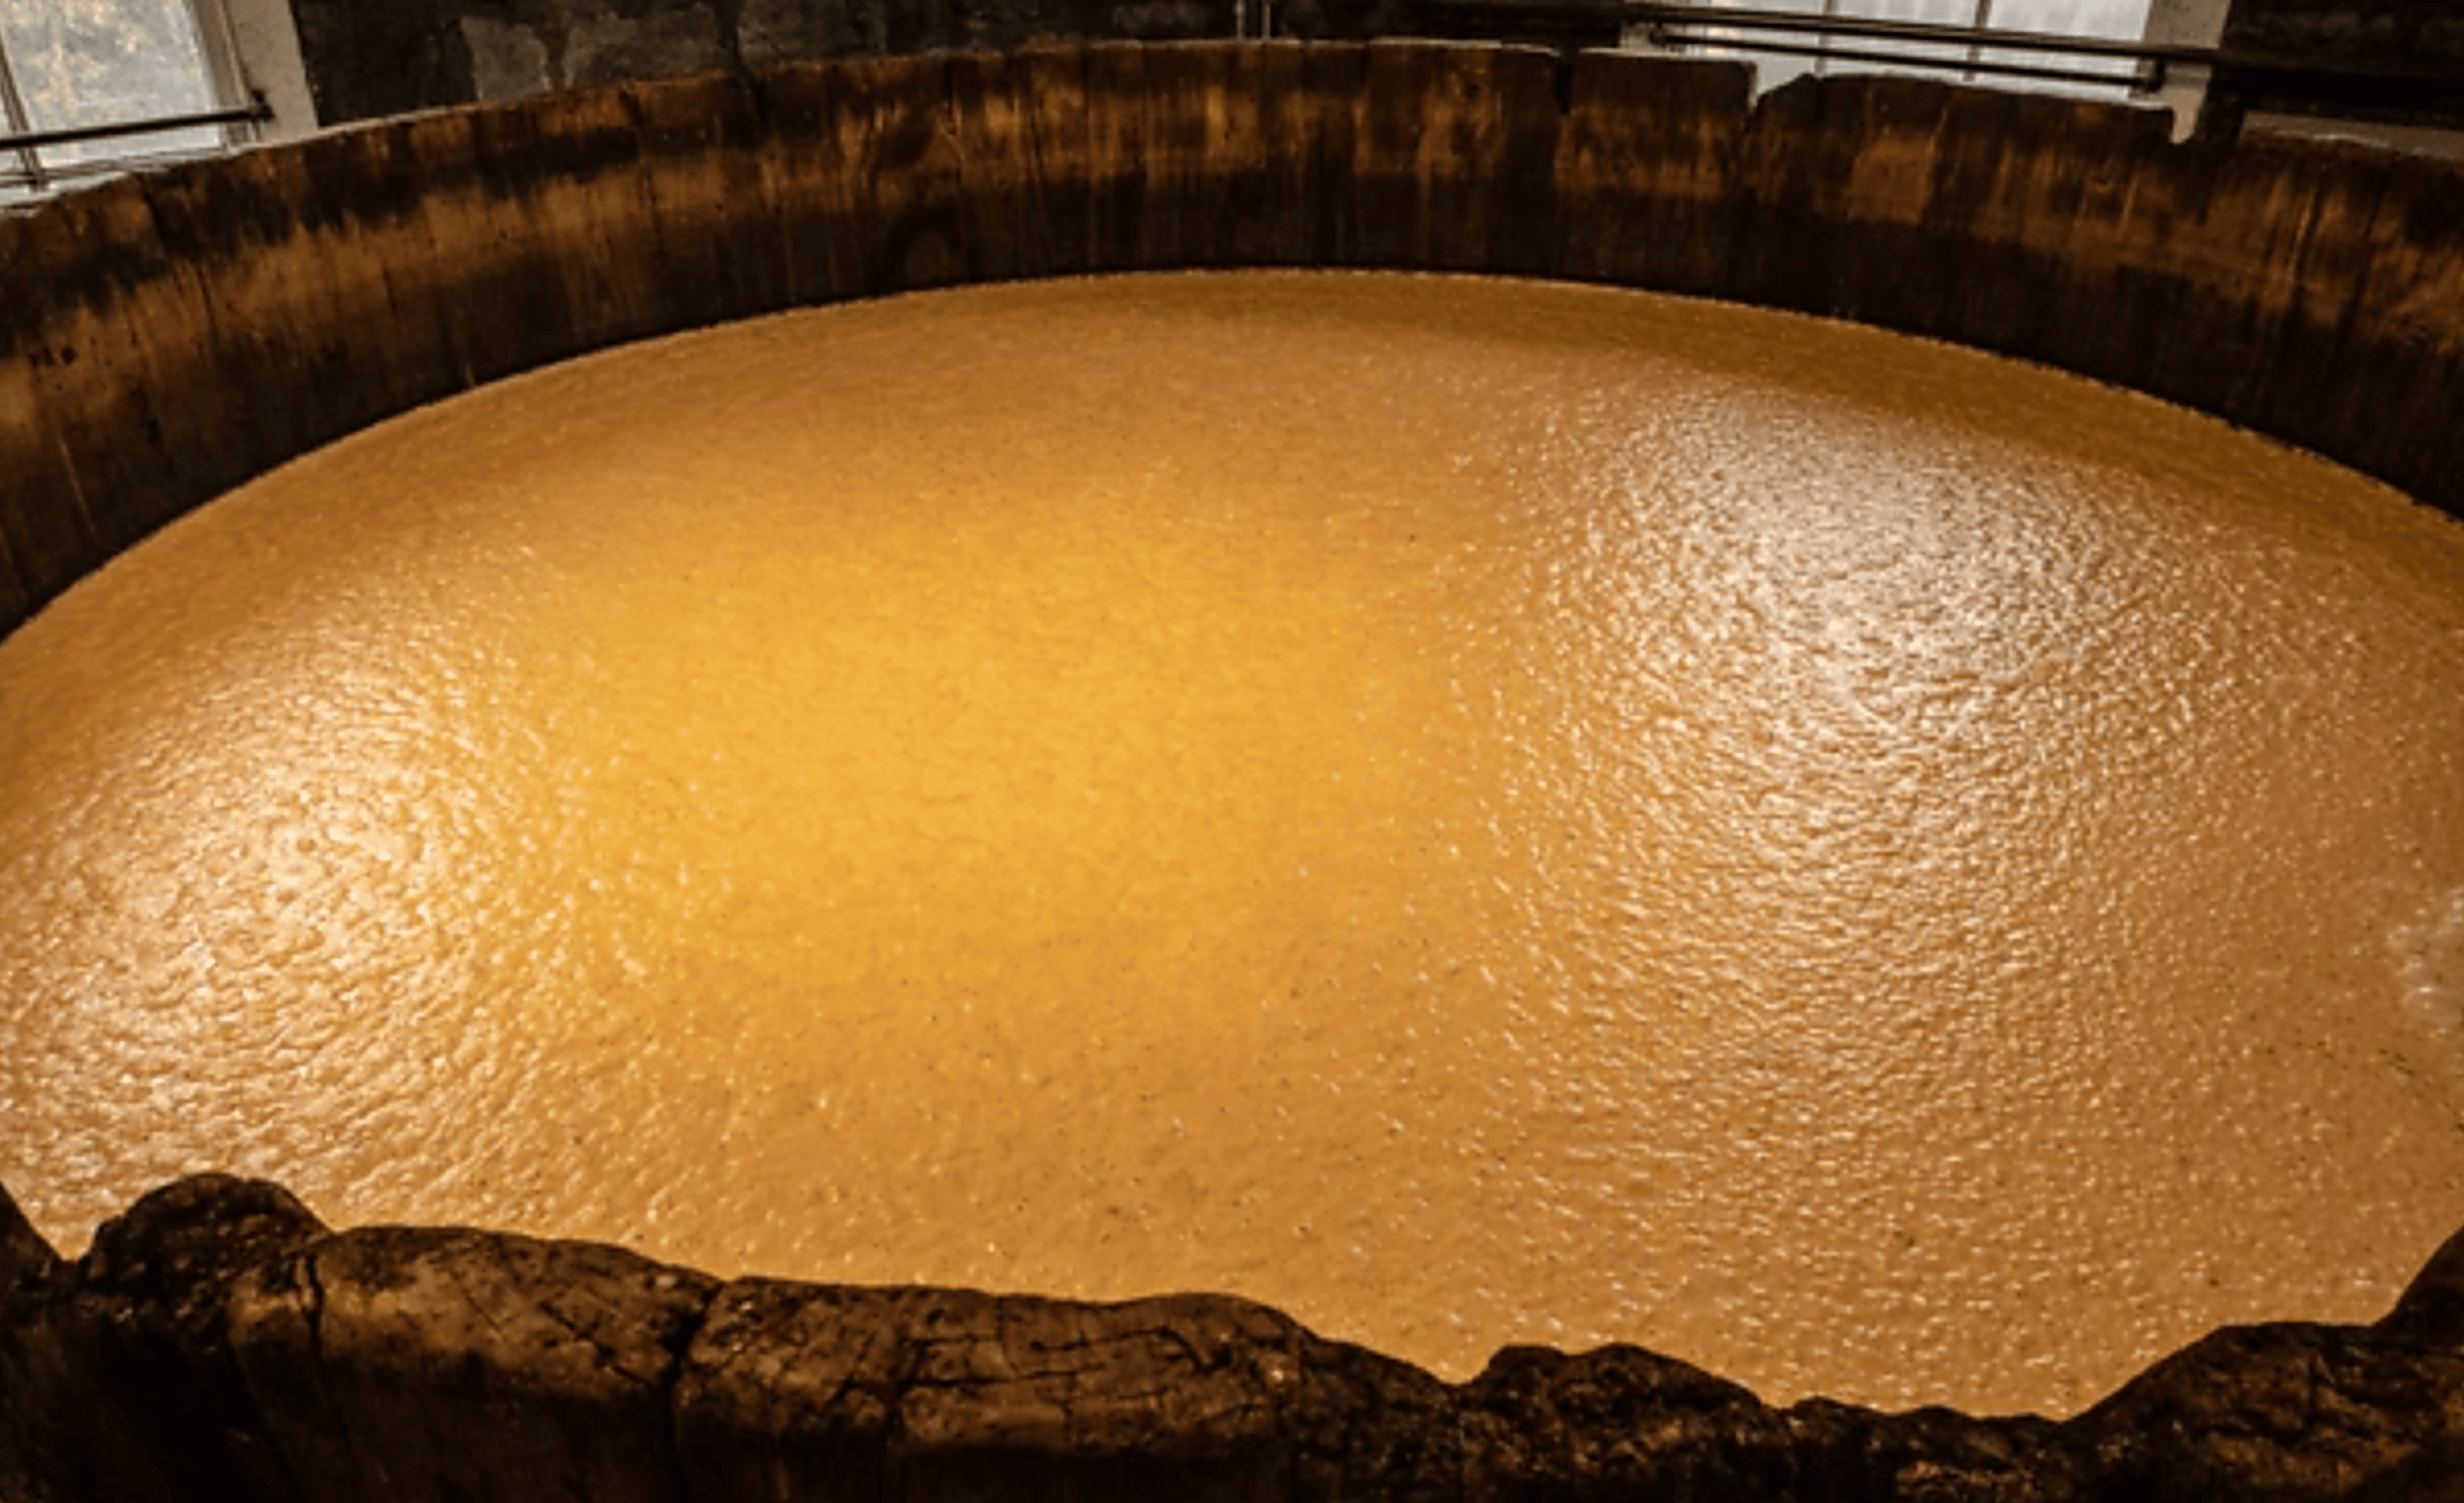
Once your mash is prepared, it’s time to let nature work its magic. The fermentation process transforms sugars into alcohol, and this stage is crucial for creating quality moonshine.
Transfer the mash into a fermentation vessel. A glass or food-grade plastic container works well. Make sure it’s clean to avoid unwanted bacteria.
Add an airlock to allow carbon dioxide to escape while preventing contaminants from entering. This step helps create the ideal environment for yeast activity.
In about five to seven days, you should notice bubbling as the yeast consumes the sugars. Keep an eye on temperature—yeast thrives best between 70°F and 85°F (21°C – 29°C).
Don’t rush this part; patience pays off in flavor and potency. Once bubbling ceases, it signals that fermentation has completed, paving the way for distillation next.
Step 5: Distillation Process
The distillation process is where the magic happens. It’s the stage that transforms your fermented mash into potent moonshine.
First, you’ll need a still. This device heats the liquid and separates alcohol from water and other components based on boiling points. As you heat your mash, watch for vapor rising—this indicates it’s working.
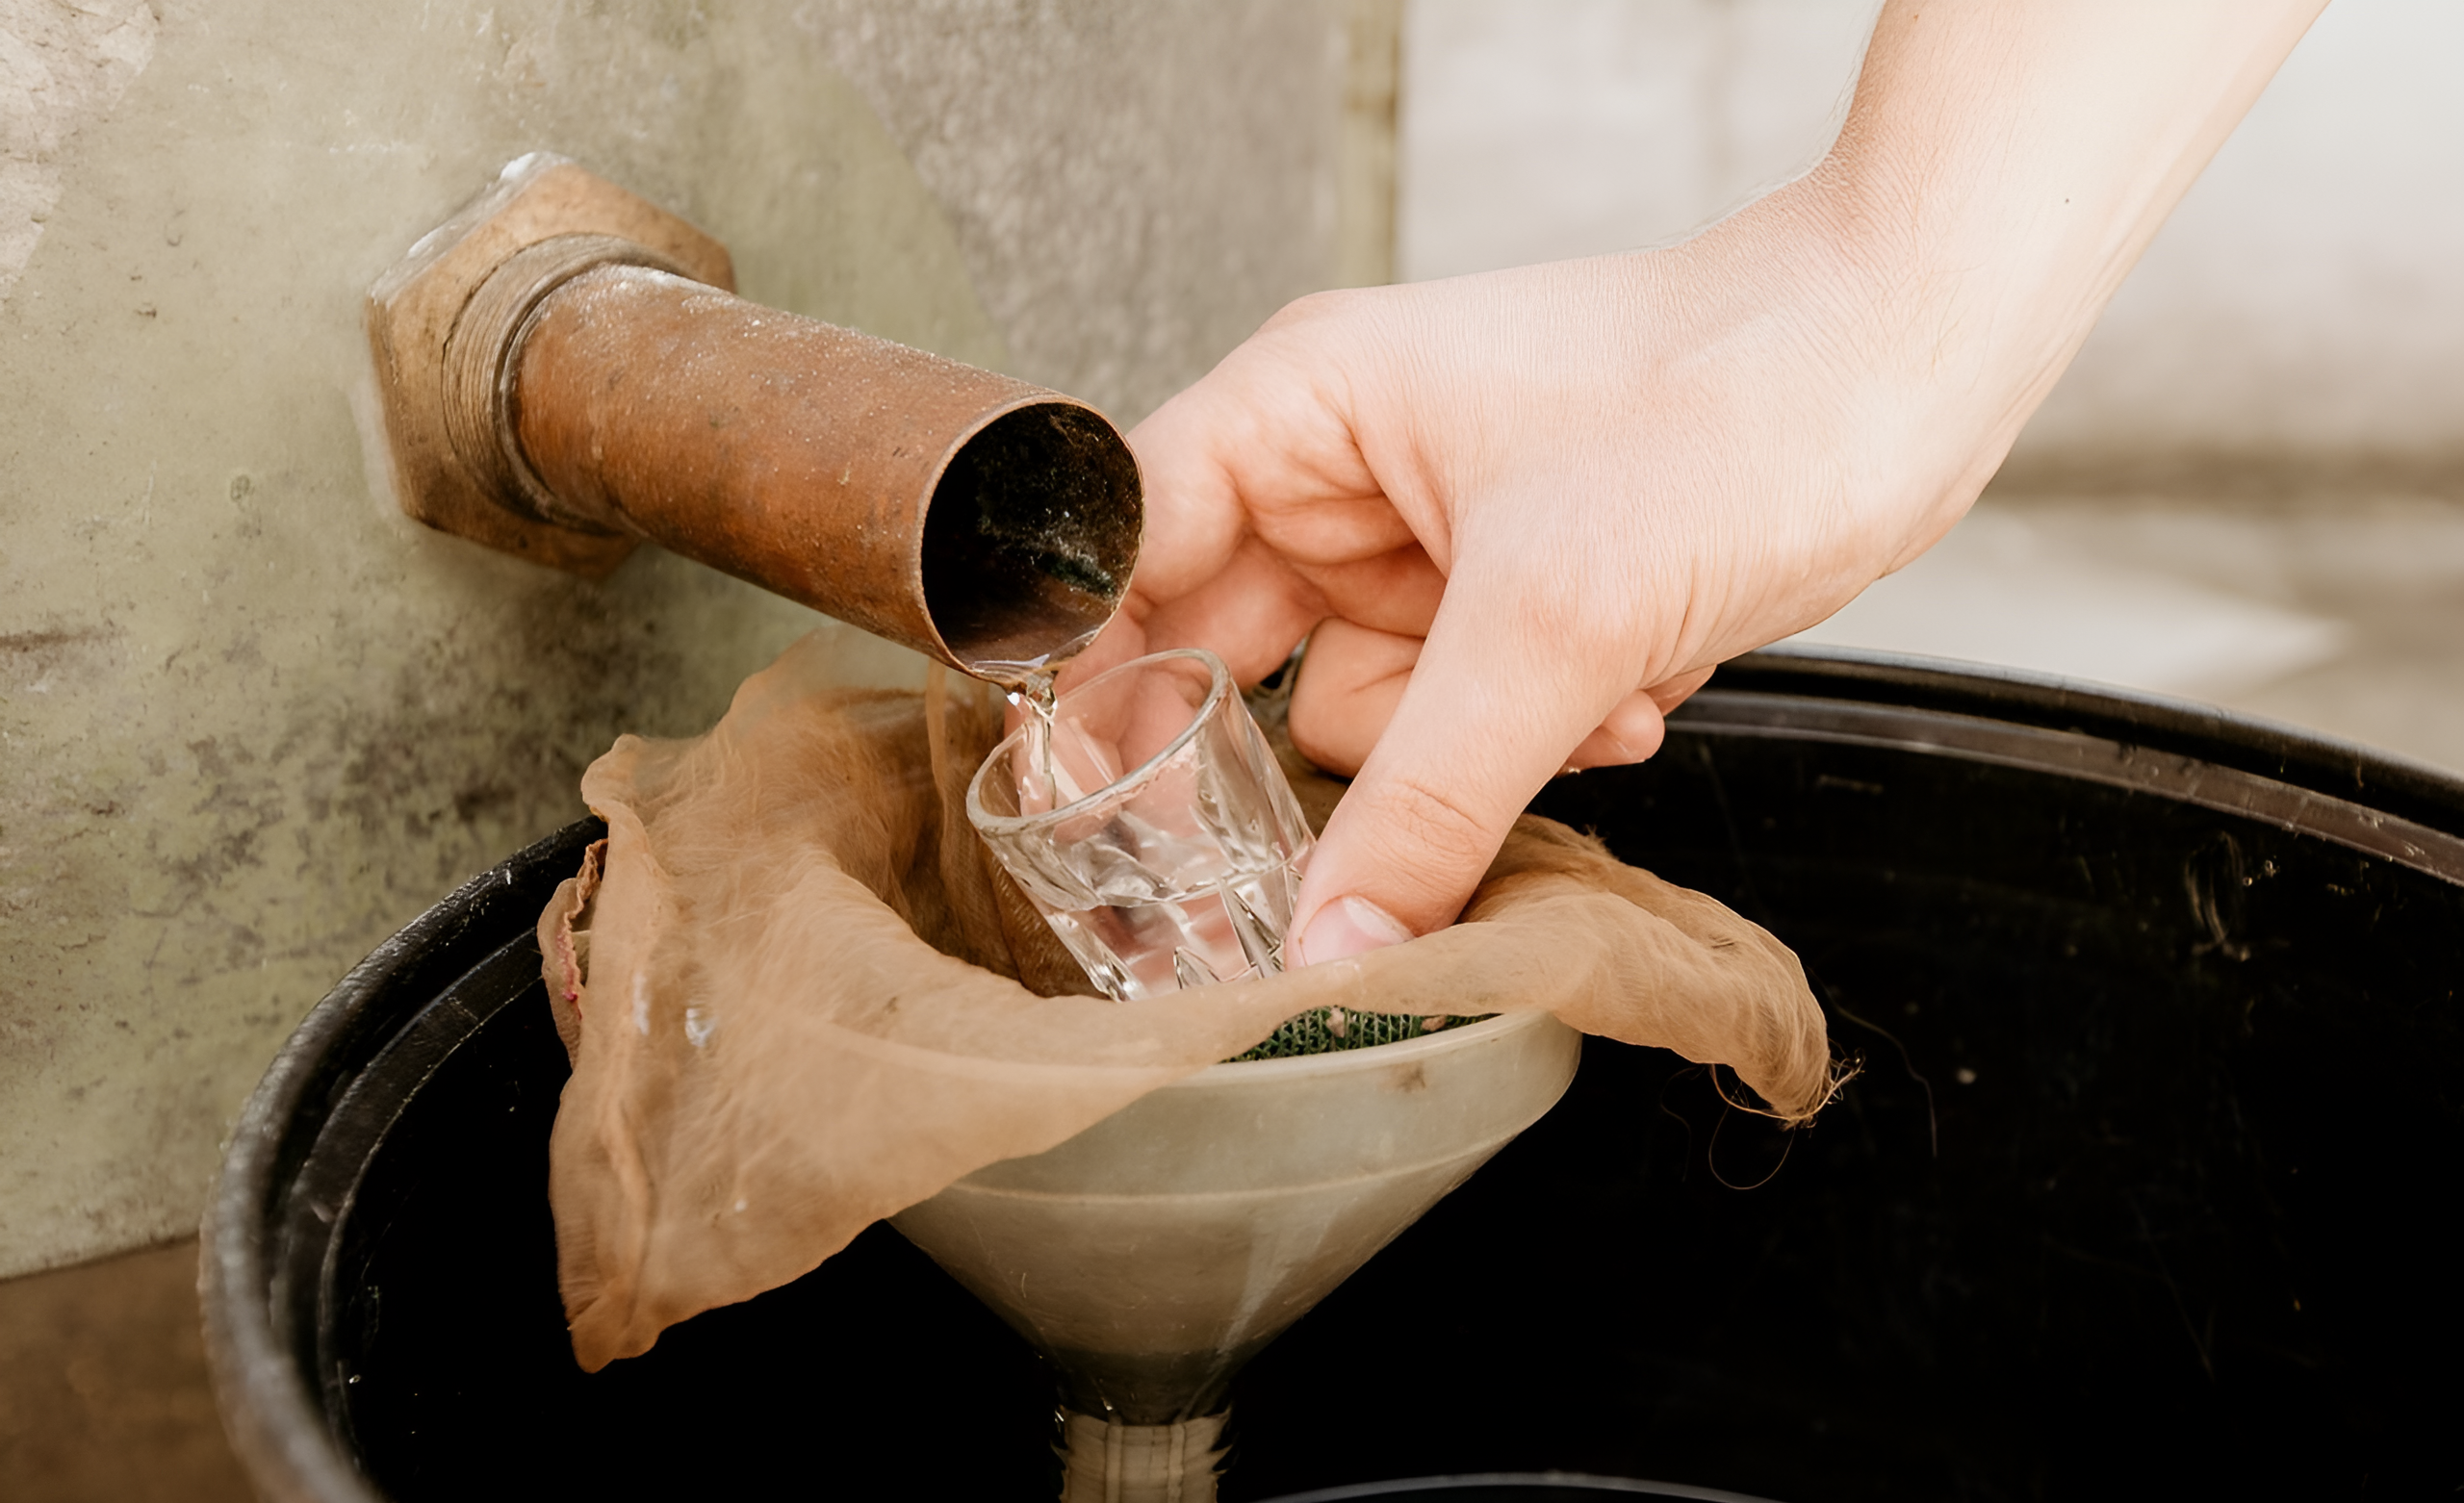
Once the vapor travels through the condenser, it cools down and turns back into liquid form. This is where you’ll collect your distillate in jars or containers.
Pay attention to fractions as you collect your shine. The first portion collected, called “foreshots,” contains unwanted compounds like methanol; discard this carefully.
Then comes the “hearts,” which is pure alcohol ready for enjoyment. There’s “tails,” which can be lower quality but may have some flavor worth saving or re-distilling later.
Keep an eye on temperature throughout to ensure optimal results!
Bonus Tips for a Better Moonshine Mash
For a better moonshine mash, the quality of your ingredients is key. Always use fresh corn and pure water. The fresher the components, the richer the flavor. Temperature control during cooking is crucial. Aim for about 150°F when mixing in your corn meal to ensure optimal starch conversion without scorching it.
Consider using different types of grains to enhance complexity. Barley or rye can add unique flavors that elevate your final product. Patience pays off during fermentation; let it complete its cycle fully before distilling. Check specific gravity regularly with a hydrometer to track progress.
Keep everything clean! Sanitize all equipment thoroughly to prevent unwanted bacteria from spoiling your hard work. Clean tools lead to cleaner results in every batch you create.
Different Recipes for Moonshine Mash
When it comes to moonshine mash, creativity is key. Different recipes can yield unique flavors and experiences. A classic corn mash uses a simple mixture of cracked corn, sugar, and yeast. This traditional approach delivers that authentic taste many seek.
For something different, try a fruit-infused version. Adding apples or peaches during fermentation creates a delightful twist. The natural sugars from the fruit enhance the flavor significantly. Another intriguing recipe features malted barley alongside corn. This combination adds depth and complexity to your final product, appealing to those who appreciate intricate tastes.
Don’t shy away from experimenting with spices too! A dash of cinnamon or nutmeg can elevate your moonshine mash beyond expectations. Each batch becomes an adventure in flavor exploration as you customize it according to your palate.
Tips and Tricks for a Successful Batch
To ensure a successful batch of moonshine mash, precision is key. Measure your ingredients accurately to maintain the right balance of flavors and fermentation. Temperature plays a significant role in the fermentation process. Monitor it closely; ideal conditions are generally between 70°F and 80°F for yeast activity.
Keep your equipment clean and sanitized. Any contamination can ruin an entire batch, so take extra care with everything that comes into contact with your mash. Patience is essential during fermentation. Don’t rush the process; allow enough time for the yeast to work its magic fully.
If you’re experimenting with flavors, start small. Add fruits or spices gradually to find combinations that suit your taste without overwhelming the base flavor of corn or sugar. Keep detailed notes on each batch—what worked well and what didn’t? This will help refine your technique over time.
Safety Precautions and Legal Considerations
When venturing into moonshine production, safety must be a top priority. The process involves high temperatures and potentially flammable materials. Always work in a well-ventilated space to minimize the risk of accidents. Additionally, it’s crucial to wear protective gear like gloves and goggles.
This will help shield you from burns or spills that could occur while handling hot ingredients or chemicals. Legal considerations cannot be overlooked either. In many regions, distilling alcohol at home without permits is illegal. Check local laws before proceeding with any moonshine activities to avoid fines or legal issues.
Understanding the potential risks associated with improper fermentation and distillation can save you from hazardous situations. Prioritize research; knowing your craft ensures both safety and compliance with regulations while enjoying the art of making moonshine mash responsibly.
Different Variations and Flavors of Moonshine
Moonshine isn’t just about traditional corn whiskey. The world of moonshine offers a plethora of delicious variations that can tantalize your taste buds. Fruit-infused moonshines are incredibly popular. Adding flavors like apple, peach, or cherry transforms the spirit into refreshing delights perfect for sipping on warm days.
Spice it up with cinnamon or ginger for an added kick. These unique blends can create a warming sensation during colder months and add complexity to cocktails. Herbal infusions are another interesting route. Consider using mint, basil, or even rosemary to craft something entirely new and aromatic.
Experimenting with different grains can also yield distinctive results. Barley, rye, or even wheat bring their own character to the mash process. Each variation tells its own story and offers countless opportunities for creativity in home distilling adventures.
Conclusion: Enjoying Your Homemade Moonshine!
Creating your own moonshine mash can be a rewarding and exciting adventure. Once you’ve followed the steps, from preparing the corn meal to distilling your final product, it’s time to enjoy the fruits of your labor.
Sip it neat or mix it into cocktails for a unique twist. Share it with friends during gatherings or use it as a special gift for those who appreciate homemade spirits. The satisfaction of crafting something from scratch is unmatched.
Remember to savor each drop responsibly, and always keep safety and legality in mind while enjoying your homemade brew. Cheers to new experiences!


