How To Can Food For Survival
Are you ready to learn how to can food for survival? When it comes to survival, being prepared is key. One of the most effective ways to ensure you have access to nutritious food during challenging times is through canning.
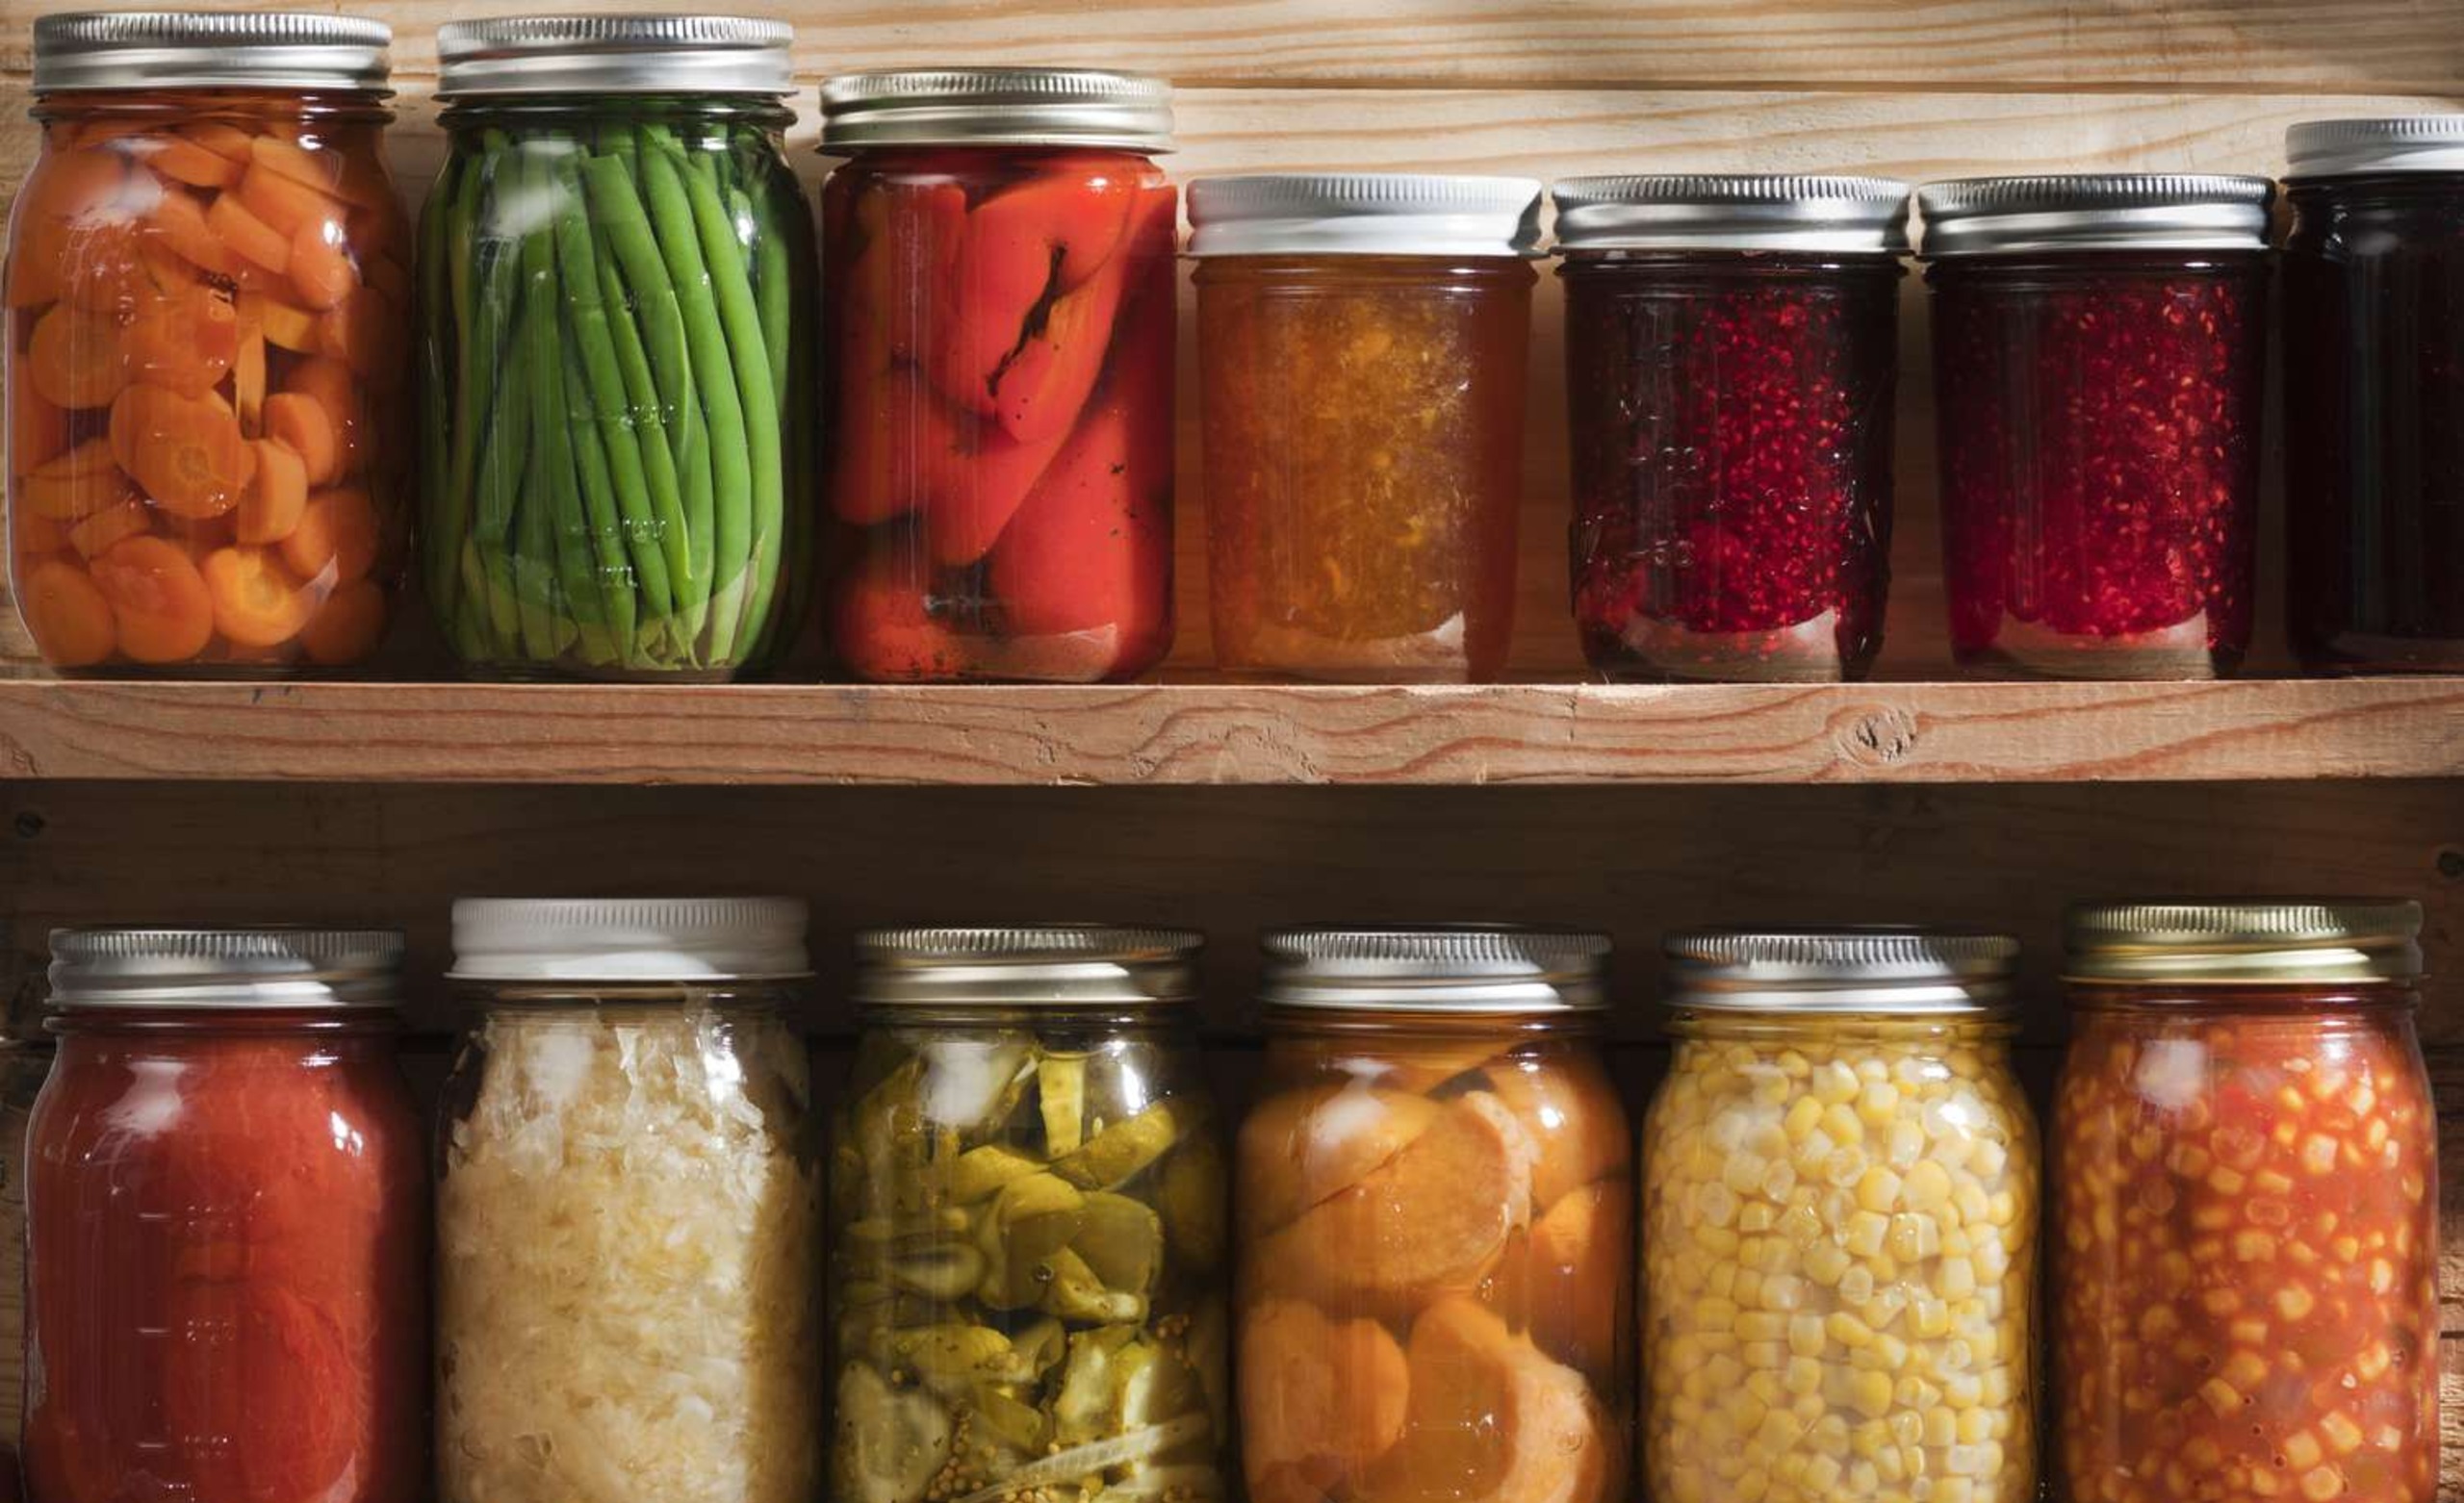
Canning not only preserves the freshness and flavor of seasonal produce but also provides a reliable food source that can last for years. Imagine having jars filled with vibrant fruits, vegetables, and meats lining your pantry shelves, ready for whatever life throws your way.
Whether you’re facing an emergency situation or simply want to stock up on healthy options, learning how to can food is a valuable skill worth mastering. Let’s dive into the essentials of canning so you’ll be well-equipped when it matters most!
Why Canning is Important for Survival Situations
Canning is an essential skill for anyone preparing for survival scenarios. It allows you to preserve food long-term, reducing waste and ensuring access to nutrition when fresh options are scarce.
In times of crisis, whether due to natural disasters or economic instability, having a stockpile of canned goods can be invaluable. These foods remain safe and nutritious for years if processed correctly.
Moreover, the ability to can your own food means independence. You rely less on stores and supply chains that may falter during emergencies. This self-sufficiency provides peace of mind.
Also worth noting is the variety it offers. By canning your favorite fruits, vegetables, meats, and soups, you create a diverse pantry that caters to different tastes while boosting morale in tough times. Embracing this practice equips individuals with vital resources when they need them most.
Essential Tools and Supplies for Canning
To kick off your canning journey, gather the right tools. A large pot or water-bath canner is essential for processing jars safely. Invest in a pressure canner if you plan to preserve low-acid foods like meats and vegetables.
Jar lifters are crucial for handling hot jars without burns. Pair them with a funnel to avoid spills while filling your containers. Don’t forget about lids and bands; these ensure a proper seal.
A good pair of tongs will come in handy when retrieving boiling jars from the water bath. Additionally, having a food thermometer helps ensure that everything reaches safe temperatures during processing.
Consider adding some dish towels to wipe down rims and clean up any messes along the way. With these supplies at hand, you’re well on your way to mastering how to can food for survival effectively.
Step-by-Step Guide to Canning Food
Step 1: Choosing the Right Foods for Canning
Choosing the right foods for canning is crucial to your success. Start by selecting fresh, high-quality produce. The flavor and texture will shine through in your finished product.
Fruits like peaches, pears, and tomatoes are popular choices. They not only preserve well but also enhance dishes all year round. Vegetables such as green beans, carrots, and corn can provide a nutritious addition to your pantry.
Consider peak seasons when shopping at local farmers’ markets or grocery stores. Seasonal produce often means better taste and lower prices.
Don’t forget about acidity levels! High-acid foods generally require less processing time than low-acid ones. This difference affects both safety and flavor outcomes.
Experiment with different combinations too. You might discover delightful pairings that elevate your meals later on!
Step 2: Preparing the Jars and Lids
Before you start filling your jars, it’s crucial to ensure they’re clean and sanitized. Wash each jar in hot, soapy water, then rinse thoroughly. This step helps eliminate any lingering bacteria that could spoil your food.
Next up is the lids. They require special attention too. Place them in a small pot of simmering water for about 10 minutes before use. This softens the rubber seal, ensuring a tight fit when you seal the jars.
Don’t forget to inspect both jars and lids for cracks or dents. Any imperfections can compromise your canning efforts down the line.
Once everything’s prepped, arrange your jars on a clean surface while waiting to fill them with delicious fruits or vegetables. Keeping this area tidy will help streamline your entire process!
Step 3: Preparing the Food for Canning
Preparing the food for canning is a crucial step that sets the stage for delicious results. Start by washing your fruits or vegetables thoroughly to remove any dirt, pesticides, or impurities. This ensures you’re preserving only the best quality produce.
Next, you’ll want to cut or chop the ingredients as needed. Uniform sizes help them cook evenly during processing. For some items like tomatoes, peeling may be required; boiling them briefly makes this task easier.
Consider blanching vegetables before canning. This process involves briefly cooking them in boiling water and then plunging them into ice water to stop the cooking process. Blanching helps preserve color, texture, and nutrients.
Remember to check recipes for specific preparation instructions based on what you’re canning. Each type of food has unique requirements that will enhance flavor and safety in storage later on.
Step 4: Filling and Sealing the Jars
Now it’s time to fill those jars. Begin by ladling your prepared food into clean, hot jars. Leave enough headspace at the top—usually about an inch or so—to allow for expansion during processing.
Make sure to remove any air bubbles trapped in the jar. You can do this gently with a non-metallic utensil like a plastic spatula. Just slide it down the inside of the jar and give it a little shake to release those pesky pockets of air.
Once you’ve filled and debubbled each jar, wipe the rim thoroughly with a clean cloth. This step is crucial; any residue can prevent proper sealing.
Carefully place your prepped lids on top, ensuring they are centered over the rims. Screw on the metal bands until they’re fingertip-tight—not too loose but not overly tight either. A gentle touch ensures that steam can escape while creating a vacuum seal later on.
Step 5: Processing the Jars
Processing the jars is a crucial step in the canning process. This involves heating them to eliminate any bacteria, yeasts, and molds that could spoil your food.
The method you choose depends on what you’re canning. High-acid foods like tomatoes or fruits typically require a water bath. For low-acid foods such as vegetables and meats, you’ll need a pressure canner for safe processing.
Ensure your jars are submerged in boiling water for the recommended time based on their size and contents. Remember to keep an eye on the temperature throughout this process; maintaining consistency is key to food safety.
Once processed, remove the jars carefully using jar tongs or gloves to avoid burns. The sound of popping lids will confirm they’ve sealed properly once cooled down—an exciting moment for any home canner!
Step 6: Cooling and Storing
Once your jars have been processed, it’s time to let them cool down. Place the hot jars on a clean kitchen towel or cooling rack. This prevents any temperature shock that could cause breakage.
Allow at least 12 hours for the jars to cool completely. You’ll know they’re ready when the lids have sealed properly and no longer pop up when pressed in the center.
After cooling, it’s important to check each jar for a tight seal. Press down in the middle of each lid; if it doesn’t move, you’re good to go!
Store your sealed jars in a cool, dark place like a pantry or cellar. Avoid direct sunlight and high humidity areas as these can affect shelf life.
Label your cans with dates so you remember what you’ve stored and when. Enjoying your homemade preserves is just around the corner!
Best Foods to Can for Long-Term Storage
When it comes to canning for long-term storage, choosing the right foods is key. Vegetables like green beans, carrots, and peas hold their taste and texture well after being canned. They provide essential nutrients that will keep you energized.
Fruits are another excellent option. Peaches, pears, and apples not only make delicious snacks but also offer vitamins crucial for survival situations. Their natural sugars can boost your morale during tough times.
Proteins shouldn’t be overlooked either. Canning meats such as chicken or beef can diversify your food supply significantly. Ready-to-eat meals stored in jars save time when resources are scarce.
Don’t forget about soups and sauces! Tomato sauce or vegetable broth adds flavor to various dishes while extending shelf life. By picking a variety of these items, you’ll create a balanced pantry ready for any situation that arises.
Tips and Tricks for Successful Canning
Successful canning hinges on attention to detail. Start by ensuring your jars are clean and free from chips or cracks. A simple wash in hot, soapy water followed by a rinse will do wonders. Use fresh produce for the best results.
The flavor and nutrients of freshly picked fruits and vegetables make a significant difference in taste and texture after preservation. Pay close attention to processing times based on altitude. Adjustments may be necessary if you live at higher elevations.
Don’t skip the headspace when filling jars; this allows for proper sealing as food expands during processing. Label your jars with dates, contents, and any special notes about preparation methods used. Trust your instincts—if something looks off after canning, it’s better to err on the side of caution than risk consuming potentially hazardous foods.
Precautions and Safety Measures for Canning
Canning food is a rewarding process, but it comes with its own set of risks. It’s crucial to follow safety protocols to prevent contamination and ensure quality preservation. Always start by sanitizing your jars and lids. A clean environment can significantly reduce the risk of bacteria growth.
Use boiling water or a dishwasher for this task. Check your equipment carefully before use. Ensure that pressure cookers are functioning properly, as improper sealing can lead to spoilage or worse. During the actual canning process, maintain proper acidity levels in foods like tomatoes or pickles.
This helps inhibit harmful microorganisms from developing inside the jars. Always adhere to processing times based on food type and jar size. Even slight deviations may compromise the integrity of your canned goods, so precise timing is essential for safety.
Storing and Rotating Your Canned Foods
Proper storage of canned foods is essential for maximizing their shelf life. Start by keeping your cans in a cool, dark place. Avoid areas that experience temperature fluctuations or high humidity. Organize your pantry systematically.
Place the newest cans at the back and older ones at the front to ensure you use them first. This method is known as FIFO—First In, First Out. Check labels regularly for expiration dates. Even though canned goods can last well beyond these dates, it’s wise to consume them while they’re still fresh.
Consider using clear bins or containers to group similar items together. Labeling can also help keep track of what’s available without rummaging through everything. Don’t forget about cleanliness! Keep your storage area dust-free and dry to protect against contamination and spoilage.
Using Your Canned Foods in Survival Situations
Canned foods are a lifesaver in survival situations. They provide essential nutrients and energy when fresh produce is scarce or unavailable. When faced with limited resources, your canned goods can be the foundation of hearty meals.
Mix beans with rice for protein-packed sustenance, or add canned vegetables to soups to enhance flavor and nutrition. Don’t forget about versatility. Canned fruits make great snacks or can be used in desserts. Their natural sugars offer quick energy boosts when you need them most.
Be mindful of portion control too. Rationing your supplies ensures that they last longer during uncertain times. Always keep an eye on expiration dates; while many cans stay good beyond their printed date, it’s essential to assess each one carefully before consuming.
Using your canned food effectively can turn dire circumstances into manageable ones, keeping hunger at bay while you navigate through challenging conditions.
Alternatives to Traditional Canning Methods
If traditional canning isn’t your style, there are several alternatives worth exploring. Freezing is a straightforward method that preserves taste and nutrients well. Simply wash, chop, and pack foods into airtight containers before popping them in the freezer.
Fermentation offers another option. This ancient technique enhances flavor while creating beneficial probiotics. Foods like cabbage transform into sauerkraut or kimchi with just salt and time. Dehydrating is also popular for long-term storage of fruits, vegetables, and herbs.
A dehydrator or even an oven on low heat can do the trick; removing moisture prevents spoilage. Consider vacuum sealing. It removes air from bags containing food items to extend shelf life significantly without the need for cooking them first. Each alternative has its own set of advantages tailored to different survival strategies and preferences.
Conclusion
Canning food for survival is a valuable skill that can enhance your preparedness during emergencies. By understanding the importance of preserving food, gathering essential tools and supplies, and following a step-by-step guide, you equip yourself to handle various situations.
Choosing the right foods to can ensures you have nutritious options available when needed. Employing tips and tricks will improve your success rate while taking precautions keeps safety at the forefront of your efforts. Properly storing and rotating your canned goods maximizes their shelf life, allowing you to rely on them when resources are scarce.
Moreover, knowing how to use these preserved foods in practical scenarios enhances their value significantly. If traditional methods aren’t feasible or appealing, exploring alternatives can still provide solutions tailored to your needs.
Mastering this technique not only helps sustain yourself but also offers peace of mind in an unpredictable world. The ability to preserve food empowers individuals with self-sufficiency and confidence during challenging times. Embrace the journey of learning how to can food for survival; it’s an investment worth making for both today and tomorrow.


