How To Build A Plywood Boat
Whether you want to explore serene lakes or navigate coastal waters, understanding how to build a plywood boat will set you on the right course. Have you ever dreamed of gliding across the water in a boat you built with your own two hands?
If so, building a plywood boat might just be the adventure you’re looking for. Plywood boats are not only cost-effective but also surprisingly lightweight and easy to construct. With some basic tools, materials, and a little bit of know-how, anyone can embark on this rewarding journey.
Let’s dive into the world of woodworking and craftsmanship as we guide you through every step of creating your very own floating masterpiece!
Advantages of Building a Plywood Boat
Building a plywood boat comes with several compelling advantages. For starters, plywood is lightweight yet durable. This makes your boat easier to handle both on land and in the water. Cost-effectiveness is another major benefit.
Plywood is generally more affordable than other materials like fiberglass or aluminum, allowing you to save money without sacrificing quality. Flexibility in design also stands out. Plywood can be shaped easily, giving you creative freedom to customize your boat according to your needs and preferences.
Additionally, constructing a plywood boat can be an incredibly rewarding experience. It offers a hands-on project that enhances your woodworking skills while providing satisfaction once completed. Maintenance of plywood boats tends to be straightforward compared to more complex vessels. Repairs are often manageable for DIY enthusiasts, ensuring longevity with proper care.
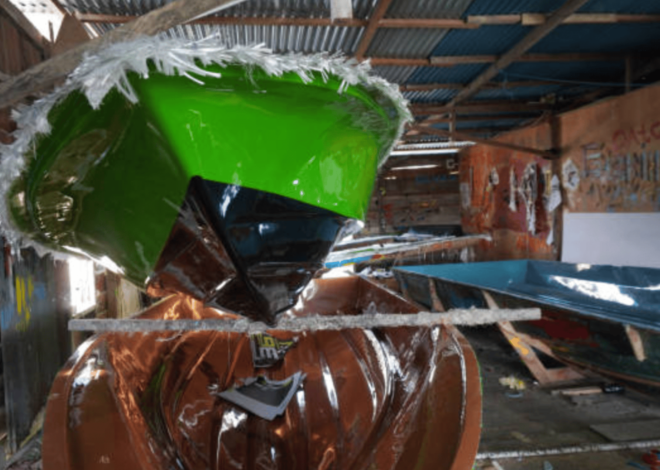
Tools and Materials Needed for Building a Plywood Boat
To embark on your plywood boat-building journey, gathering the right tools and materials is essential. Start with high-quality marine plywood. This type of wood resists moisture and rot, making it ideal for watercraft. Next, a good set of woodworking tools will make all the difference.
You’ll need a circular saw for cutting sheets accurately and a jigsaw for more intricate curves. A power drill is also necessary to secure components together. Don’t forget sandpaper in various grits; this helps smooth edges and surfaces before finishing touches are applied. Waterproof glue ensures strong bonds between pieces while sealing them from water damage.
Grab some clamps to hold everything securely during assembly. A paintbrush or roller comes in handy too when applying sealant or paint later on to protect your creation from the elements. With these essentials at hand, you’re well on your way!
Step-by-Step Guide on Building a Plywood Boat:
Each phase requires patience but results in a rewarding experience as you see your creation take shape piece by piece.
A. Designing the Boat
Designing your plywood boat is an exciting phase. It’s where creativity meets functionality. Start by envisioning the type of boat you want—will it be a simple dinghy or a more complex sailboat?
Sketch out your ideas on paper. Use basic shapes to capture the hull, deck, and any additional features like storage compartments or seating arrangements. Consider the dimensions carefully; they will impact stability and performance.
Don’t forget about usability! Think about how many people will be aboard and what activities you’ll pursue on the water. This foresight can influence design choices significantly.
Research existing designs for inspiration but remember to add your unique flair. Tools like computer-aided design (CAD) software can help visualize your project in detail, making adjustments easier before cutting any wood.
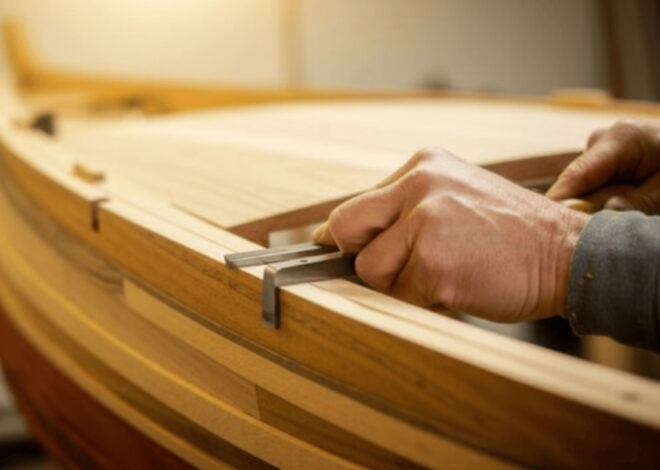
B. Cutting and Assembling the Pieces
Once your design is ready, it’s time to bring it to life. Start by carefully measuring and marking the plywood sheets according to your plans. Precision here is key; even small discrepancies can affect the boat’s performance.
Use a jigsaw or circular saw for cutting out each piece. Ensure you have a steady hand and follow the lines closely. Remember, safety first—wear protective goggles and gloves while you work.
After cutting, it’s all about assembly. Lay out all pieces on a flat surface before joining them together. Use wood screws or epoxy adhesive for strong bonds between sections.
Align edges neatly as you fasten them together. A square will help keep everything straight during this process. This stage sets the foundation for your boat, so take your time to ensure everything fits snugly without any gaps.
C. Reinforcing and Sealing the Joints
Reinforcing and sealing the joints of your plywood boat is crucial for its durability and water resistance. Start by applying a strong adhesive at every joint, ensuring that you achieve a solid bond between the pieces.
Next, consider using fiberglass tape or cloth over these areas. This adds an extra layer of strength while also preventing leaks. When applied correctly, it’ll create a smooth finish that’s both functional and aesthetically pleasing.
After reinforcing with fiberglass, apply marine-grade sealant around each joint. This not only seals any gaps but also protects against moisture damage over time.
Don’t rush this step; take your time to ensure every seam is well-covered. A thorough job here can mean the difference between smooth sailing and unwanted repairs down the line.
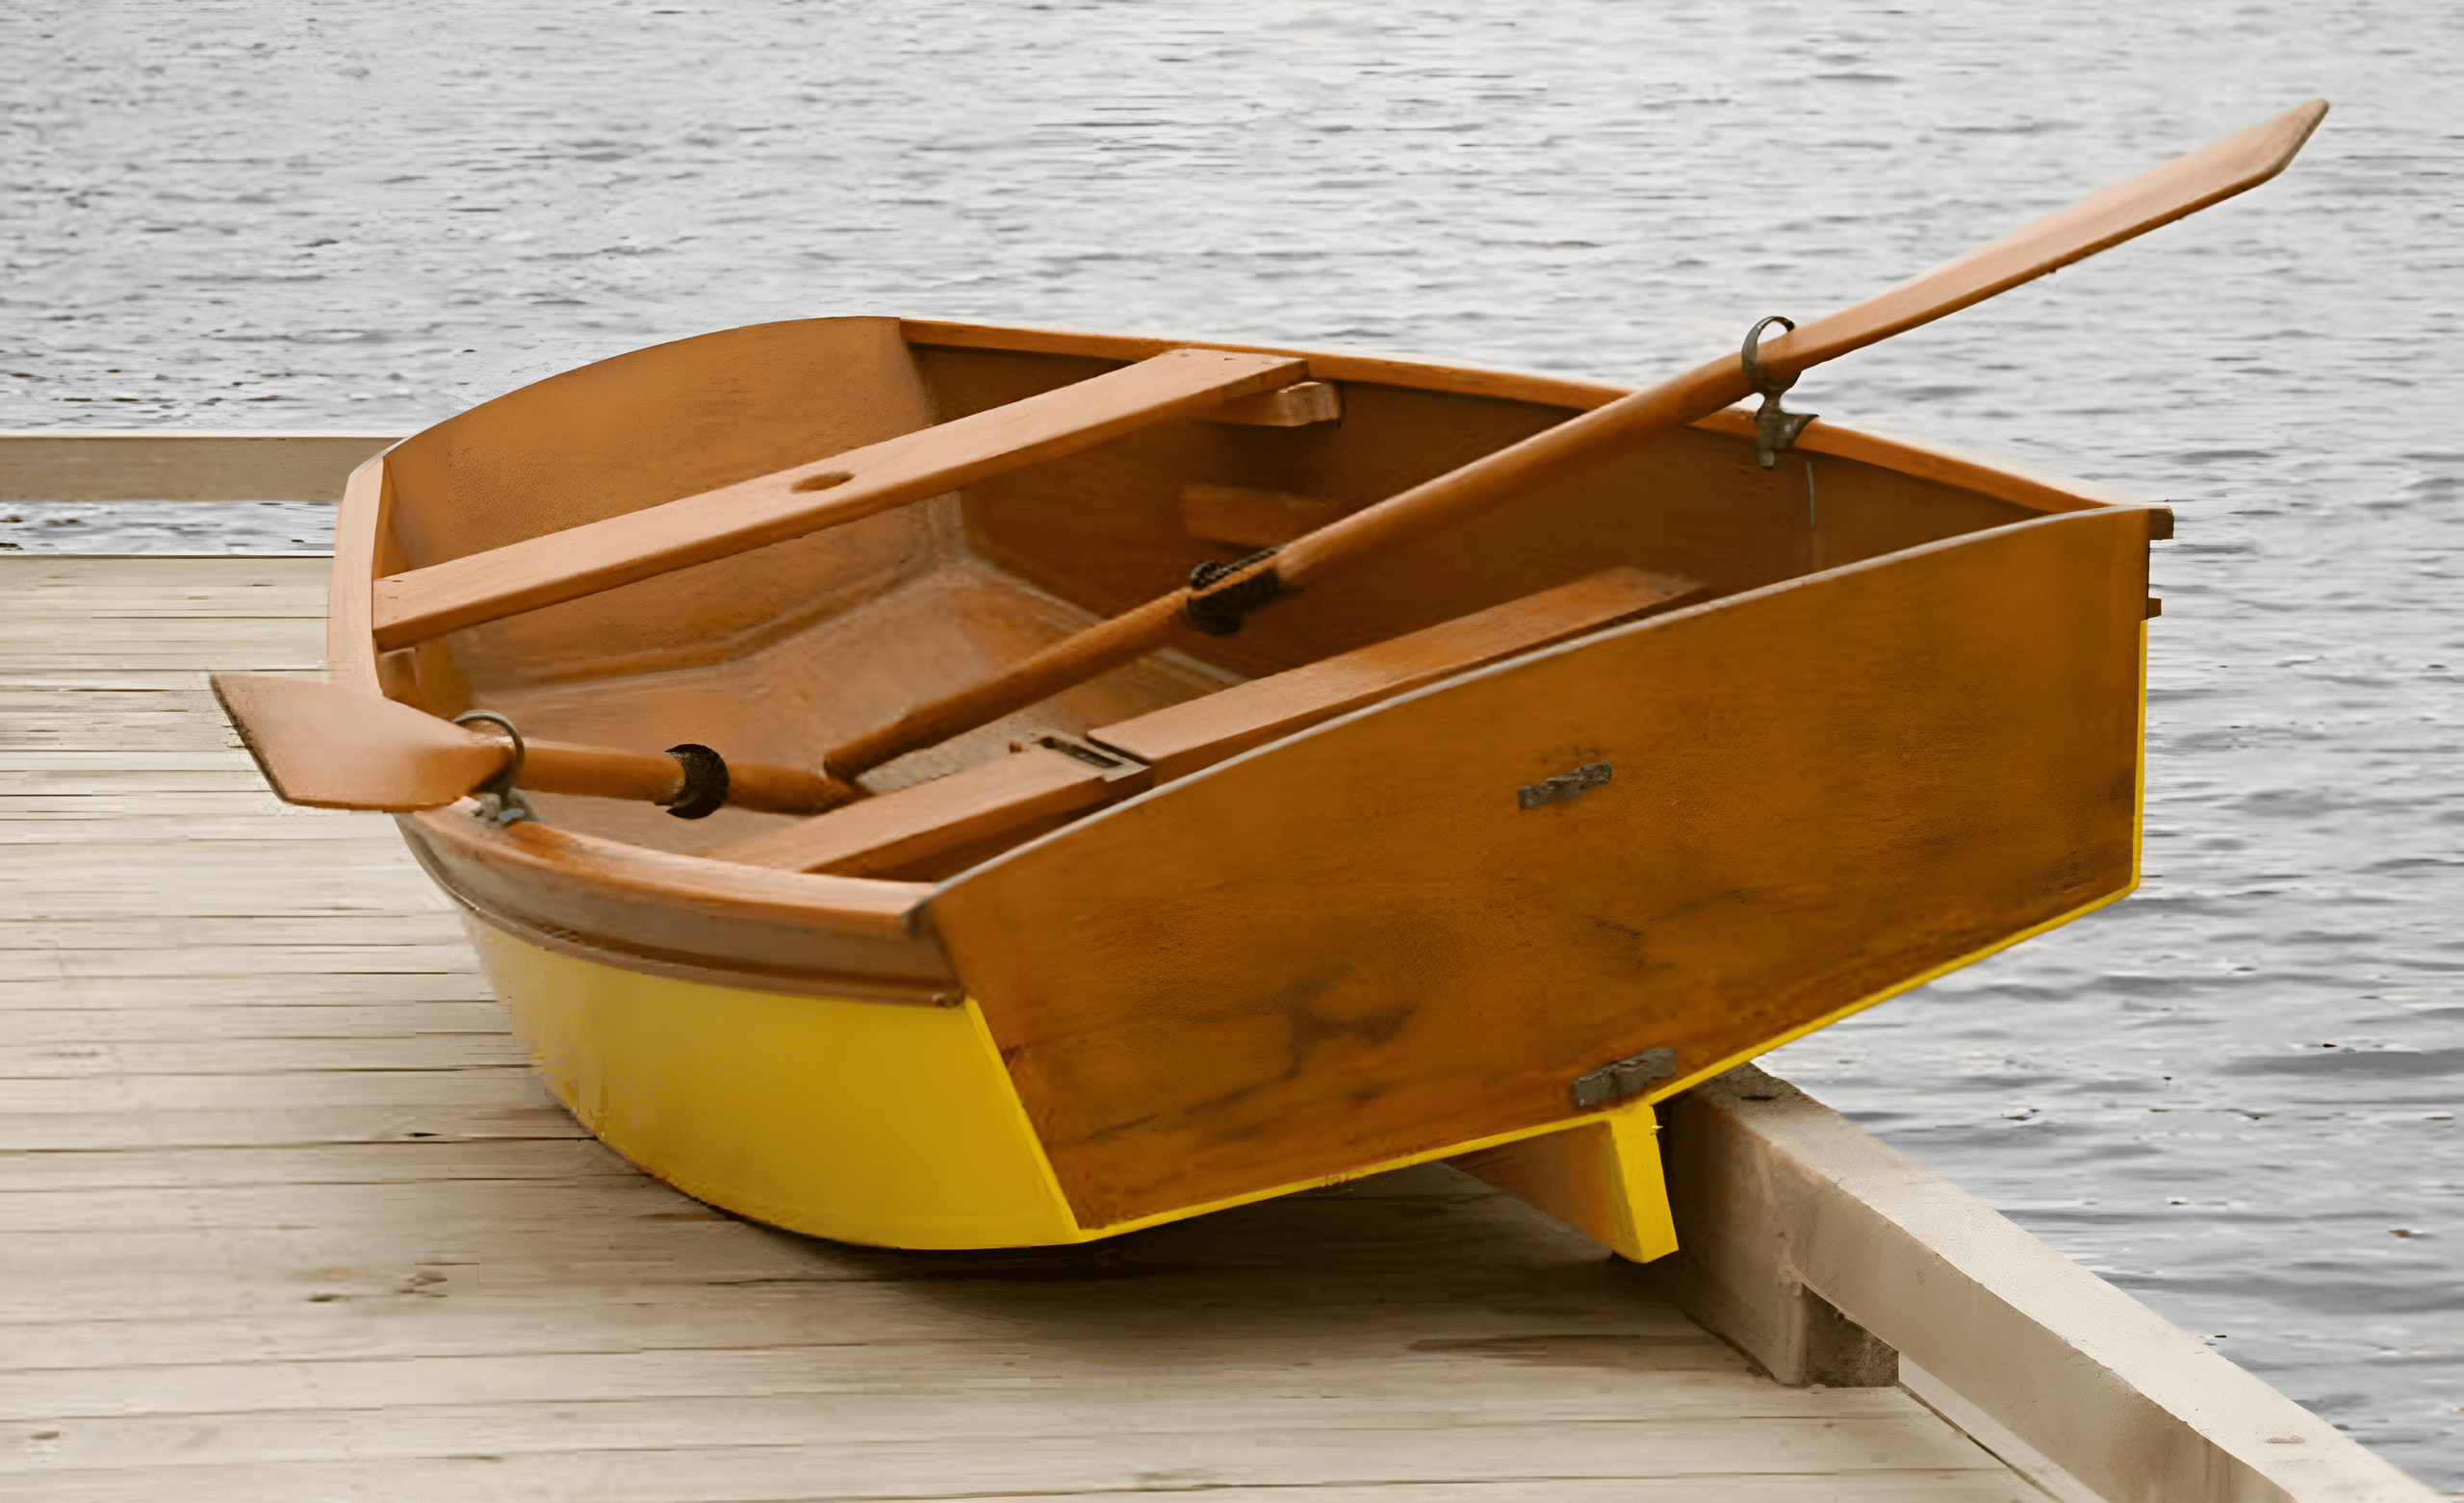
D. Adding Finishing Touches
Now that your plywood boat is taking shape, it’s time to focus on the finishing touches. This stage enhances both aesthetics and functionality.
Start by sanding the entire surface. A smooth finish not only looks great but also prevents splinters. Pay special attention to edges and corners for a professional look.
Next, apply a good-quality marine paint or varnish. Choose colors that inspire you while ensuring protection against moisture and UV damage. Multiple coats may be necessary for optimal durability.
Don’t forget about hardware installation! Adding cleats, handles, and other essential components will boost usability. Ensure everything is securely fastened to guarantee safety on water adventures.
Consider adding non-slip surfaces in key areas like the deck or seating sections. This small detail increases comfort and reduces accidents during outings. With these final touches complete, your plywood boat will be ready for its maiden voyage.
Tips and Tricks for Successful Construction
When building a plywood boat, attention to detail makes all the difference. Start by creating a well-thought-out design. Sketching your plans helps visualize dimensions and shapes. Use high-quality marine-grade plywood for durability. This material resists moisture and ensures longevity on the water.
Don’t skimp on adhesives either; a strong epoxy bond is key. Assemble your pieces in a clean workspace. Keeping everything organized prevents mistakes and saves time. Use clamps generously when securing joints—this will lead to tighter seams.
Consider using fiberglass cloth for added strength along edges and joints. It adds an extra layer of protection from wear and tear. Take breaks during construction to maintain focus. Fatigue can lead to errors that affect the boat’s integrity later on, so stay sharp!
Maintenance and Care for Your
Maintenance is crucial for keeping your plywood boat in top shape. Regular inspections can help you catch potential issues early on. Start by checking for any signs of wear or damage to the hull and joints. Look for cracks, chips, or discoloration that may indicate water penetration.
Address these problems promptly to prevent further deterioration. Cleaning your boat after each use is essential. Rinse off saltwater and debris with fresh water to avoid corrosion and mildew growth. A soft brush can effectively remove stubborn grime without damaging the surface.
Applying a protective sealant every few years will enhance durability and maintain its appearance. This step helps guard against moisture while adding an extra layer of protection from UV rays. Don’t forget about maintenance on hardware like hinges, cleats, and oars as well! Lubricating moving parts ensures smooth operation during your adventures on the water.
Alternative Options for Building a Boat
If plywood isn’t your preferred material, consider using fiberglass. Fiberglass boats are lightweight and resistant to corrosion. They require a different set of skills but can offer sleek designs and durability. Aluminum is another alternative worth exploring. It’s strong, lightweight, and requires minimal maintenance.
Building with aluminum involves welding or riveting, which may be more challenging for beginners. Wooden boats have their own charm as well. Traditional methods like lapstrake or clinker-built techniques allow for creativity while working with natural materials.
The smell of wood can add an extra layer of satisfaction during construction. For those looking to minimize environmental impact, recycled materials present a unique option. Upcycled plastics or reclaimed wood can create eco-friendly vessels that stand out on the water. Each material has its pros and cons; it’s essential to choose one that aligns with your vision and capabilities.
Conclusion: Building A Plywood Boat
Building a plywood boat can be an incredibly rewarding project. It offers the chance to create something uniquely yours while enjoying the satisfaction of hands-on work. With careful planning and attention to detail, you can construct a vessel that not only meets your needs but also exceeds your expectations.
As you embark on this journey, remember that patience is key. Every step, from designing to finishing touches, contributes to the overall success of your boat. Embrace any challenges along the way—they’re part of what makes this experience enjoyable.
Whether you’re setting off for leisurely fishing trips or embarking on weekend adventures with family and friends, a plywood boat will serve as both a means of transport and a proud testament to your craftsmanship. So gather your tools and materials, follow our guide closely, and set sail into new horizons!
Related Posts
How To Build A Small Boat

How To Build A Pontoon Boat