How To Build A Canoe
In this guide on how to build a canoe, we will take you through every step of the journey—from selecting materials to adding those final touches that make it truly yours. Building your own canoe is a rewarding adventure that combines craftsmanship, creativity, and a touch of nature. Imagine gliding across tranquil waters in a vessel crafted by your own hands.
Whether you’re an experienced woodworker or just starting out, the process can be both challenging and fulfilling. Not only do you get to enjoy the satisfaction of creating something unique, but you’ll also gain valuable skills along the way. So grab your tools and let’s embark on this exciting project together!
Materials Needed
Building a canoe starts with gathering the right materials. Choosing the proper wood is crucial. Common options include cedar, plywood, or fiberglass for durability and lightweight properties.
Next, you’ll need epoxy resin to bond various components together securely. This ensures your canoe can withstand water exposure over time.
Don’t forget about waterproof paint or varnish to protect the outer surface from harsh elements.
You’ll also require some hardware like screws and bolts for assembly. These small pieces play a big role in maintaining structural integrity.
Consider safety gear such as gloves and goggles when working with these materials. It’s all about creating an enjoyable experience while ensuring safety during construction!
Tools Required
When embarking on your canoe-building adventure, having the right tools is crucial. You don’t want to be halfway through and realize you’re missing something essential.
Start with basic hand tools like a saw for cutting wood. A handsaw or jigsaw works well for shaping pieces accurately. Then grab a chisel set; they’ll help refine edges and create precise joints.
A good quality drill will save time when assembling parts. Pair it with screws that can provide sturdy connections throughout your build.
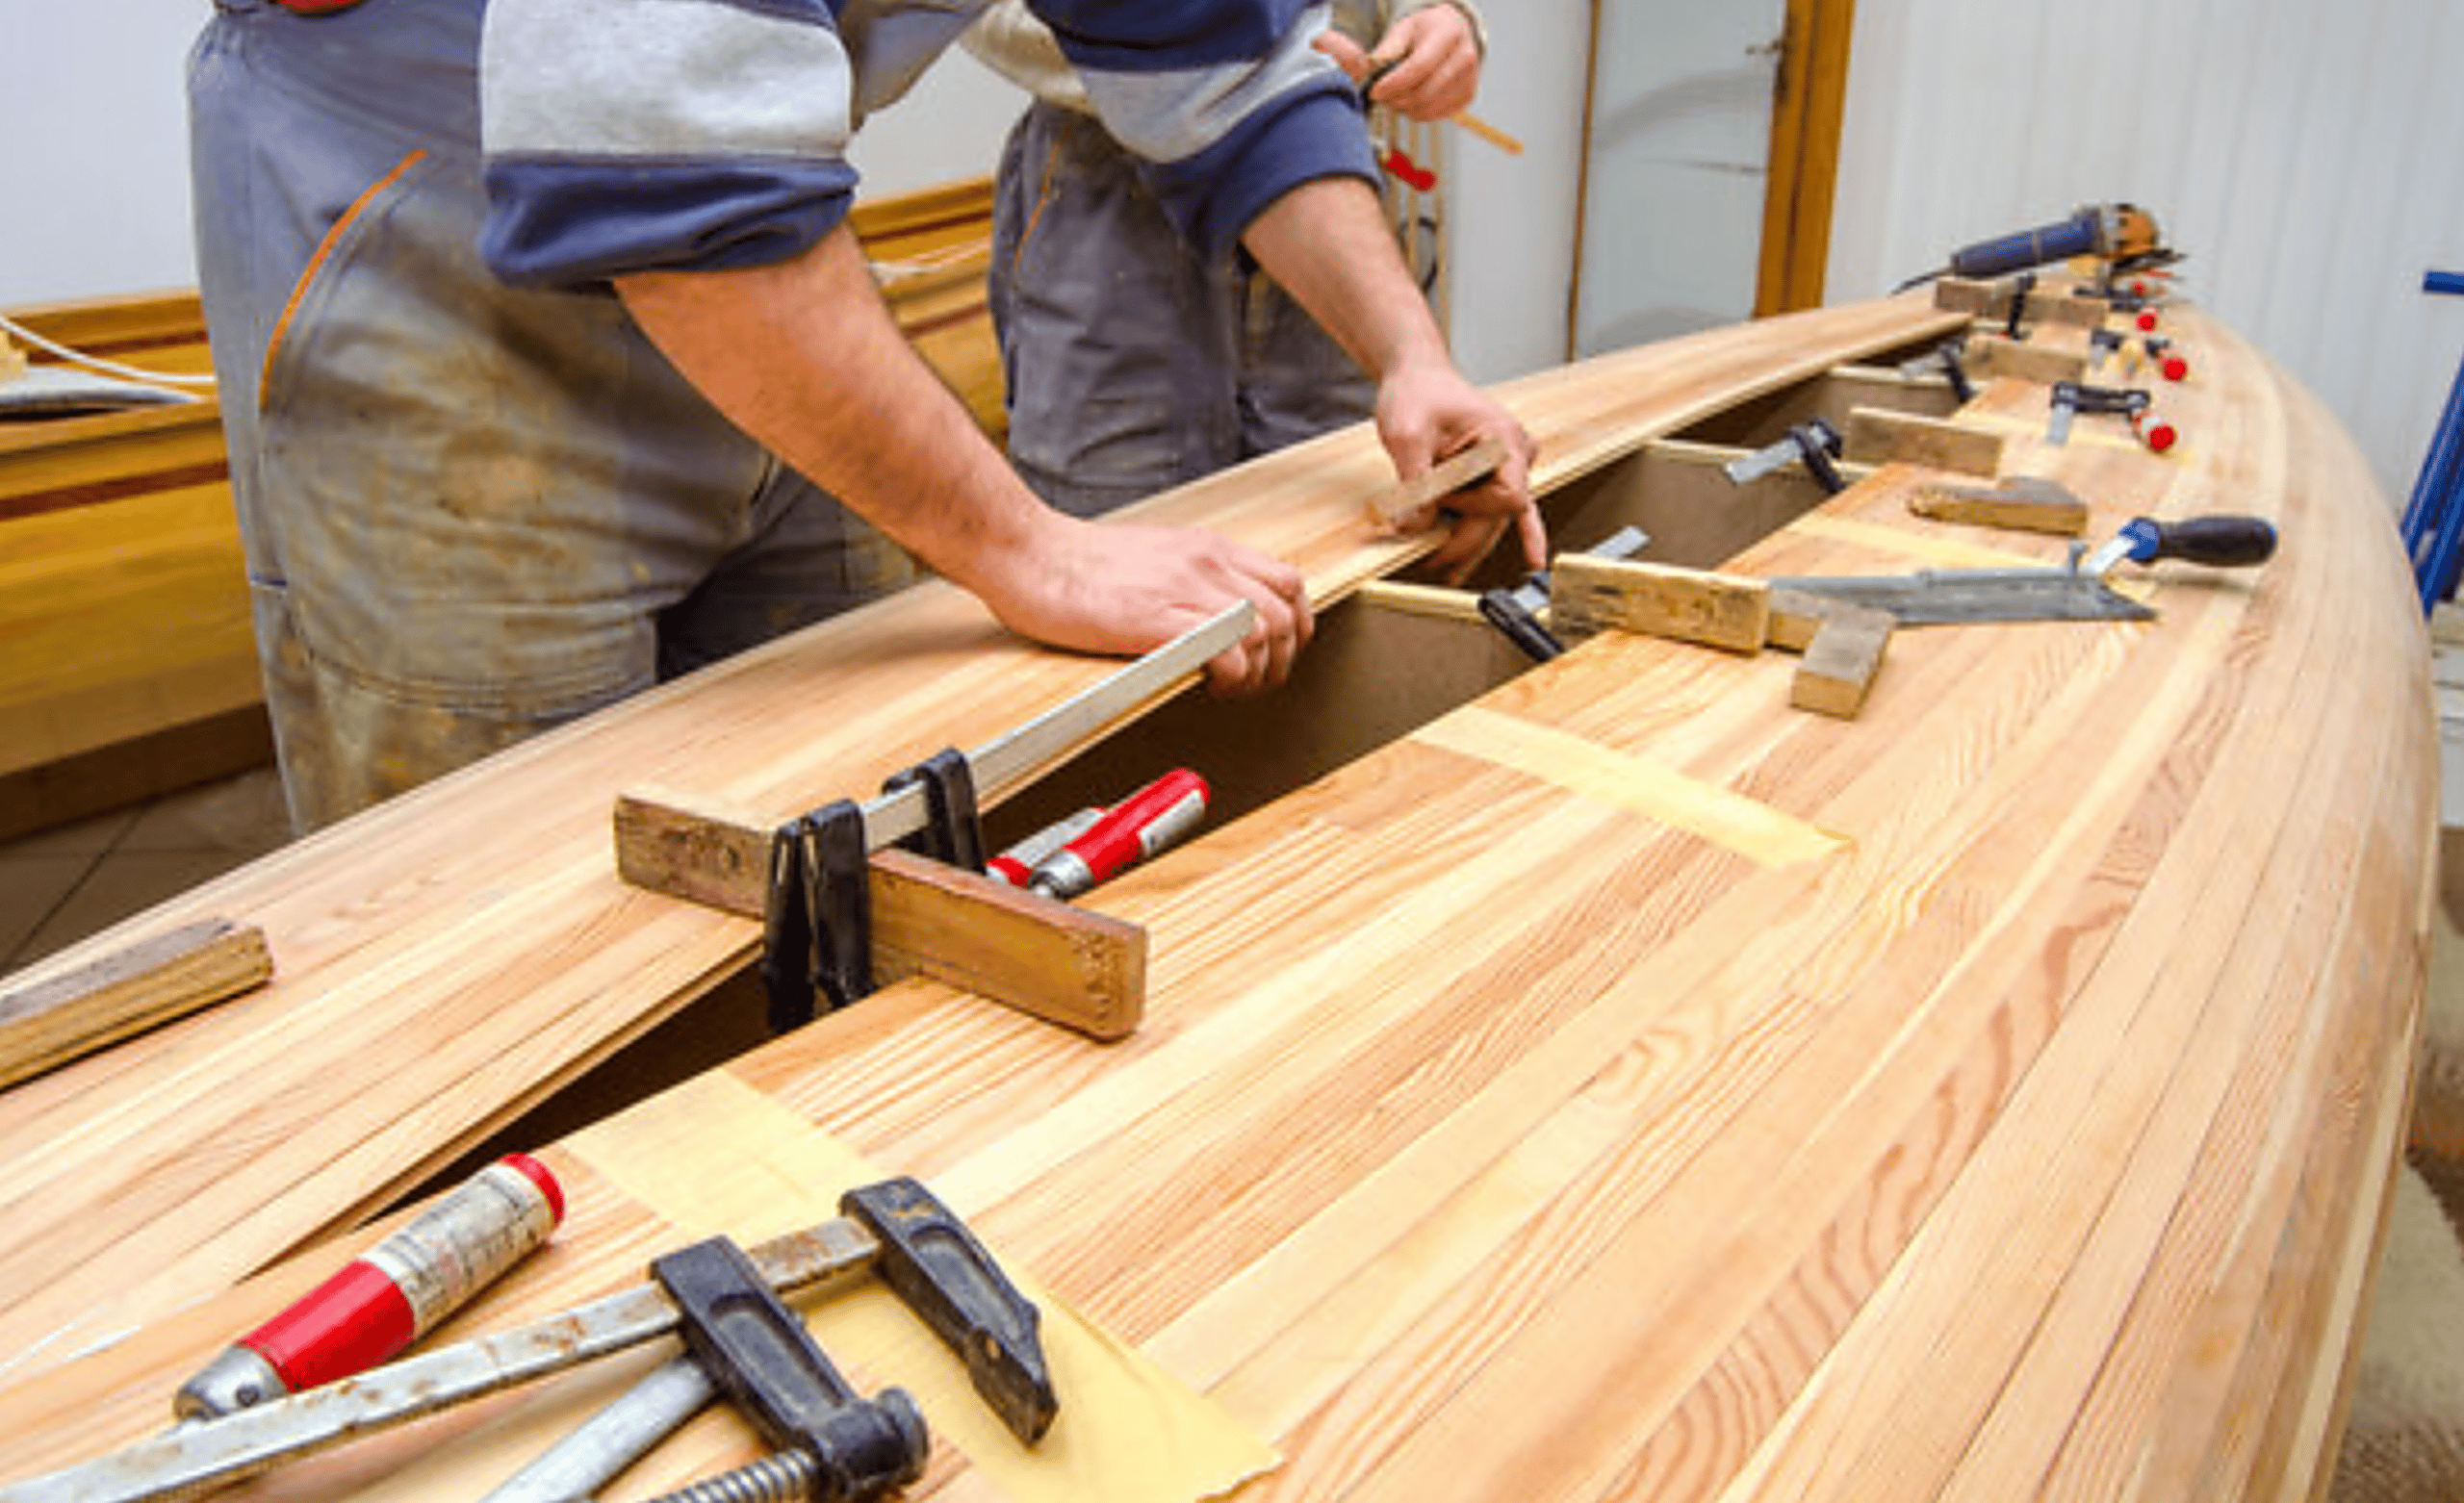
Clamps are another must-have, keeping everything secure while you work. They ensure precision as glue dries or joints bond together.
Don’t forget a measuring tape—accurate measurements are vital in achieving balance and symmetry in your canoe design. Safety goggles should also be on hand to protect against flying debris during cuts and drills; safety always comes first!
Step-by-Step Process of Building a Canoe
Building a canoe might seem daunting, but breaking it down into steps makes it manageable. So let’s go ahead and get started!
Step 1: Preparing the Wood
Preparing the wood is a crucial first step in building your canoe. Start by selecting high-quality, lightweight timber. Cedar and pine are popular choices due to their buoyancy and resistance to rot.
Once you’ve chosen the right wood, inspect each piece for defects or knots. Remove any imperfections that could weaken your structure later on.
Next, cut the boards to size according to your plans. Precision here will ensure everything fits together seamlessly during assembly.
After cutting, it’s time for sanding. Smooth out rough edges and surfaces so they’re pleasant to touch and provide a good adhesive surface when joining pieces together.
Consider applying a protective sealant if you plan on storing your wood outside before assembly. This helps prevent moisture damage while keeping your materials ready for construction.
Step 2: Assembling the Hull
Assembling the hull is a crucial step in building your canoe. It requires patience and precision to ensure everything fits together seamlessly.
Start by laying out your pre-cut wood pieces on a flat surface, checking for any imperfections. The hull structure typically consists of two symmetrical halves that will eventually be joined together.
Use strong adhesive or epoxy to bond the edges where they meet. This creates a solid base for your canoe’s shape and stability on water. While adhering, make sure everything is aligned properly; slight misalignments can affect performance later.
Once you’ve secured both halves, it’s time to reinforce them with temporary clamps or weights while the glue cures. This ensures that all parts remain firmly in place as you continue working on other sections of your canoe.
Take care in this phase—this foundation sets the stage for all subsequent steps!
Step 3: Adding the Ribs and Seats
Once the hull of your canoe is complete, it’s time to add the ribs and seats. The ribs provide structural support, ensuring your canoe can withstand waves and currents.
Begin by measuring and cutting the rib pieces to fit snugly within the hull. These usually follow a gentle curve that mirrors its shape. Position them evenly along the inside, spacing them out according to your design plans.
Next comes securing those ribs in place. Use wood glue or screws for a strong hold; this step is crucial for stability on water.
After attaching all ribs, focus on crafting comfortable seats. You can use lightweight wood to keep things balanced. Ensure they’re positioned at an ergonomic height for paddlers while allowing enough clearance above the waterline.
Take a moment to step back and admire how these elements transform your project into something functional yet beautiful.
Step 4: Installing the Gunwales and Decks
With the hull taking shape, it’s time to focus on installing the gunwales and decks. Gunwales are vital for providing structural integrity and a finished look. They also create a comfortable edge for paddlers.
Start by measuring your canoe’s length to cut the gunwale pieces accurately. Use sturdy wood like ash or oak for durability. Attach them using screws or rivets, ensuring they sit flush with the hull.
Next comes the decking process. Measure where you want to place your decks—typically at both ends of the canoe—for maximum stability and storage options. Cut these sections from lightweight plywood or similar materials.
Securely fasten each deck with strong adhesives or screws, reinforcing areas that may bear weight during use. A well-installed deck not only enhances aesthetics but also adds functionality as gear storage space while out on the water.
Step 5: Sanding and Finishing Touches
Sanding is where your canoe starts to shine. It removes rough patches and creates a smooth surface for finishing. Begin with a coarse grit sandpaper, gradually moving to finer grits for that perfect touch.
Pay attention to the edges and corners; they often need extra care. A well-sanded canoe not only looks good but feels great in your hands. Use a sanding block or even an electric sander if you’re comfortable.
After sanding, it’s time for the finish. Choose between varnish, paint, or epoxy based on your preference. Each option offers different levels of protection against water damage and UV rays.
Apply multiple thin coats instead of one thick layer for the best results. This ensures durability while maintaining an elegant appearance.
Let each coat dry completely before adding another layer. Your patience during this stage will yield beautiful results that last through countless adventures on the water.
Tips for a Successful Build
To achieve a successful canoe build, patience is key. Take your time with each step to ensure precision in your work. Rushing can lead to mistakes that may compromise the integrity of your canoe. Planning ahead can save you headaches later on.
Create a detailed blueprint before starting, outlining dimensions and materials you’ll need. Don’t hesitate to seek advice from experienced builders or online forums. Sharing knowledge can provide invaluable insights and tips that enhance your project. Keep your workspace organized and clean.
A clutter-free environment reduces distractions and helps maintain focus as you progress through the build. Remember to take breaks when needed. Stepping away for a moment allows you to return with renewed energy and perspective, improving both creativity and craftsmanship during the build process.
Benefits of Building your own Canoe
Building your own canoe opens up a world of possibilities. It allows you to customize every detail, from size to design. This personal touch ensures the canoe fits your unique style and paddling needs. The process itself is rewarding.
Crafting something with your own hands fosters a sense of accomplishment that store-bought options simply cannot match. Each stroke and seam tells a story of creativity and hard work. Additionally, building a canoe can be more budget-friendly than purchasing one ready-made.
You gain valuable skills along the way, too—skills that can translate into future projects or repairs. It cultivates a deeper connection with nature. The time spent crafting enhances appreciation for outdoor adventures ahead as you plan trips on the waters where your handmade creation will glide smoothly.
Safety Precautions and Considerations
Safety is crucial when building a canoe. First, always wear appropriate personal protective equipment (PPE). This includes goggles to protect your eyes from flying debris and gloves for hand protection. Ensure your workspace is well-ventilated. Wood dust can be harmful when inhaled.
Use a mask if you’re sanding or cutting wood for extended periods. Be mindful of sharp tools. Make sure they are in good condition and stored safely when not in use. Always cut away from your body to avoid accidents. Plan ahead by checking local regulations about building watercraft in your area.
Some places may require permits or inspections before you hit the water. Familiarize yourself with basic first aid techniques. Accidents happen, and knowing how to respond can make all the difference during an emergency situation while working on your canoe project.
Final Thoughts: Building your own Canoe
Building your own canoe can be an incredibly rewarding experience. It allows you to connect with nature and the art of craftsmanship in a unique way. Whether you’re using it for leisurely paddling on serene lakes or embarking on thrilling river adventures, a handmade canoe carries personal significance.
As you follow the steps outlined above, remember that patience is essential. Embrace each stage of construction as an opportunity to learn and improve your skills. Customizing your canoe will not only reflect your personality but also enhance its functionality based on how you intend to use it.
The satisfaction derived from gliding across water in a vessel you’ve created cannot be overstated. So gather your materials, roll up your sleeves, and start this exciting project! The journey of building a canoe is just as important as the destination itself—so enjoy every moment along the way.


