DIY Underground Root Cellar
A DIY underground root cellar might be just what you need. This age-old storage solution not only helps keep your produce fresh but also connects you with a sustainable way to store food. Are you tired of throwing away fruits and vegetables that spoil too quickly?
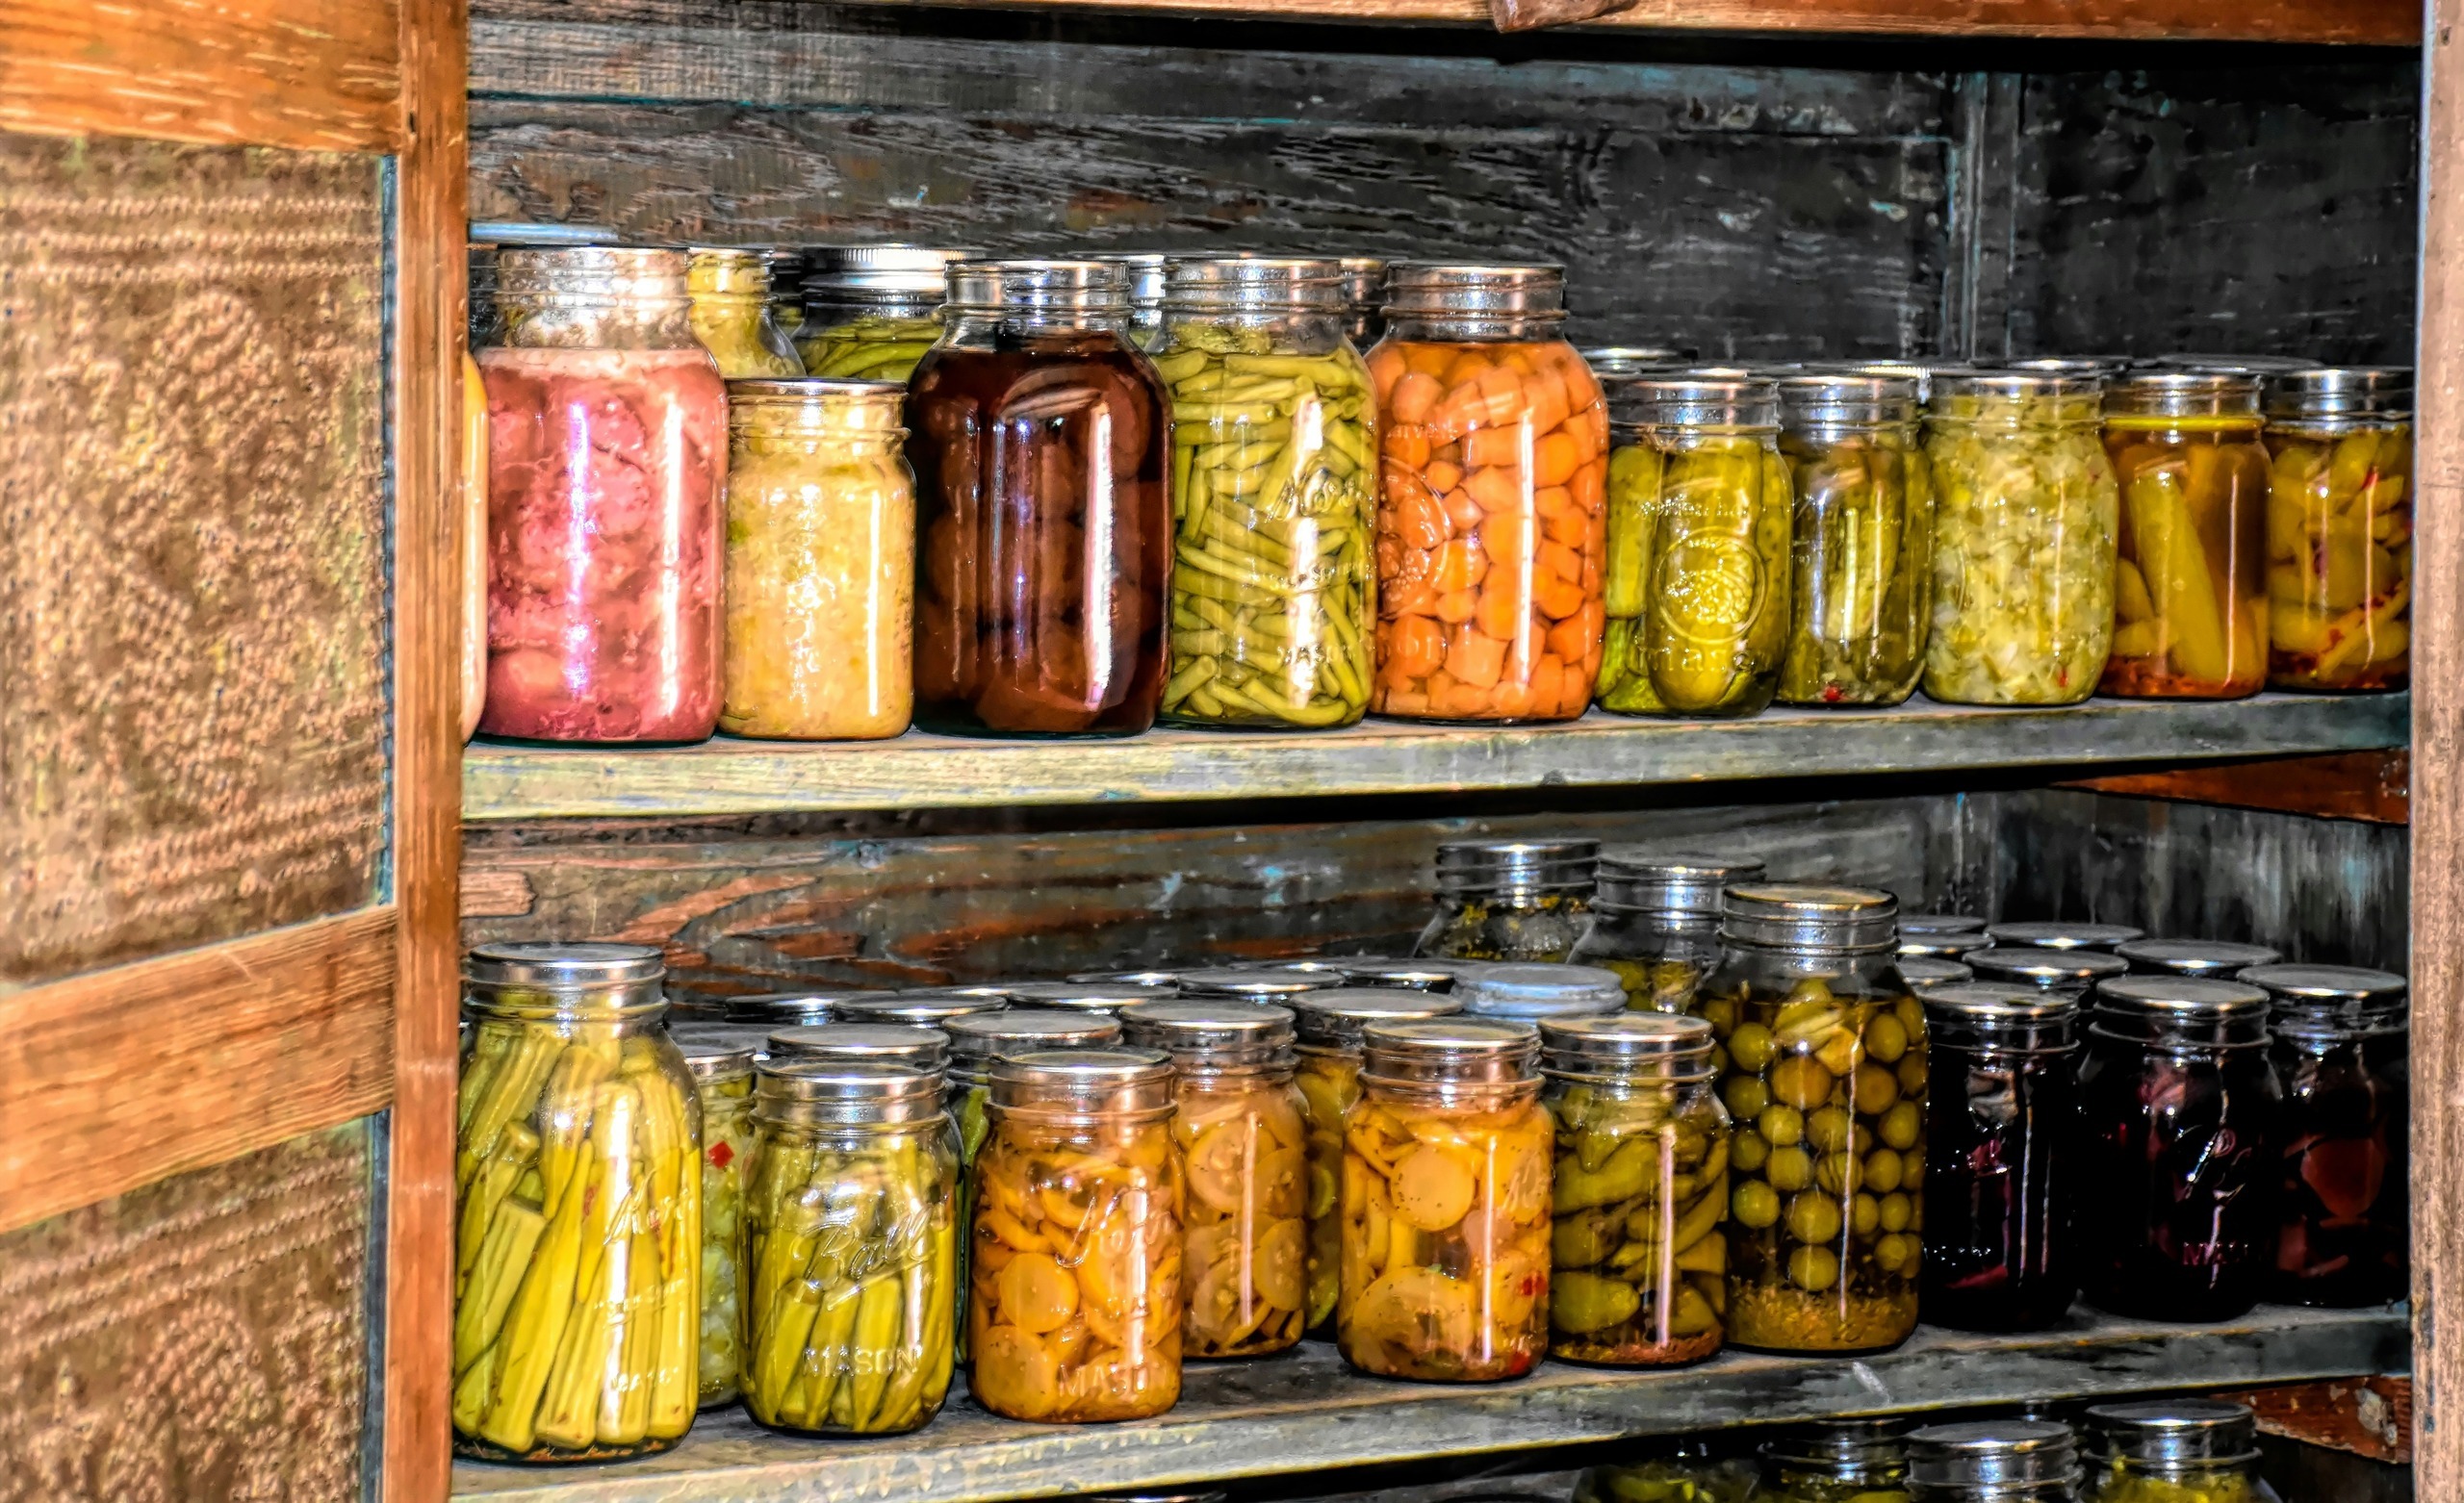
Have you ever dreamed of preserving your harvest long into the cold months? Imagine walking down a few steps into a cool, dark space filled with jars of homemade pickles, bags of potatoes, and crisp apples—a treasure trove for any home cook or gardener!
Building your own underground root cellar is easier than it sounds and can become one of your most rewarding projects yet. Let’s dive in and explore how to create this practical addition to your home.
What is an Underground Root Cellar?
An underground root cellar is a timeless storage solution for fruits and vegetables. It provides a cool, dark environment that prolongs the freshness of produce. Traditionally built below ground, these cellars leverage natural insulation from soil temperatures.
This helps maintain an ideal climate for storing crops like potatoes, carrots, and apples. Unlike modern refrigeration methods, root cellars require no electricity. They rely on simple principles of thermodynamics to keep items safe from spoilage.
The design can vary greatly; some are basic pits while others feature full structures with shelves and ventilation systems. The key lies in creating the right conditions to minimize rot and encourage longevity.
With the growing interest in sustainability and self-sufficiency, more people are rediscovering this practical approach to food preservation. Creating your own DIY underground root cellar opens up opportunities for enjoying homegrown produce year-round.
Planning and Preparing for Construction
Before diving into construction, planning is crucial. Take the time to visualize your underground root cellar. Consider its size and layout based on what you intend to store. Create a detailed blueprint. Sketching out different sections will help organize your thoughts and ensure efficient use of space.
Don’t forget about shelving options; sturdy shelves can maximize storage capacity. Research local building codes or regulations that may impact your project. Knowing these details early helps avoid potential setbacks later on. Next, develop a timeline for each phase of construction.
This keeps your project moving smoothly while allowing for any unexpected delays. Gather inspiration from existing root cellars in books or online resources. Seeing how others have tackled similar projects might spark new ideas or solutions tailored to your needs.
Choosing the Right Location
Choosing the right location for your DIY underground root cellar is crucial. It sets the stage for optimal conditions to store your produce year-round. Look for a spot with good drainage. Avoid areas where water tends to pool, as excess moisture can spoil your fruits and vegetables.
A slight slope in the land can work to your advantage, directing rain away from your cellar. Consider proximity to your garden or kitchen. You want easy access without trekking too far, especially during harvest time. Sunlight exposure matters too.
A shady area will help maintain cooler temperatures inside the cellar while also protecting it from extreme heat. Ensure that you’re aware of any local ordinances regarding underground structures before you start digging. This diligence saves you trouble later on and ensures a smooth construction process ahead.
Gathering Materials and Tools
Gathering materials and tools is a crucial step in your DIY underground root cellar project. Having everything on hand will streamline the construction process. Start with the essentials: concrete blocks or bricks for walls, plywood for shelving, and a sturdy door to seal off your space.
Don’t forget about insulation material like foam boards to keep temperatures stable. You’ll also need some heavy-duty plastic sheeting for waterproofing. This will help protect your veggies from moisture damage over time.
Tools are just as important. A shovel is necessary for excavation, while a level ensures that your structure remains even. You might want a saw for cutting wood and an electric drill to secure everything together.
Gather safety gear such as gloves and goggles. They’ll keep you protected during this hands-on project! With all these items ready, you’re well-equipped to build an efficient root cellar that meets your needs.
Step-by-Step Construction Process
To create your DIY underground root cellar, follow the comprehensive step-by-step construction process below:
#1. Excavating the Site
Excavating the site is your first big step in creating a DIY underground root cellar. Before you even grab your shovel, it’s crucial to mark out the area accurately. Use stakes and string to outline the perimeter of your future cellar.
Once that’s set, gather your tools. A sturdy shovel, pickaxe, and wheelbarrow will serve you well during this phase. If you’re dealing with tougher soil or rocky ground, consider renting a mini-excavator for efficiency.
Start digging down at least three feet deep or more depending on your climate needs. The deeper you go, the cooler and more stable the temperature will be for storing produce.
As you dig, keep an eye out for any roots or large stones; these can slow down progress significantly. Create a sloped entry if possible—this will make accessing your root cellar much easier later on!
#2. Building the Structure
Once you’ve excavated the site, it’s time to focus on building the structure of your DIY underground root cellar. Start by framing the walls using sturdy materials like concrete blocks or treated lumber. This will provide a solid foundation that can withstand the weight of soil above.
Next, consider the shape of your cellar. A dome or arch design can enhance stability and allow for better air circulation. Ensure to leave enough headroom so you won’t feel cramped while moving around inside.
After constructing the walls, add a strong ceiling made from reinforced plywood or more concrete blocks. It should be thick enough to bear weight but not too heavy that it compromises accessibility.
Don’t forget about making an entrance! A well-fitted door is essential for maintaining temperature and humidity levels inside your root cellar while providing easy access for stocking produce later on.
#3. Waterproofing and Insulation
Waterproofing and insulation are crucial for the longevity of your DIY underground root cellar. Without proper measures, moisture can lead to spoilage and mold growth, jeopardizing your stored produce.
Start by applying a waterproof membrane on the exterior walls. This acts as a barrier against groundwater seepage. Use high-quality materials designed specifically for underground structures to ensure effectiveness.
Next, consider insulation options that will keep your cellar temperature consistent throughout the year. Rigid foam board is an excellent choice; it provides superior thermal resistance while being easy to install.
Seal any gaps or cracks with caulk or spray foam to prevent drafts and moisture ingress. A well-insulated space helps maintain optimal conditions for storing fruits and vegetables, extending their shelf life significantly.
Don’t forget about drainage around the outside of your cellar; this will divert water away from your structure and further protect its integrity over time.
#4. Ventilation and Airflow System
Proper ventilation is key to ensuring your DIY underground root cellar functions effectively. Without it, humidity levels can rise, leading to mold and spoilage of your stored produce.
To create an efficient airflow system, start by installing vents near the top and bottom of the structure. This allows cool air to enter while warm air escapes. Ensure that these vents are adjustable; this flexibility helps you manage temperature based on seasonal changes.
Consider using ducting for a more directed airflow if space permits. It can help channel fresh air into specific areas where it’s needed most.
Adding fans can enhance circulation but remember they require electricity. If you’re aiming for off-grid sustainability, passive ventilation is ideal. Just make sure there’s enough cross-ventilation throughout the cellar to maintain freshness without compromising moisture levels.
#5. Stocking and Maintaining Your Root Cellar
Once your DIY underground root cellar is ready, it’s time to fill it with fresh produce. Start by stocking seasonal fruits and vegetables that store well, such as potatoes, carrots, and apples. Avoid washing them before storage; moisture can lead to rot.
Organize the space efficiently. Use wooden crates or bins for better airflow around your items. Label everything clearly so you know what you have on hand at a glance.
Regularly check the contents of your root cellar. Look for signs of spoilage or pests. Remove any affected items immediately to prevent spreading.
Temperature and humidity are key factors in maintaining freshness. Ideally, aim for a cool temperature around 32-40°F with high humidity levels—this helps keep your produce crisp longer.
Consider rotating stock frequently. Consume older items first to minimize waste and enjoy delicious homegrown flavors throughout the winter months.
Tips for Extending the Shelf Life of Stored Produce
To maximize the shelf life of your stored produce, start by selecting the right fruits and vegetables. Choose those that are fresh, firm, and free from blemishes. This simple step can make a significant difference. Temperature control is essential.
Keep your root cellar cool but not freezing—ideally around 32°F to 40°F for most produce. Monitor humidity levels as well; around 85-95% is best for many items. Use breathable containers like wooden crates or mesh bags instead of plastic ones. Proper airflow helps prevent moisture buildup, which can lead to rot.
Regularly check on your stored produce. Remove any spoiled items promptly to stop decay from spreading. Consider layering different types of produce based on their needs; some prefer more humidity while others thrive in dry conditions. Adapting these small strategies will help keep your harvest fresh longer!
Conclusion
Creating a DIY underground root cellar is an exciting project that can benefit any garden enthusiast or homesteader. With the right planning, materials, and step-by-step approach, you can build a space that preserves your harvest and reduces food waste.
Once your root cellar is complete, stocking it with seasonal produce will allow you to enjoy fresh fruits and vegetables long after they’ve been harvested. Pay attention to the ventilation system for optimal airflow. This helps maintain the right temperature and humidity levels, which are essential for keeping your stored goods in prime condition.
As you embark on this journey of self-sufficiency, remember to experiment with different storage techniques. Each vegetable has unique requirements for longevity—knowing these can enhance your success rate significantly.
A DIY underground root cellar not only provides functional benefits but also connects you better with nature’s cycles. It’s a fulfilling way to extend your gardening efforts into the colder months while reducing reliance on store-bought produce.
Your adventure toward building this practical shelter awaits! Embrace the process as much as the outcome; you’ll find joy in nurturing both plants and skills along the way.
Related Posts

How To Preserve Vegetables

How To Preserve Fruit