Build Your Own Tree House
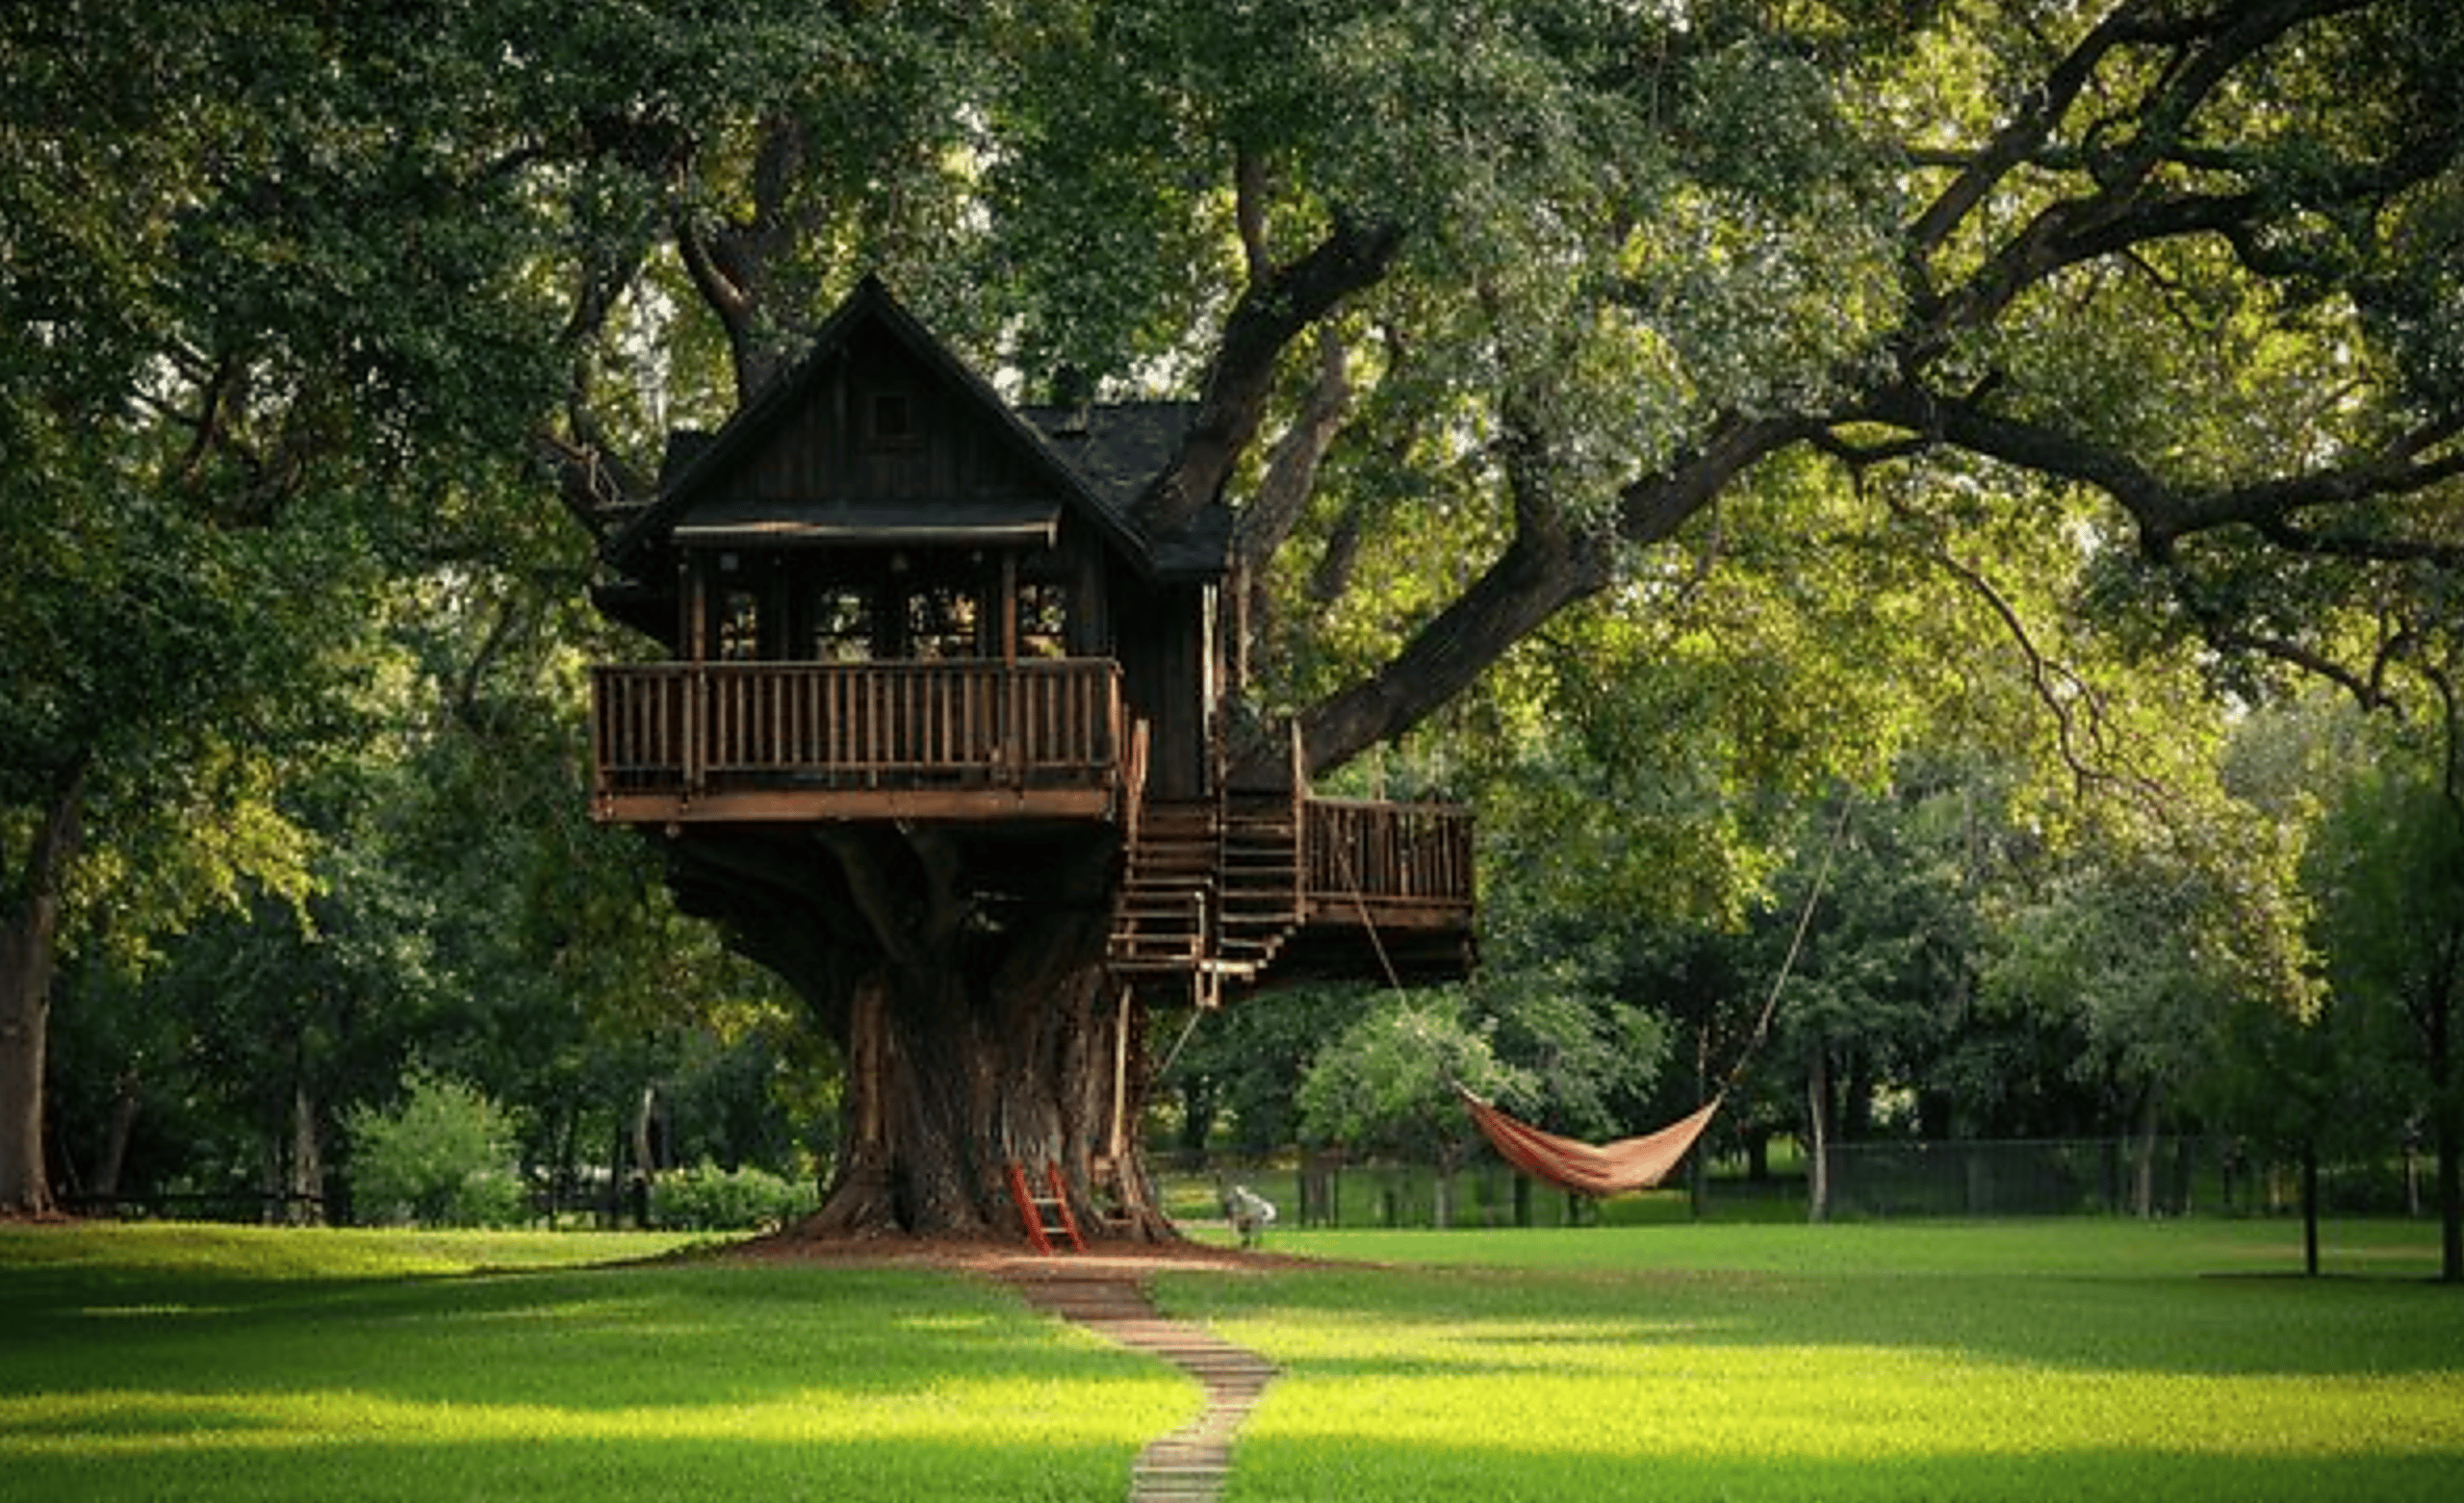
Build your own tree house and ignite creativity, provide a unique space for relaxation, and bring families together in the great outdoors. Imagine a cozy retreat perched high above the ground, surrounded by swaying branches and chirping birds.
A tree house is not just a childhood dream; it’s an adventure waiting to happen. Whether you envision a simple hideaway or an elaborate fortress in the sky, crafting your very own tree haven can be both rewarding and fun. It’s time to unleash your inner architect!
With some careful planning and a little elbow grease, you’ll soon find yourself enjoying all that nature has to offer from your very own elevated sanctuary. Let’s dive into how you can build your own tree house with ease!
The Appeal of Tree Houses
Tree houses evoke a sense of nostalgia and adventure that few structures can match. They tap into the imagination, transforming an ordinary tree into a magical escape. The thrill of climbing up to your own secret hideaway is simply irresistible.
Nestled among branches, you gain a unique perspective on the world below—a perfect blend of privacy and excitement. They offer more than just physical space; they create cherished memories. Friends gather for storytelling or stargazing, while families bond over building projects and playful afternoons.
From rustic retreats to whimsical designs, each tree house tells its own story. The chance to customize your sanctuary allows creativity to flourish—endless possibilities await in every corner. Being surrounded by nature enhances well-being. The fresh air and serene environment make it an ideal spot for relaxation or inspiration away from daily life’s hustle.
Building Process: Step-by-Step Guide
When you decide to build your own tree house, the journey begins with excitement and creativity. Each step is a chance to bring your vision to life.
Step 1: Designing and Planning the Tree House
Designing and planning your tree house is the most exciting part of the process. This is where your imagination takes flight.
Start by sketching out ideas. Consider how you want the space to look and feel. Think about what functions you want it to serve: a cozy hideaway, a play area, or maybe even a mini office?
Take inspiration from various sources—books, websites, or even other tree houses in your neighborhood. Remember that this structure should complement its natural surroundings.
It’s also essential to think practically. How much space do you need? What kind of amenities will it include? Drafting detailed plans will help bring clarity to your vision.
Consider safety features early on too. A well-thought-out design can make all the difference when it comes time for construction.
Step 2: Choosing the Right Tree and Location
Choosing the right tree is crucial for your tree house project. You’ll want to look for a sturdy, healthy tree that can support weight and withstand weather conditions. Oaks, maples, and firs are great options; they offer strength and stability.
Next, consider the location. Look for an area with enough space around the base of the tree. Avoid spots near power lines or busy roads to ensure safety during construction and playtime.
Assess sunlight exposure too—your future retreat should have a nice balance of shade and sun throughout the day.
Think about accessibility. Is it easy to reach from your home? A nearby path will make carrying supplies much simpler while providing children safe access without any hassle.
Step 3: Gathering Materials and Tools
Gathering materials and tools is a pivotal step in your journey to build your own tree house. Before you dive into the fun part of construction, make a comprehensive list of what you’ll need.
Start with sturdy lumber for the framework and flooring. Opt for pressure-treated wood or cedar, which withstands weather conditions well.
You’ll also need fasteners like screws and nails to hold everything together securely. Don’t forget about safety equipment—gloves, goggles, and a hard hat are essential.
For tools, gather essentials such as a drill, saw, hammer, level, and measuring tape. Having these on hand ensures that each cut is precise.
Consider adding some additional features like ropes or pulleys if you want an adventurous touch. This not only enhances functionality but can spark creativity in design as well. Preparing thoroughly sets the foundation for an enjoyable building experience ahead.
Step 4: Building the Foundation and Platform
Building a strong foundation is crucial for your tree house’s stability. It begins with assessing the tree’s structure and health. Look for sturdy branches that can bear weight.
Using support beams, create a solid frame. This will serve as the backbone of your platform. Securely attach these beams to both the tree and any additional supports on the ground.
Next, lay down wooden planks or plywood to form the floor of your platform. Ensure everything is level; this step prevents potential wobbles later on.
Don’t forget to leave space for access points like ladders or stairs if you plan to have them installed. This design element adds functionality while ensuring safety during climbs.
Consider adding guardrails around the edges for extra protection once construction is complete. A secure base sets the stage for all future adventures in your elevated retreat!
Step 5: Constructing Walls, Windows, and Doors
With the foundation in place, it’s time to bring your tree house to life by constructing walls, windows, and doors. Start by framing the walls using sturdy lumber. This provides essential support for everything that follows.
Once you have framed the structure, think about how much natural light you want inside. Installing windows not only brightens up the space but also gives kids a chance to enjoy views from their elevated hideaway.
When it comes to doors, consider functionality and safety. A simple hinged door can work well while allowing easy access in and out of your tree house. If you’re feeling creative, add a slide or ladder as an entry option.
Remember to ensure all parts are securely fastened and reinforced for stability. Your tree house should feel cozy yet safe—an inviting retreat high above the ground!
Adding Finishing Touches:
Adding finishing touches to your tree house is where the magic truly happens. Think of it as giving your creation a personality. Each detail enhances both aesthetics and functionality, making your tree house feel like home.
A- Roofing
When it comes to roofing your tree house, choosing the right material is crucial. You want something durable and weather-resistant. Asphalt shingles are a popular choice for their affordability and ease of installation.
Alternatively, metal roofing provides excellent longevity and can withstand harsh elements. It’s also lightweight, making it perfect for a structure nestled in branches.
Consider adding a slight pitch to your roof design. This will help rainwater drain off effectively, preventing leaks or water buildup over time.
Don’t forget about insulation if you plan on using the tree house year-round. Insulating your roof can keep temperatures comfortable regardless of the season.
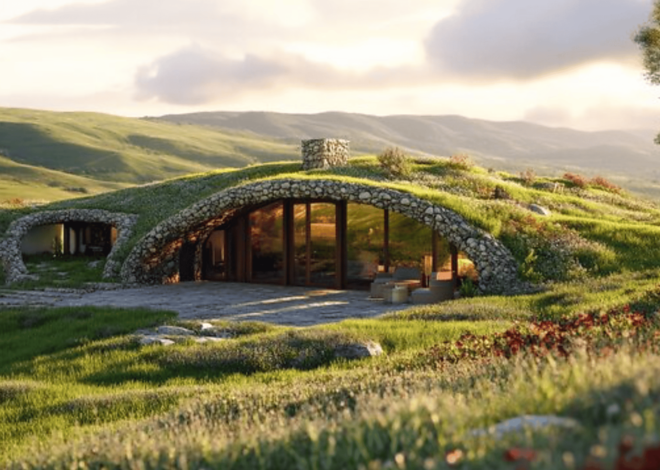
Think creatively! A green roof with plants could not only enhance aesthetics but also blend beautifully with nature around you.
B- Flooring
When it comes to the flooring of your tree house, you want a surface that is not only sturdy but also comfortable. Consider using wood planks for a classic look and feel. They blend beautifully with the natural surroundings.
Make sure to select pressure-treated lumber. It will resist moisture and decay, extending the life of your floor. Lay down the boards perpendicular to beams for added strength.
Think about adding non-slip coatings or mats, especially if your tree house will be exposed to rain. Safety should always come first when building your own tree house.
For an extra touch, consider incorporating fun designs or colors into the flooring. This can add personality and charm to your space while making it uniquely yours.
C- Decorations
Decorating your tree house is where the real fun begins. Personal touches can transform a simple structure into a cozy retreat.
Consider adding colorful curtains that flutter in the breeze. They bring warmth and charm while providing much-needed shade.
Wall art can also elevate the space. Hang up hand-painted signs or nature-inspired artwork to create a whimsical atmosphere.
Don’t forget about seating! Cushions and blankets add comfort, inviting you to relax with a good book or enjoy conversations with friends.
Lighting plays a crucial role too. String lights or solar-powered lanterns create an enchanting ambiance as dusk falls, making your tree house feel magical at night.
Last but not least, incorporate plants for natural beauty. Small potted herbs or hanging planters will breathe life into your elevated hideaway while enhancing air quality around you.
Safety Considerations for Tree Houses
When it comes to building your own tree house, safety should be a top priority. Start by selecting a sturdy tree with thick branches that can support the weight of both the structure and its occupants. Using high-quality materials is essential. Opt for pressure-treated wood to resist rot and insects.
This will ensure longevity and stability. Securely fasten all components together using appropriate hardware like screws and strong brackets. Avoid nails, as they may loosen over time. Consider adding safety features such as railings around the platform or ladder to prevent falls.
Non-slip surfaces are also beneficial for flooring. Establish clear rules for usage—like limiting the number of children inside at one time—to keep everyone safe while enjoying their new retreat in the trees.
Maintaining Your Tree House
Maintaining your tree house is crucial for its longevity and safety. Regular inspections help you catch any issues before they become major problems. Check the structural integrity of the platform and walls every season. Look for signs of wear, rot, or insect damage.
Addressing these concerns promptly can save time and money later. Cleaning debris from around the tree house keeps it looking inviting and prevents moisture buildup. A little maintenance goes a long way in preserving your space. Don’t forget about the roof! Ensure it’s intact to protect against rain and snow.
Reinforcing shingles or adding a waterproof tarpaulin can extend its life significantly. Consider repainting or treating wood surfaces every few years to resist weather elements. This simple task enhances appearance while preventing deterioration over time.
Alternative Options for Building a Tree House
If a traditional tree house doesn’t quite fit your vision, consider alternative structures. Platforms suspended between trees provide a thrilling experience without the need for walls. They can be as simple or elaborate as you desire. Another option is to build a ground-level playhouse that mimics the feel of being in the treetops.
This design offers safety and easy access while still capturing that whimsical atmosphere. For those who want mobility, modular tree houses can be assembled and disassembled easily. These portable versions allow you to change locations or adapt them over time.
You might also explore using repurposed materials like shipping containers or pallets. These eco-friendly solutions can add unique charm and character, making your space truly one-of-a-kind. Each choice comes with its own appeal and creativity, so let your imagination guide you!
Conclusion: Enjoy Your New Tree House!
Building your own tree house is an exciting venture that combines creativity, engineering skills, and a love for nature. As you enjoy the fruits of your labor, whether it’s lounging with friends or simply escaping into your personal hideaway, you’ll find joy in every moment spent among the branches.
Remember to take pride in the craftsmanship and unique touches you’ve added along the way. Each nail hammered and plank placed brings you closer to creating a magical space where memories will be made.
So gather your materials, unleash your imagination, and step into this adventure of building something truly special. The sky is literally the limit as you embark on this journey to create a cherished retreat high above the ground. Enjoy every bit of it!


